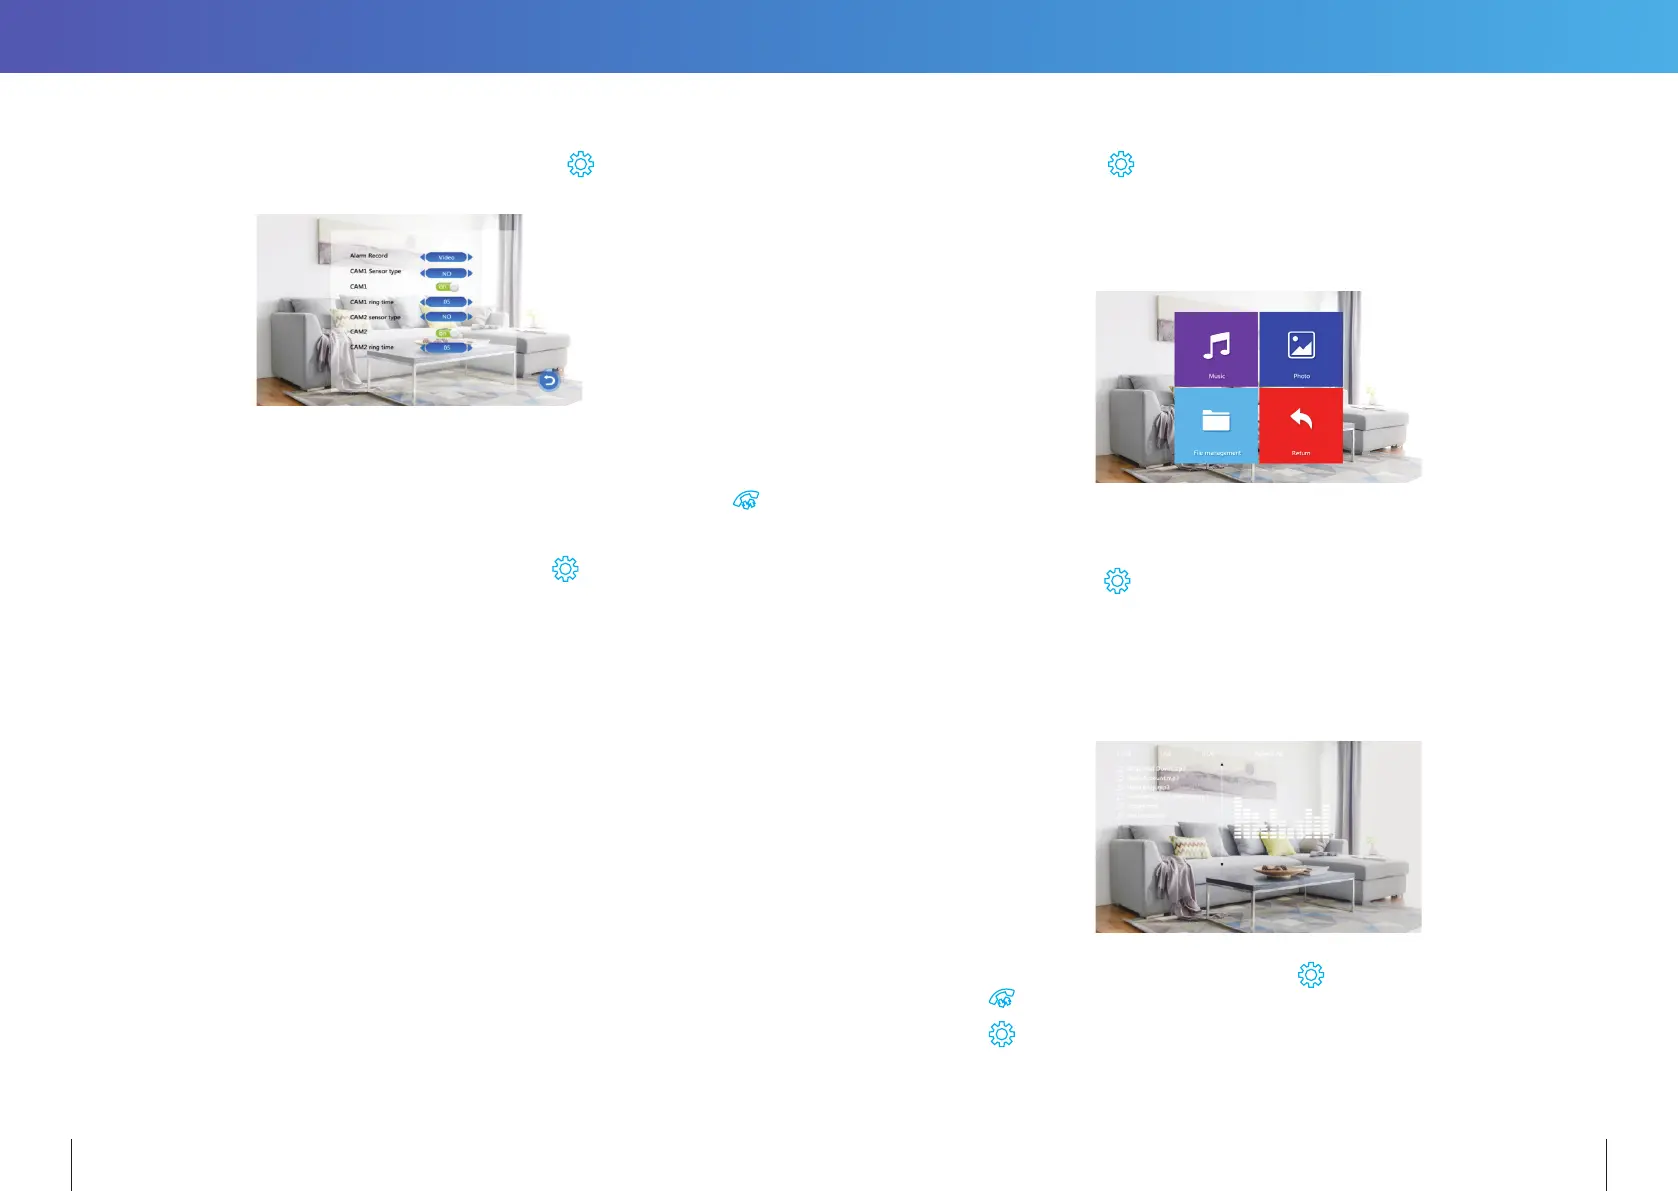
14.2.4 ALARM
In Main Menu, move the cursor to the “Alarm” option. Then press
button to enter the
Alarm menu.
[Alarm Record]: for recording Video or taking Snapshots. For “Video”, when an alarm is
triggered, the Indoor Monitor with the MicroSD card will automatically start
recording video from the related camera until the alarm clears, or until
is pressed. For “Snapshot”, when an alarm is triggered, the monitor with the
MicroSD card will automatically take a picture from the linked camera. More
snapshots can be manually taken by pressing
button.
[Sensor Type 1]: Selects the CAM1 channel Sensor Type (see description below). When the
CAM1 sensor triggers an alarm, a video recording of CAM1 will start, or a
snapshot will be taken; depending on the selected recording mode.
[Sensor Type 2]: Selects the CAM2 channel Sensor Type (see description below). When the
CAM2 sensor triggers an alarm, a video recording of CAM2 will start, or a
snapshot will be taken; depending on the selected recording mode.
[CAM1]: Enable or disable the preview of camera1
[CAM2]: Enable or disable the preview of camera2
Sensor Types:
NO: “Normally Open”, When an ALM and GND terminals are shorted together,
an alarm will sound from the monitor.
NC: “Normally Closed”, When an ALM and GND terminals are disconnected,
an alarm will sound from the monitor.
Disable: If an external sensor is not used, set its Sensor Type to “Disabled”.
[CAM1 ring time]: The alarm ringing time for Camera 1, after its sensor had detected an
alarm. Range from 0 - 20 seconds.
[CAM2 ring time]: The alarm ringing time for Camera 2, after its sensor had detected an
alarm. Range from 0 - 20 seconds.
14.2.5 MEDIA
Select “Media” and press
to enter “Media” menu. It includes: Music, Photo, File
Management.
TIP: Disconnect power to the Monitor before inserting or removing a MicroSD card.
This prevents electrical damage, and also ensures reliable detection of files
on the microSD card.
14.2.5.1 Music (for the models with MicroSD card)
Select “Music” and press
to enter music playback page. After entering music page, the
first music file in the list is automatically played.
1. Using a computer, create a “USER” folder and then a “Music” subfolder on the microSD
card. Only MP3 music files located in the “Music” subfolder will be displayed.
Important: The “\USER\Music” directory is case sensitive.
2. Only the first 30 songs in the “Music” folder will be displayed.
1. Use the arrow keys to select a music file. Press
to start playback.
Press
to return to previous menu.
2. Press
to restart playback of the same file.
24 25
 Loading...