ChapTEr 2: INSTallaTION
23
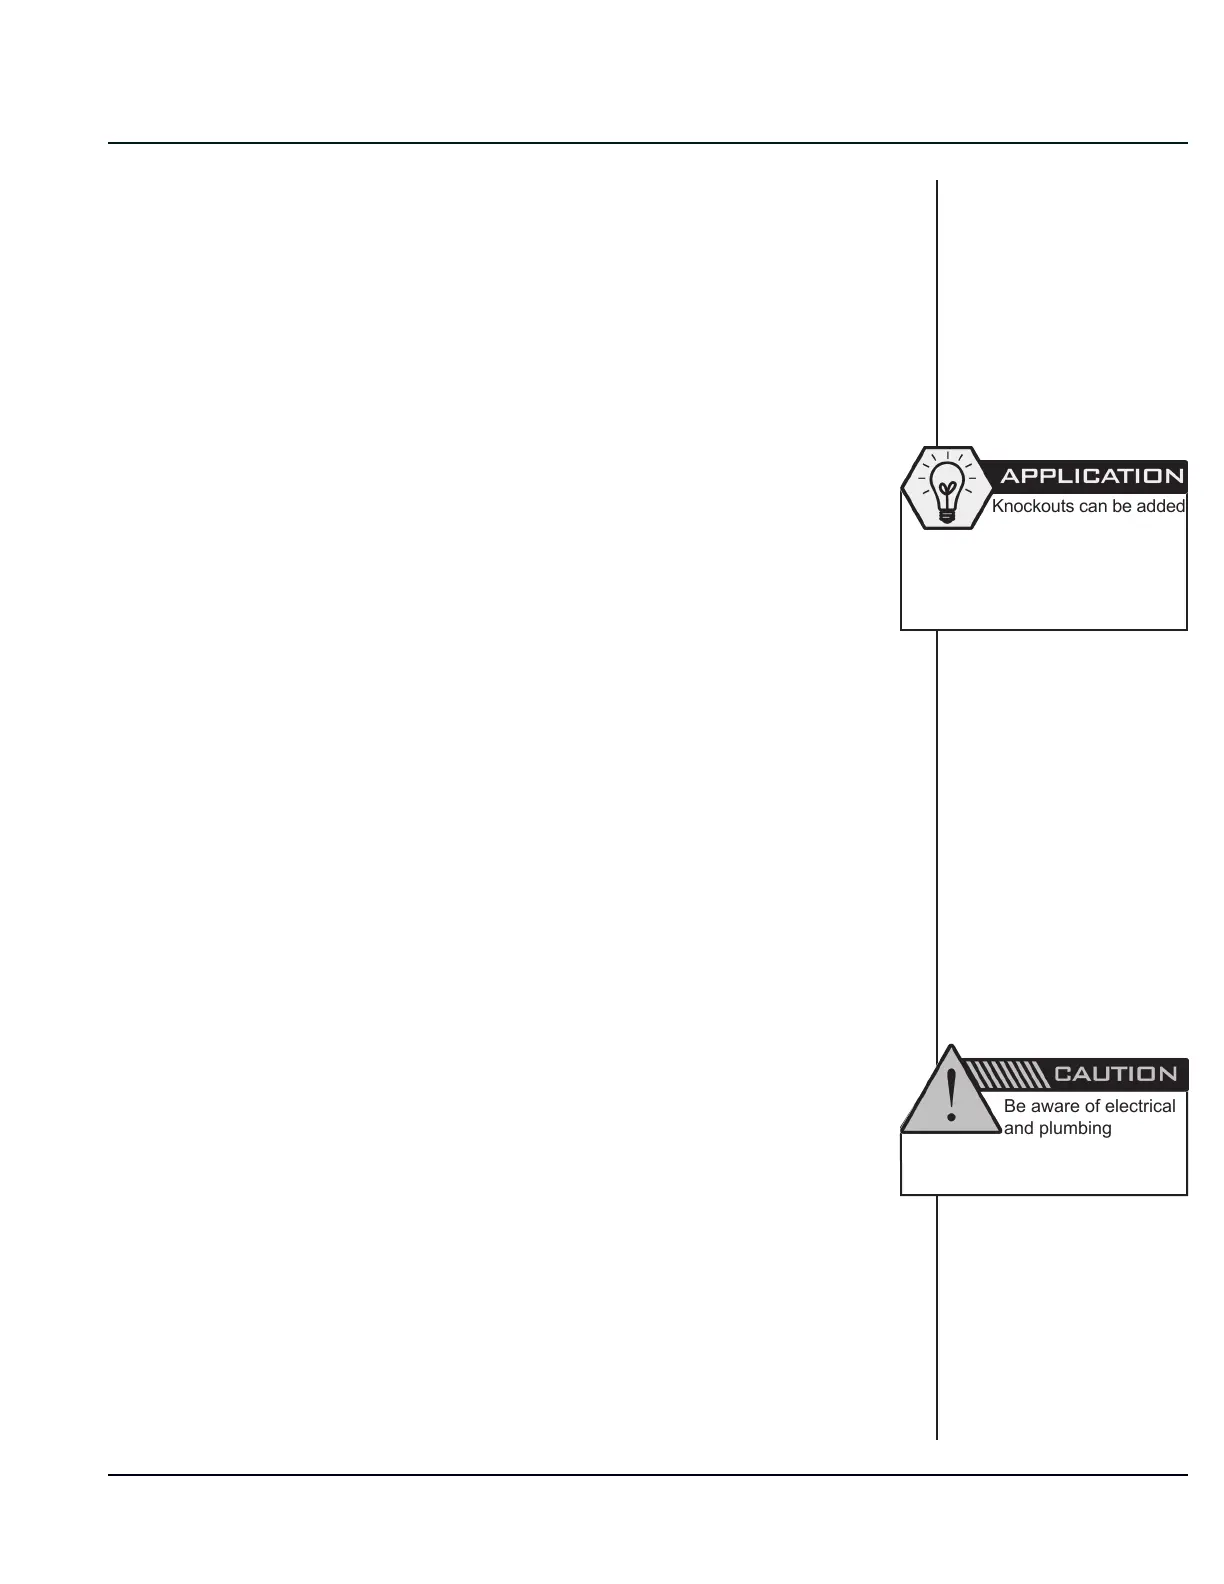
Knockouts can be added
which allow connection
of ¾ inch or 1 inch conduit ttings.
If larger conduit is needed, the
installer will have to drill a larger
hole in the case.
Be aware of electrical
and plumbing
locations when drilling into the
wall to prevent damage or injury.
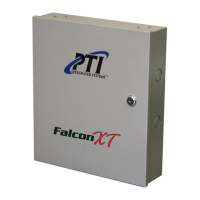
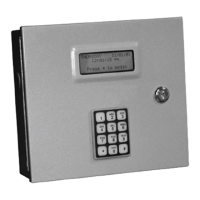
Installing the Falcon XT
The Falcon XT should be installed in a secure, interior area, such as
a locking cabinet, room, or closet. Generally, this location should be
in close proximity to the StorLogix (control software) computer. The
location should have adequate ventilation and air conditioning. It is very
important that the location be accessible for future maintenance.
1. Select a location on the wall approximately 5 feet above the
oor. Conduit (at least ¾ inch) should be run from this area to
the AI devices. A separate conduit (at least ¾ inch) should be
run from this area to the computer if connection uses RS232 or
Ethernet. If the computer interface connection is via USB, the
Falcon XT cannot be more than 15 feet from the computer and
this second conduit is not necessary. The location should also
have a dedicated electrical outlet nearby.
2. The mounting location for the housing should be at least 13” x
13” and allow room for the door to swing fully open to the left
side of the housing as you are facing it. Wire in conduit can be
run into the housing through conduit knockouts on the housing.
3. Once the conduit locations are determined, place the housing
against the wall and mark the wall through the four mounting
holes on the rear of the housing using a pencil. Use a torpedo
level to verify that the housing will be mounted level.
4. Double-check that the housing is level and that the location
is correct. Set the housing aside and drill the four holes as
marked. The surface that the housing is being mounted against
will determine the type of drill, drill bit size, and type of anchors
used. All anchors should be #8 that are 1½ inch in length or
longer, depending on the depth of the wall.
5. Once the housing has been anchored to the wall, connect the
conduit to the box using compression ttings.
Controller to Computer Connection
The Falcon XT must be interfaced to a computer running the StorLogix
software. This interface can be via Ethernet, USB, or RS232. Ethernet
allows high-speed connection over a Local or Wide Area (Internet)
network connection using standard CAT5 cable (up to 328ft / 100m).
USB allows high speed communication, but only for distances less
than 15 feet (4.5m). RS232 is slightly slower, but allows distances up
to 50 feet (15m).