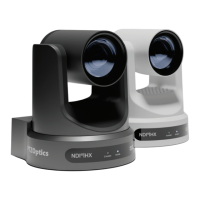
10
Connecting the Move SE to Your Network
Upon connecting to your nework, the Move SE will automatically be assigned an
IP address. If the network cannot assign an IP address, the camera will default to
“192.168.100.88”.
If you cannot nd the camera’s IP address, please try one of the following two methods to
obtain it.
• Method 1: Use an Internet browser and type in “http://ptzoptics.local/” to reach
the camera’s web interface. The login information is defaulted as below:
Ŝ Username: admin.
Ŝ Password: admin
Once you are logged in, navigate to the “Network Settings” page to view your camera’s
Network Settings. Here you can see your camera’s IP address. You can keep the IP
address assigned by your DHCP server or set a unique IP address with the Static
option.
Ŝ Note #1: If you are setting up multiple cameras, you should do so one at a
time.
Ŝ Note #2: It is recommended to give each camera a dierent Device ID. To do
this you can navigate to the “Device Info” tab and type in a unique name in the
Device ID text box. This will allow you to set up unique addresses that you can
bookmark to connect to each camera. Example, “http://camera1.local/” and
“http://camera2.local/”
• Method 2: Use the IR remote shortcut [*] > [#] > [4] to display the camera’s IP
address at the top of any live video from the camera.
Ŝ Note #3: In Device Info, you should click the “Check Firmware Version” button
to make sure you have the latest rmware. If there is a new rmware version, you
should follow the instructions to update your camera.
Tip: To control multipe cameras with a single IR remote, you can give each camera a
unique IR remote control selection in System Settings.