10
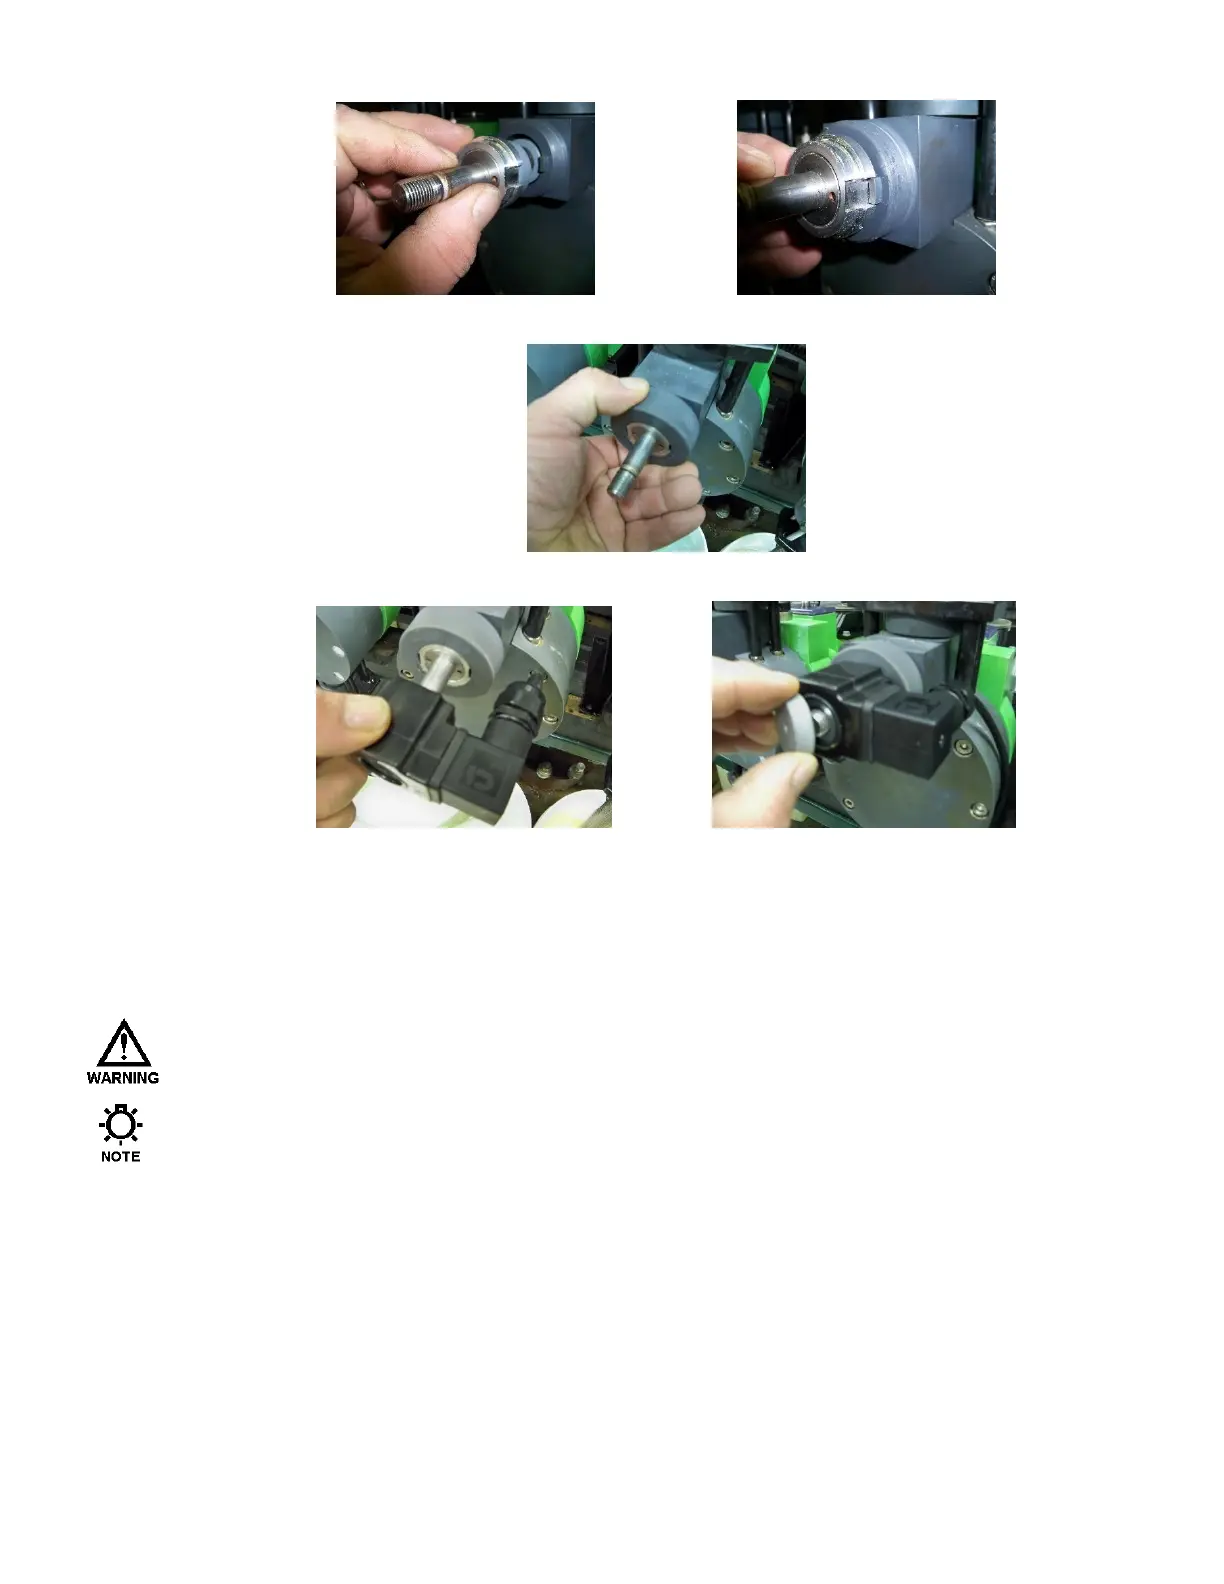
16. Slide Union Nut over Core Tube and tighten onto Body. Do not over tighten, hand tight is sufficient.
17. Slide the solenoid over the Core Tube and secure with Cap Nut. Hand Tight.
18. Reapply power to the pump and ADV and follow standard startup instructions from IOM supplied
with pump.
9.3 Valve Body and Discharge Valve Assembly Removal
CAUTION: Take all precautions to prevent environmental and personnel exposure to hazardous materials.
Any product being pumped will be released during this procedure.
The O-ring seals used in the check valve and ADV are critical to product containment and pump
operation. All o-rings should be inspected carefully and any that show signs of damage or wear
should be replaced. The owner may wish to replace these seals any time the ADV assembly is
removed from the pump.
1. Disconnect the power source to the pump drive motor. If you plan to maintain the ADV itself, remove
power from the ADV unit. For maintenance to the check valves only, the ADV need not be
disconnected.
2. Relieve all pressure from the piping system.
3. Close the inlet and outlet shutoff valves.
4. Take all precautions to prevent environmental and personnel exposure to hazardous materials.
 Loading...