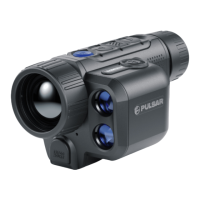
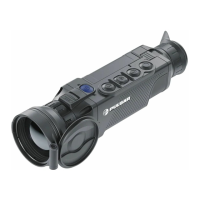
This item enables you to set up your device for operation in a Wi-Fi network.
1.
Press and hold down the M (9) button to enter the main menu.
2.
Select the Wi-Fi Settings menu option with the UP (10) / DOWN (8) buttons.
3.
Press briefly the M (9) button to enter submenu.
4.
Select the desired menu item with the UP (10) / DOWN (8) buttons.
Password Setup
This menu option allows you to set a password to access your thermal imager from an
external device.
The password is used to connect an external device (i.e. smartphone) to your thermal imager.
1.
Enter the Password Setup submenu with a short press of the M (9) button.
2.
The default password is 12345678.
3.
Set the desired password with the UP (10) / DOWN (8) buttons. Switch between digits
with a short press of the M (9) button.
4.
Save the password and exit the submenu with a long press of the M (9) button.
Access Level Setup
This option allows you to configure the appropriate access level to your device made available
to the Stream Vision application.
Ownerlevel.A Stream Vision user has full access to all device functions.
Guestlevel.A Stream Vision user only has access to the real time video stream from the
device.
1.
Press briefly the M (9) button to enter the Access Level Setup submenu.
2.
Select the access level with the UP (10) / DOWN (8) buttons.
3.
Press and hold the M (9)to confirm your selection and exit from the submenu.
 Loading...

