21
EN
seconds. Multiply this number by 20 to
get the cleaning cycle count.
5.7 Switching off the PUQpress
1. Switch off the PUQpress by setting the
on/off switch to O.
2. Unplug the power cable out of the socket
and/or (wall) outlet.
3. Unplug the power cable out of the
PUQpress.
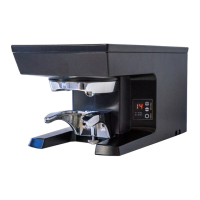
6 MAINTENANCE
Your PUQpress is now in use. Now you only
need to maintain the PUQpress to keep
creating the perfect coffee! Refer to the
chapter ‘Safety instructions’ for more
information.
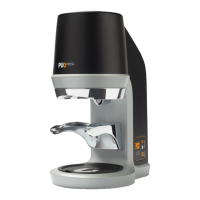
6.1 Preparation
6.1.1 Tools and materials
Required tools and materials
• Brush
• Damp cloth
• Dry cloth
Provided tools and materials
• Allen key
6.2 Cleaning
Clean the housing of the PUQpress with a
damp cloth.
Refer to the table for an overview of the
cleaning intervals.
NOTICE
Make sure to clean the parts of the PUQpress
following the cleaning intervals. Not doing so
may result in parts of the PUQpress getting
damaged.
Part Cleaning
method
Cleaning
interval
Tamper base
(bottom)
Dry cloth Daily
Tamper base
(whole)
Dry cloth Weekly
Upper clamp
cavity (when
tamper base is
removed)
Dry cloth Weekly
Contactless
sensor
Brush Weekly
6.2.1 Cleaning the tamper base
Clean the tamper base regularly:
1. Press the set button. The tamper base
moves down in the cleaning position.
2. Turn the coffee grinder 90 degrees.
3. Unscrew the tamper base bolt by turning
4. Remove the bolt.
5. Unscrew the tamper base by turning it
6. Clean the tamper base using a brush or
dry cloth.
21
 Loading...