•
Disconnect the unit from the power source before installing or changing blades and before cleaning or servicing
the tile saw.
•
Be careful. Serious injuries could occur if the tool is tipped, falls or if the blade is unintentionally contacted.
• Do not directly wash the bottom of the motor.
• Do not force the material being cut. Always let the blade cut at its own speed.
• Do not force a tool to do a job it isn't designed to do.
• Make sure you are using the correct blade for the job you are doing.
• This tile saw is equipped with a three-prong electrical plug. Do not alter the plug or use a two-prong receptacle.
• Keep your work space clear and free of all debris.
• Keep the tile saw clean and maintained to achieve the safest and highest performance for each job.
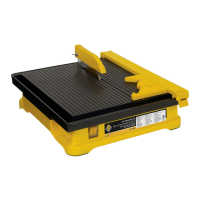
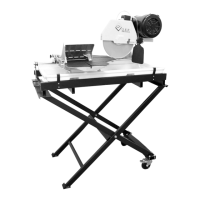
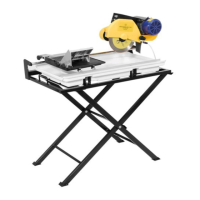
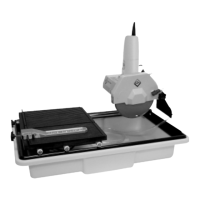
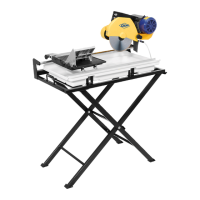
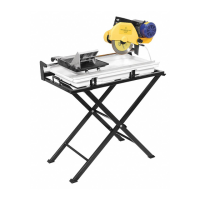
FEATURES OF THE TILE SAW
• Direct drive motor.
• Wet cutting.
• Water reservoir completely separated from all electrical components.
• 4 in. continuous rim diamond blade included for cutting tile and other materials.*
• Adjusting table for precision angle cuts (15°, 30°, 45°)
• Depth of cut with a 4 in. blade is 3/4 in. (19 mm).
* This saw comes with a diamond blade that is ideal for cutting ceramic tile. If your project requires the cutting
of other substrates, including porcelain, it is recommended that you use the specific type of blade for the
material being cut.
ASSEMBLY AND SETUP
FOLLOW ALL OF THE ASSEMBLY AND INSTALLATION
INSTRUCTIONS COMPLETELY BEFORE CONNECTING
THE TILE SAW TO A POWER SOURCE OR TURNING THE MOTOR ON.
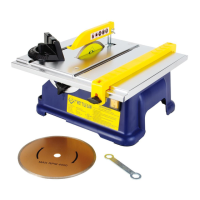
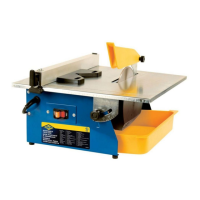
The contents of the box are as follows:
• 4 in. Diamond Blade
• Blade guard
• Rip Guide
• 45° Angle Cutting Guide
• Owner's manual
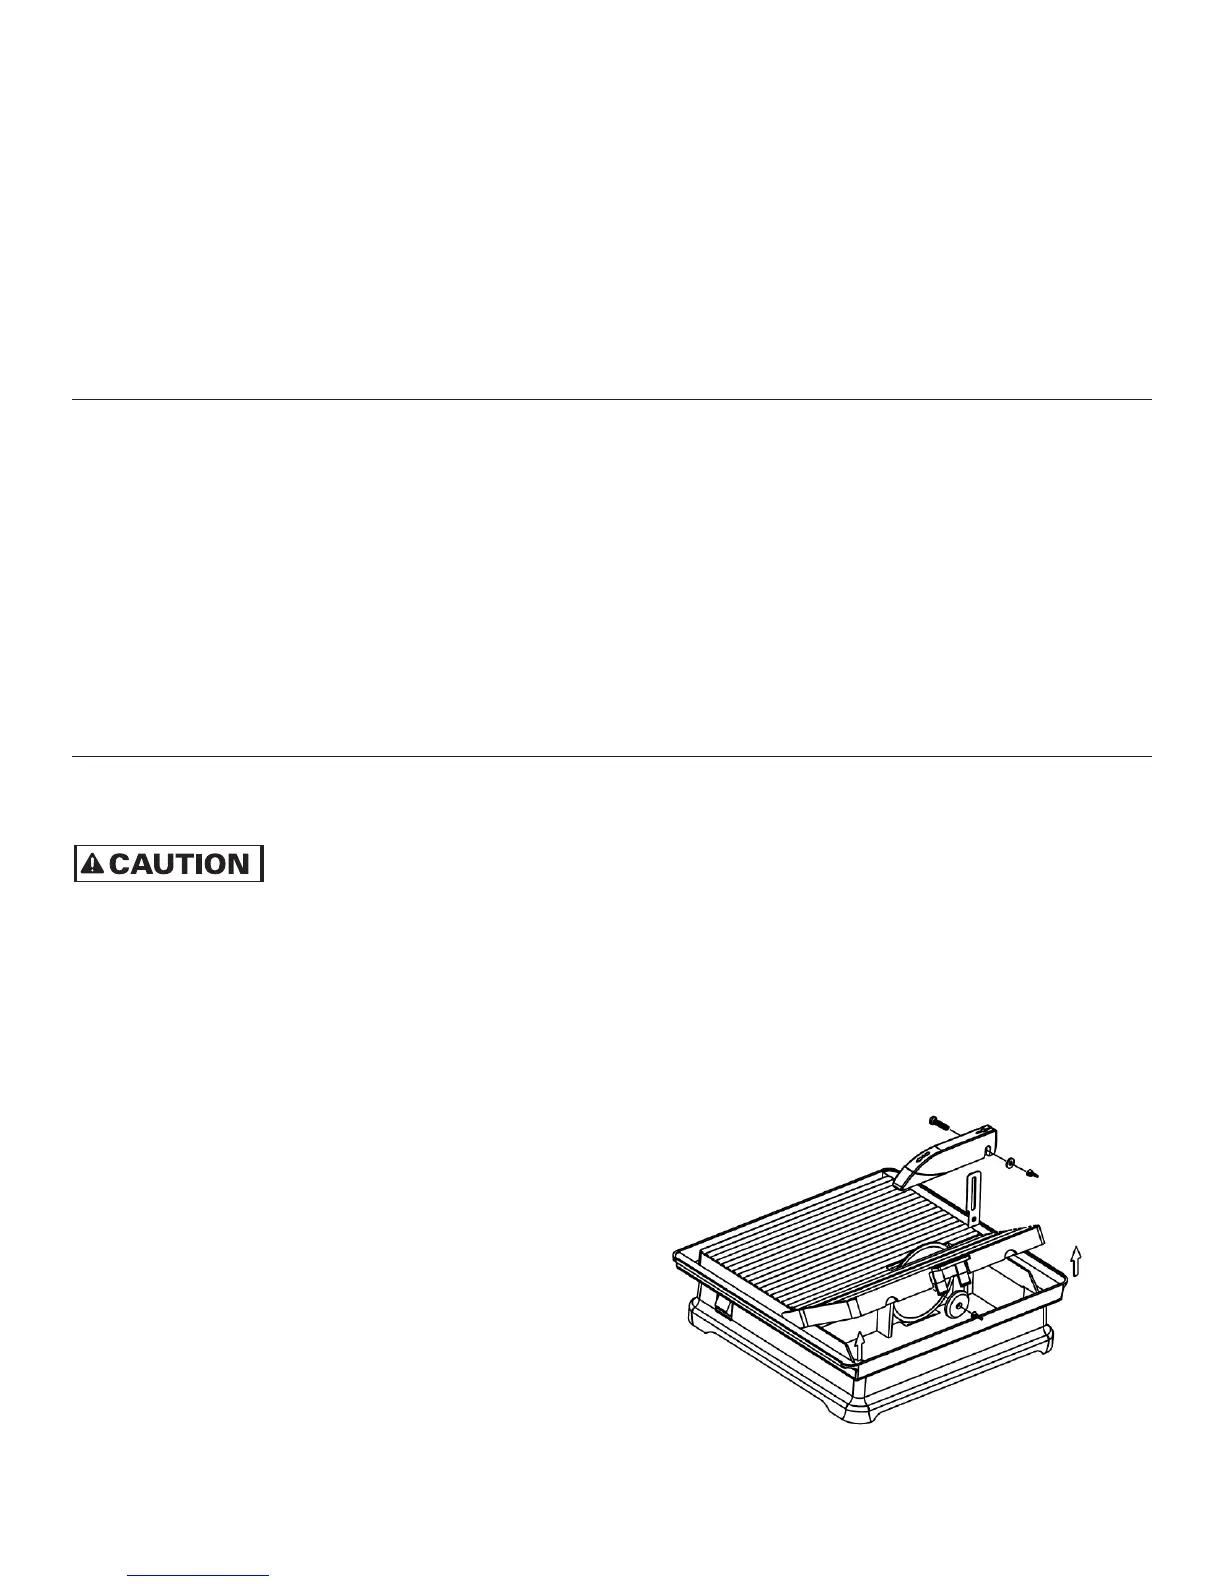
NOTE: The right (narrow) table top can be removed by
bending the pivot tab at the fr
ont, or back. Lift table up to
r
emove (See Diagram 2)
•
Place the blade onto the shaft, pushing it up against the
inner washer
. Make sure the directional arr
ows on the
blade are facing towards you. Place the outer washer
and blade shaft nut, then tighten the blade shaft nut.
Make sur
e the wing nut is fir
mly tightened. Do not over
-
tighten! Install the blade guard by inserting the steel arm in
the slot behind the blade opening, as shown in Diagram 1.
- 6-
DIAGRAM 1