Note
You must return to this page to complete the installation after creating an account.
6. Specify the myQNAPcloud device name for the NAS.
Note
• The myQNAPcloud device name is used when remotely accessing the NAS.
• For security purposes, the myQNAPcloud Link remote connection service will be disabled
on your NAS after initialization. You can enable it by connecting to QTS through LAN and
then installing myQNAPcloud Link.
7. Click Next.
8. Perform any of the following actions.
• To check for the latest available version, click Start.
The wizard downloads the latest available version, and then the NAS restarts after the download
is complete. If a newer version is not available, the wizard automatically displays the Smart
Installation Guide.
• To install the out-of-the-box version, click Skip.
9. Click Start Smart Installation Guide.
10. Specify the following information.
• NAS name: Specify a name with 1 to 14 characters. The name supports letters (A to Z, a to z),
numbers (0 to 9), and hyphens (-), but cannot end with a hyphen.
• Password: Specify an administrator password with 1 to 64 characters. The password supports all
ASCII characters.
11. Click Next.
12. Specify the time zone, date, and time.
Tip
QNAP recommends connecting to an NTP server to ensure that the NAS follows the
Coordinated Universal Time (UTC) standard.
13. Click Next.
14. Select Obtain an IP address automatically (DHCP).
15. Click Next.
16. Select the types of devices that you will use to access shared folders on the NAS.
17. Click Next.
18. Review the settings.
19. Click Apply.
A confirmation message appears.
Warning
Clicking Confirm deletes all data on the drive before installing QTS.
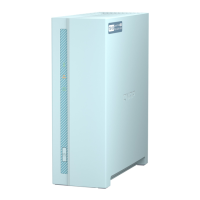
TS-130 User Guide
Hardware Installation 20
 Loading...
