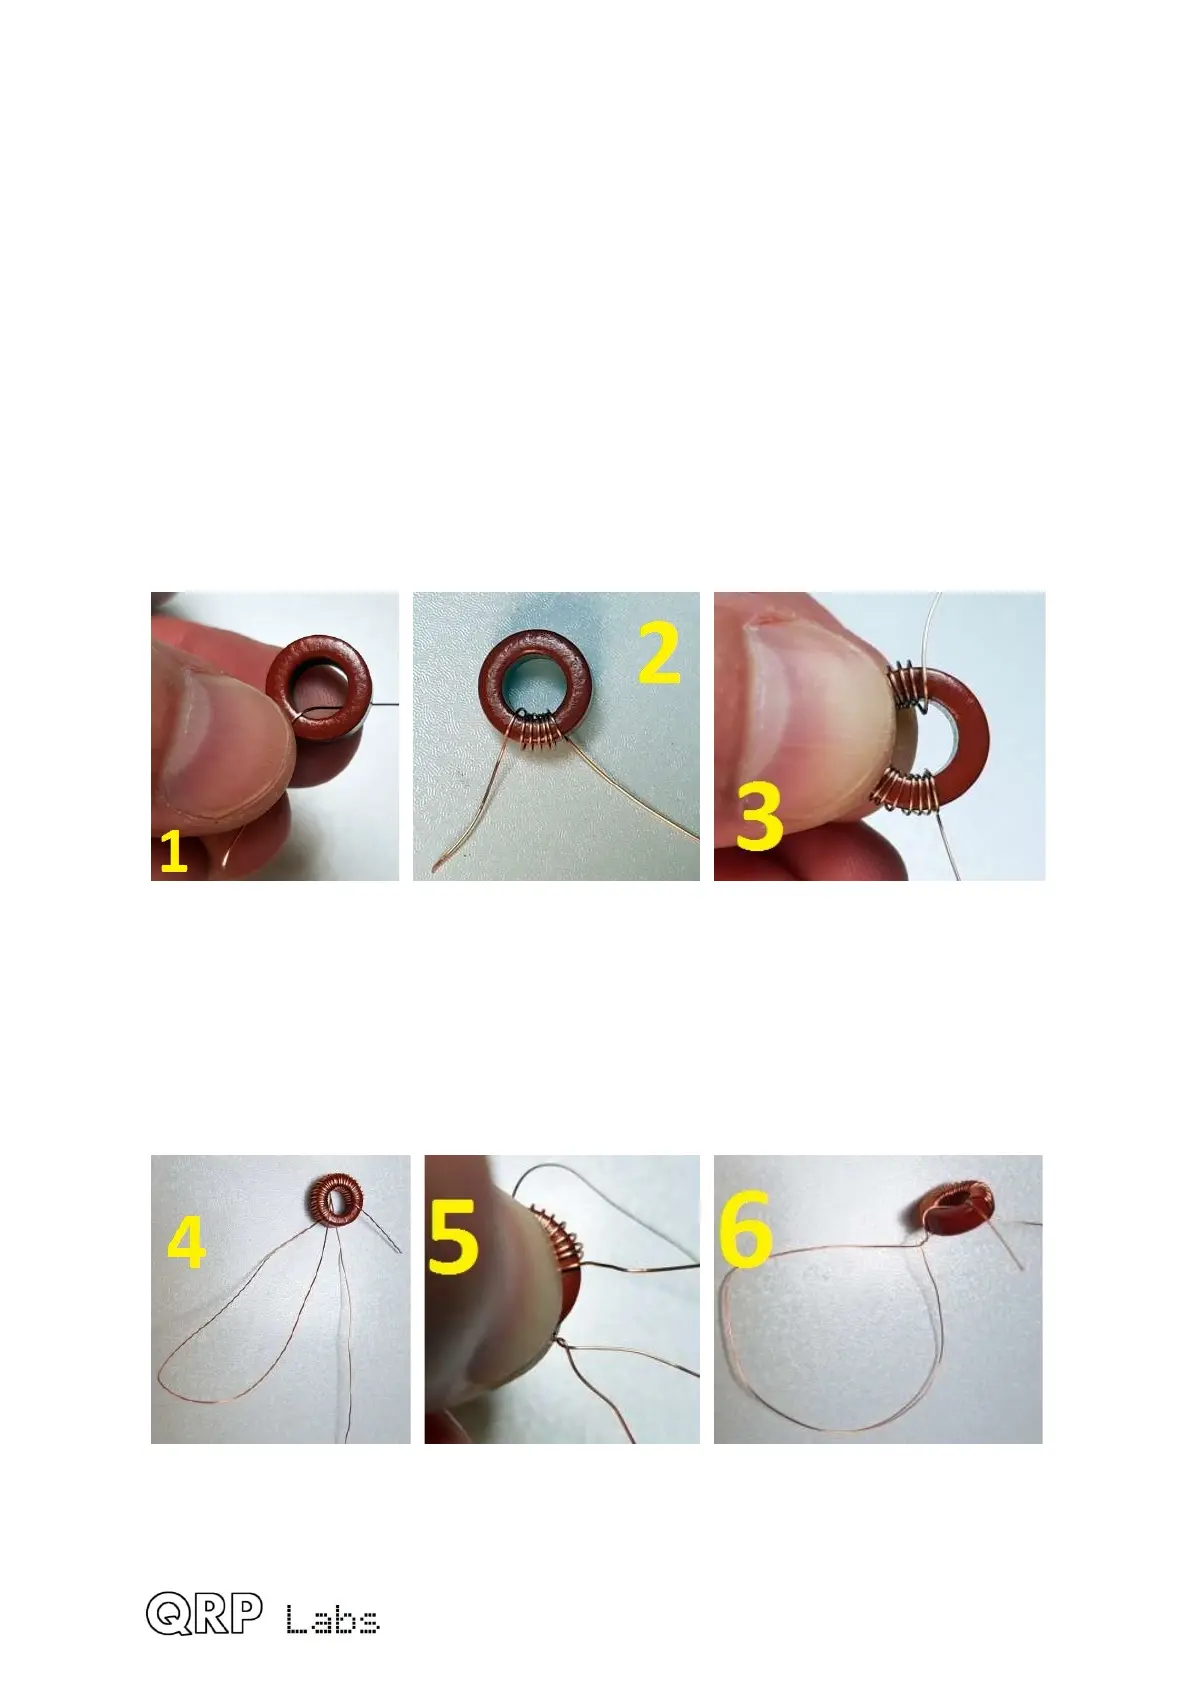
7) Do the same thing for two more loops, which are between the 43rd and 44th turns,
and 48th and 49th turns respectively. It is easy to lose count. An easy way is after
step 6, pass the wire through the hole 5 more times, and on the 5th one, make a
loop. Similarly count five more and make a loop on the fifth. Then finally five more
turns to complete the toroid’s 53 windings. Count the windings to make sure you
have 53. When you are sure everything is fine, cut the wire leaving about 3cm of
wire free at the end.
8) Thread the original start of your winding (from step 1) into hole 2 in the diagram.
Thread the final end of your winding (from step 7) into hole 6
9) Twist these two wires under the board to keep the toroid in place while you deal with
the remaining wires.
10)Now cut the 3rd loop (the one nearest the end of the winding work), and un-twist the
twisted section you made near the toroid body.
11)When you cut the loop, you therefore created two wires. One of these came over the
top of the toroid, and you can easily verify that this is the one which has five turns
through the toroid then passes through hole 6. So, insert this wire into hole 5. Once
again to be clear: you should now have a winding of five turns (which is labeled
“secondary 1”, above), with one end inserted into hole 6 and one end inserted into
hole 5.
The other wire came from UNDER the toroid. You must push this wire towards the
toroid and pull it out through the center hole of the toroid. Now thread it through hole
4.
Under the board, twist the two new ends of wire together to keep them in place.
26
 Loading...

