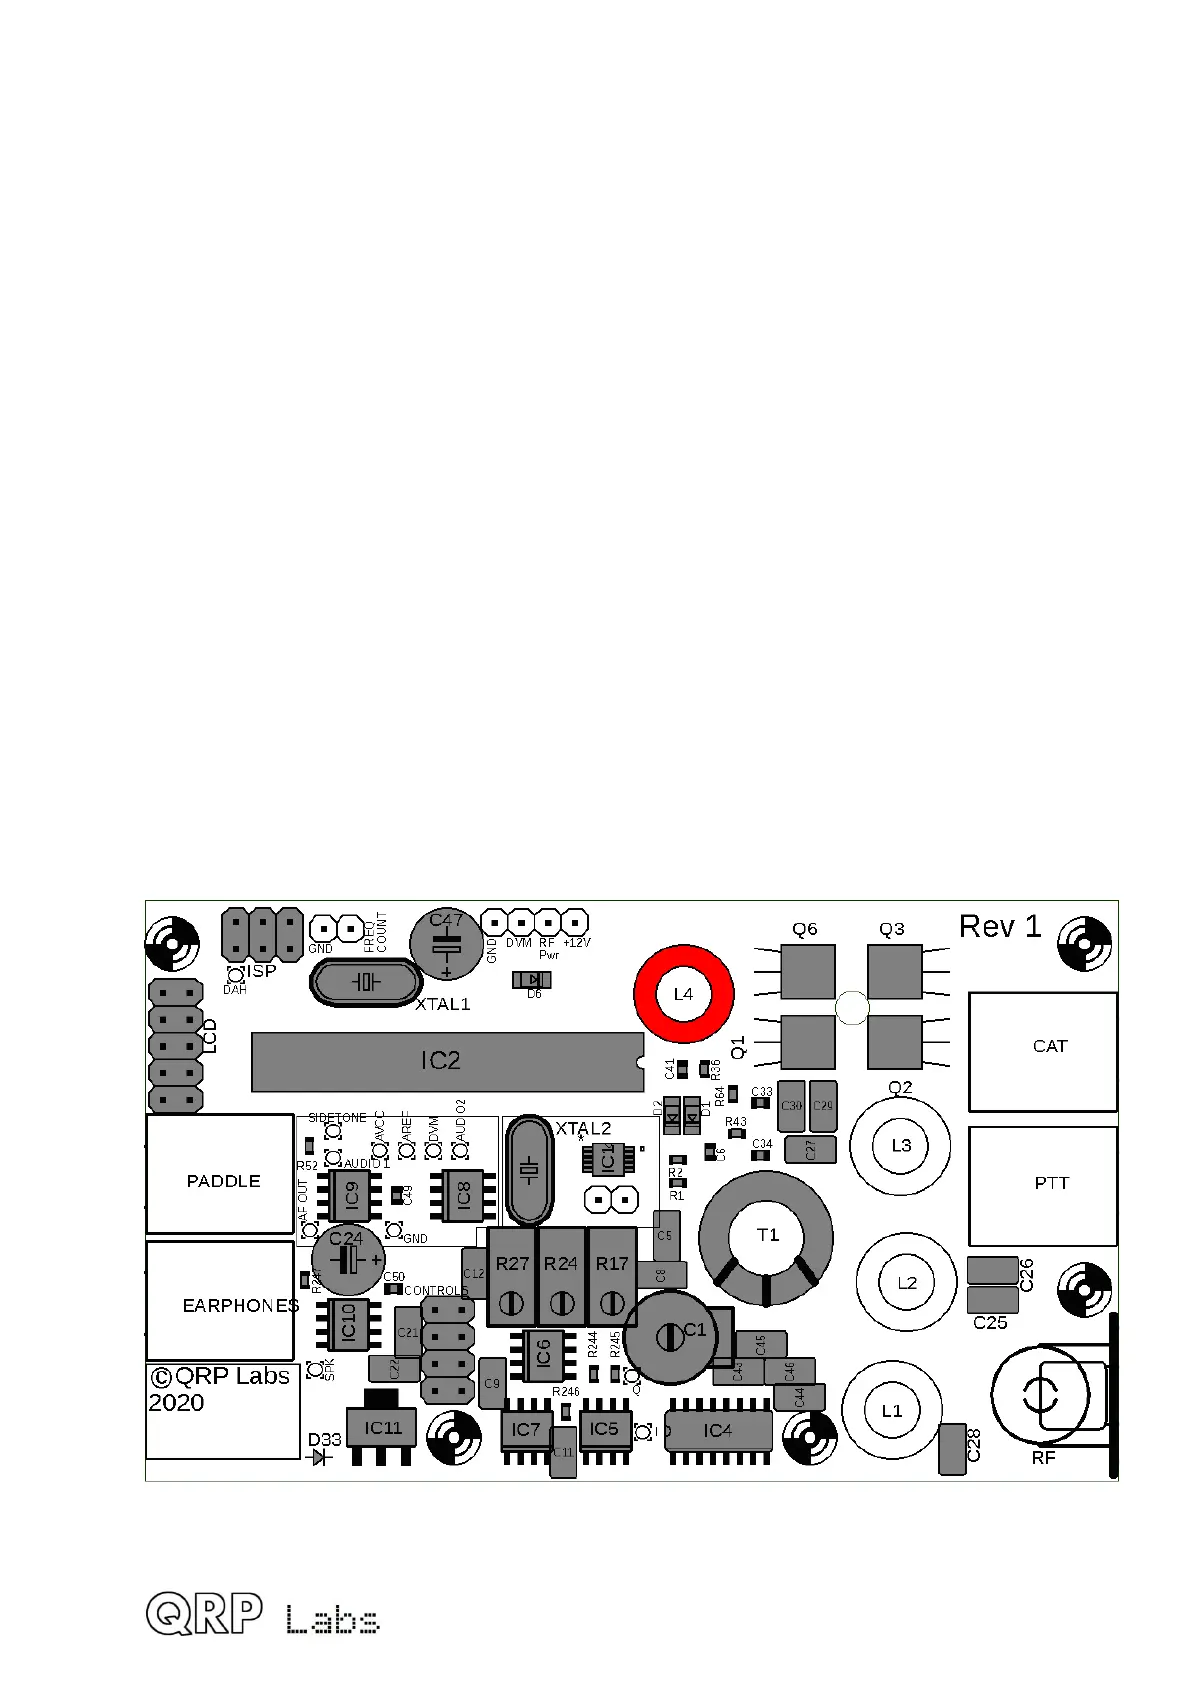
EasyManuals Logo

QRP Labs QCX-mini Assembly Instructions

Default Icon
121 pages
To Next Page IconTo Next Page
To Previous Page IconTo Previous Page
Page #51 background imageLoading...
Page #51 background image
the toroid! This is the number 1 cause of problems with QRP Labs kit construction:
failure to remove the wire enamel.
One method of removing the wire enamel is to scrape it off at the ends, either with
sandpaper, or carefully scratching with a knife or wire cutters. However, my favourite
method is just to burn off the enamel. For quite a number of years, the type of enamel used
on copper wire can be burnt off using the temperature available from an ordinary soldering
iron, immersing the wire in a blob of solder. (This was not the case, with much older wire
found in vintage valve/tube equipment). You could also use a cigarette lighter to burn off the
enamel.
Insert the ends of the wires into the correct holes of the PCB and pull it through tight, so
that the toroid sits secure and flat on the PCB.
Bend the wires over so that the toroid does not fall out while you are trying to solder the
wires. Cut off the excess wire using wire cutters, leaving only about 2mm protruding
through the PCB on the lower side. Now apply solder quite generously from the soldering
iron. Hold the soldering iron to the joint for a few seconds – I usually count to 10 slowly –
and the solder will surround the wire, which will become hot enough to burn off the enamel.
You can sometimes see a small puff of smoke when the enamel burns off.
Carefully inspect the soldered joints with a magnifying glass to make sure that the wire is
correctly soldered. If it looks like the solder hasn’t flowed nicely and adhered to the wire,
then this is usually a sign that the enamel probably hasn’t been burnt off.
If you have a DVM it is a good idea to check for DC electrical continuity (zero ohms
resistance) between the two ends of the wire. If you do NOT have a DVM and if the
radio doesn’t work, then we can use the built-in test equipment later, to trace the fault.
 51

Table of Contents

Other manuals for QRP Labs QCX-mini

Questions and Answers:

Question and Answer IconNeed help?

Do you have a question about the QRP Labs QCX-mini and is the answer not in the manual?

QRP Labs QCX-mini Specifications

General IconGeneral
BrandQRP Labs
ModelQCX-mini
CategoryTransceiver
LanguageEnglish

Related product manuals