13
Appendix A
Installing and Removing Covers
To remove cover:
1) Open the enclosure completely and provide adequate support to keep the cover from being damaged dur-
ing disassembly.
2) Using a hammer and screwdriver, gently tap on the end of the hinge pin nearest the middle of the enclosure
(closed end) so that the pin becomes unseated at the other end (approx. 1/4”)
3) Using pliers, grasp the opposite end (flattened) of the hinge pin and pull completely out. Repeat steps 1
and 2 to remove the second hinge pin.
To install new cover
4) Assemble hinge pins to the cover by inserting the round end of the pin into the hinge core in the cover. You
may need to use a hammer to gently tap the pin into place. Repeat this for the second pin.
5) Align the cover with the base in the open position.
6) Using a small hammer, gently tap the hinge pin into the corresponding hole in the base until the end of the
pin is fully seated and flush with the cover surface. Repeat this step for the second hinge pin.
Changing out the latches
7) Remove existing latch by gently tapping the latch off the dovetail on the side of the enclosure.
8) Assemble the new latch by sliding the latch base onto the corresponding dovetail on the enclosure base
UNTIL COMPLETELY SEATED
. Repeat steps 7 & 8 for the other latches.
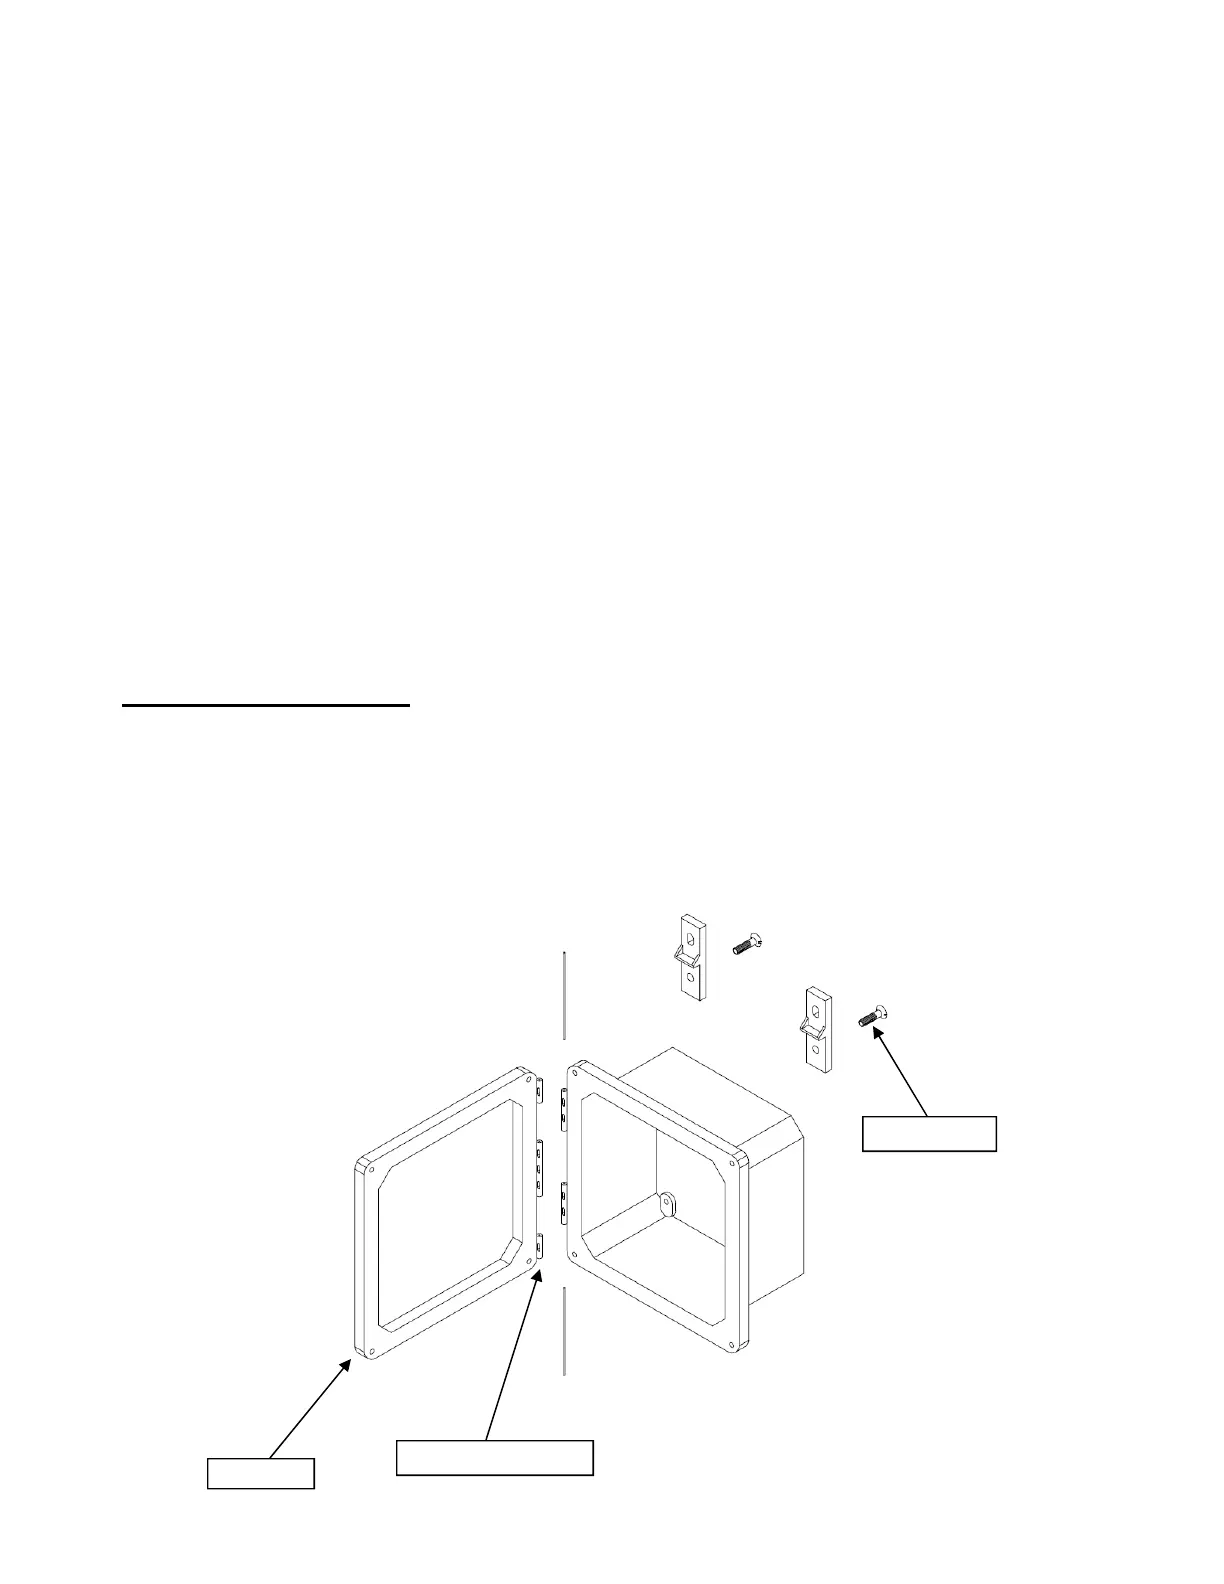
Adding Mounting Feet
9) Place mounting foot on the back side of enclosure so that the countersink hole is directly over the brass
insert.
10) Using a screw driver and the #10-32 x 7/16” flat head screw, tighten the mounting foot to the enclosure.
Torque to approximately 25 in-lbs. Repeat steps 9 and 10 for the remaining mounting feet.
Step 1
Steps 2, 3, 4, 5 & 6
Steps 9 & 10