Step 3: Enter into mask area setup interface: Enable the check
box beside “Privacy Mask” item, you can press [EDIT] key to change
the flag into “9”, and active “Area” button. Move “Active Frame” to
“Area” button on the right side of mask check box, press [ENTER] key
to enter into mask area setup interface.
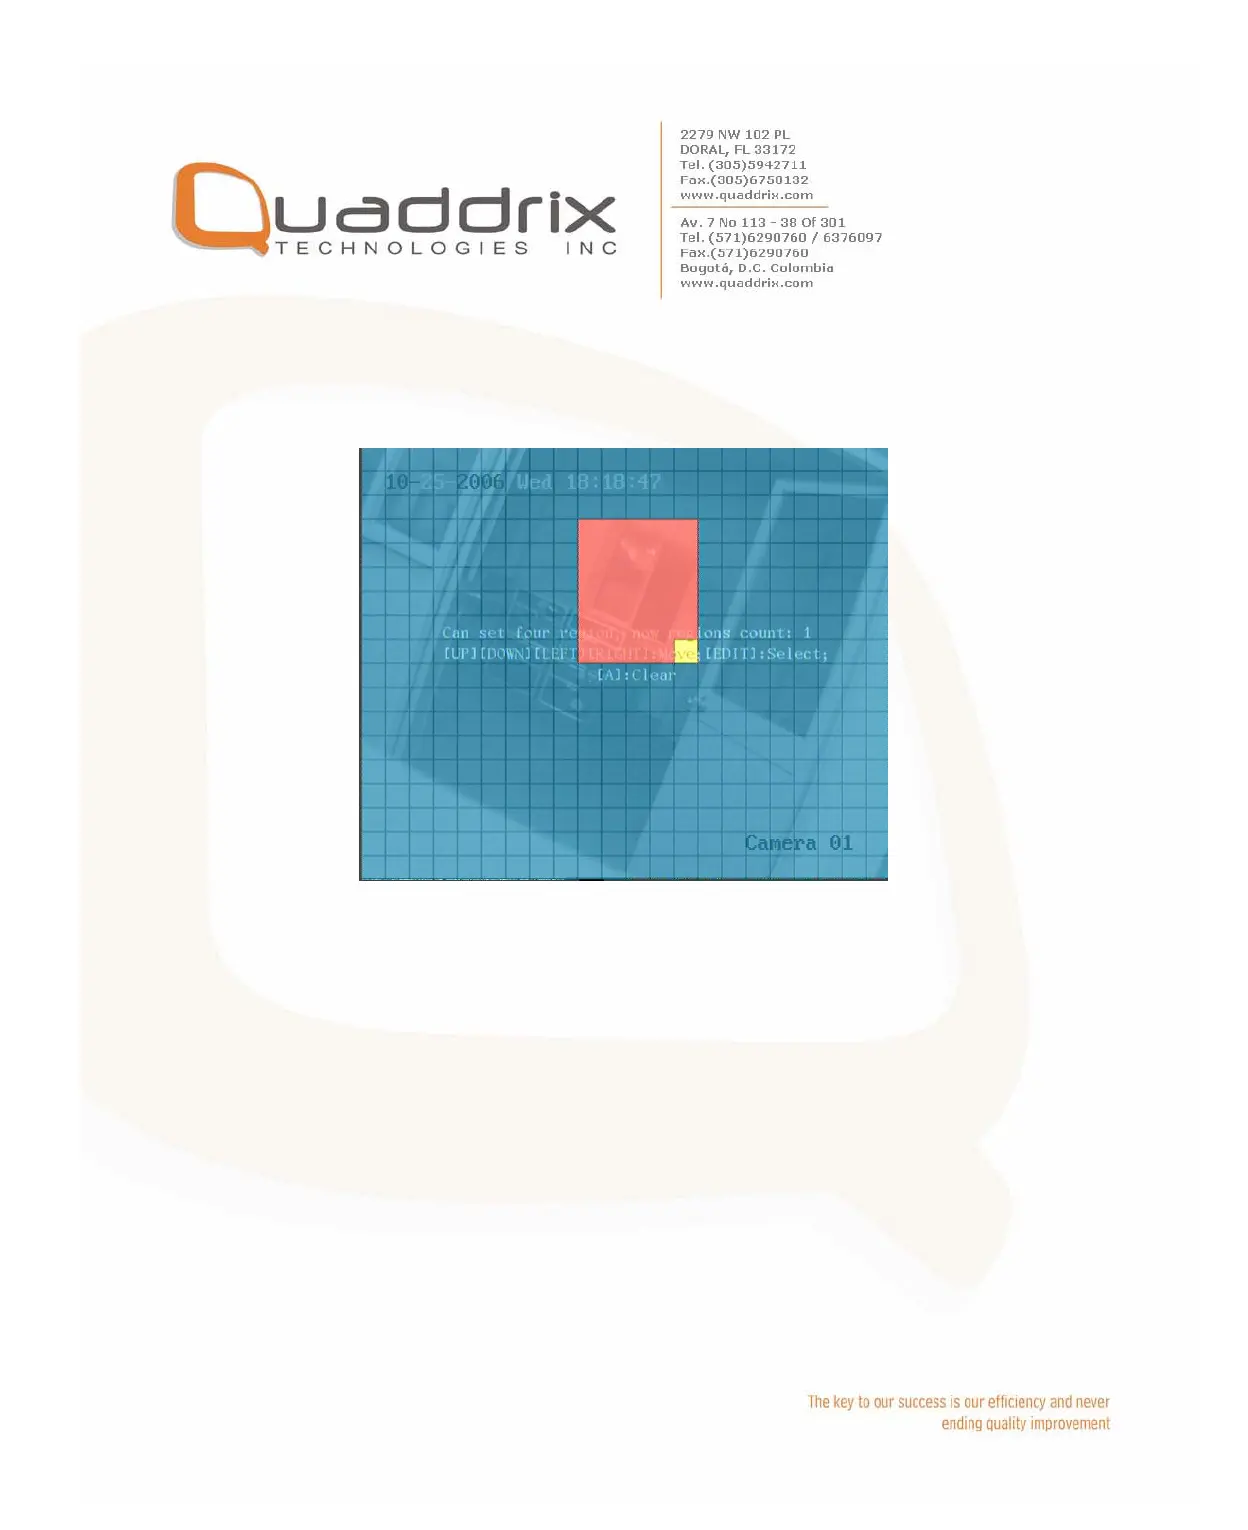
Step 4: Setup mask area: In the mask area setup interface, there is
one small yellow pane on the upper left side. For PAL camera, the
whole screen is divided into 22*18 panes (22*15 for NTSC), you can
use [Ç] [È] [Å] [Æ] keys to move the yellow pane to your hope
position and press [EDIT] key, the yellow pane will be turned into red,
then you can use [Ç] [È] [Å] [Æ] keys to extend the red pane. This
red area is the mask area.
After you make sure the red mask area, press [EDIT] key to save the
mask area. Press [ESC] key to cancel the mask area. The maximum
mask area size is 8*8 panes and the minimum size is only one pane.
You can setup 4 mask areas at most.
After you finish setup, press [ENTER] key to return “Image Setup”
menu. You can press [A] key to clear all mask areas.
Step 5: Save mask area: You can repeat step2, step3 and step4 to
setup mask area for other cameras. In “Image Setup” menu, press
 Loading...