Do you have a question about the QualGear QG-KIT-CA-3IN-B and is the answer not in the manual?
Emphasizes reading instructions, using qualified personnel, proper installation, and avoiding overtightening screws.
Specifies indoor use only and adherence to weight limits for safety and warranty.
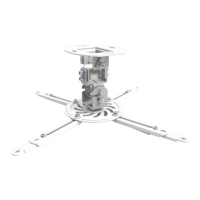
Lists all components included in the projector mounting kit for verification before installation.
Details the various screws, anchors, washers, and Allen keys provided for assembly.
Instructions for finding stud edges, marking the centerline, and locating mounting points using a template.
Guidance on drilling pilot holes to the specified depth and diameter for secure mounting.
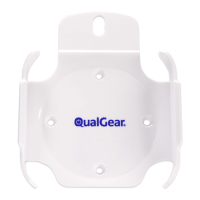
Steps for aligning the adapter plate with drilled holes and securing it with screws and washers.
Procedure for marking ceiling locations using the wall marking template for concrete mounting.
Instructions for drilling holes and inserting metal expansion anchors for concrete ceiling installation.
Details on aligning the adapter plate with anchors and tightening nuts and washers securely.
Connecting the NPT pipe to the adapter plate and concealing it with the decorative cover.
Twisting the NPT pipe into the projector plate and securing it with set screws.
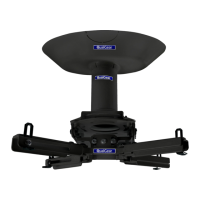
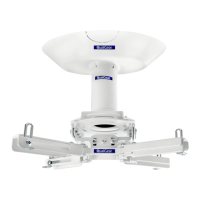
Guide on adjusting projector mount extension brackets for optimal fit with different projectors.
Instructions for attaching the projector mount to the projector using appropriate screws and washers.
| Color | Black |
|---|---|
| Weight Capacity | 30 lbs |
| Mounting Pattern | Universal |
| Mounting Type | Ceiling |
| Product Type | Ceiling Mount Kit |
| Compatibility | Projector |
| Dimensions | 3 inches |