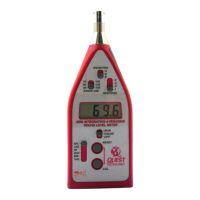
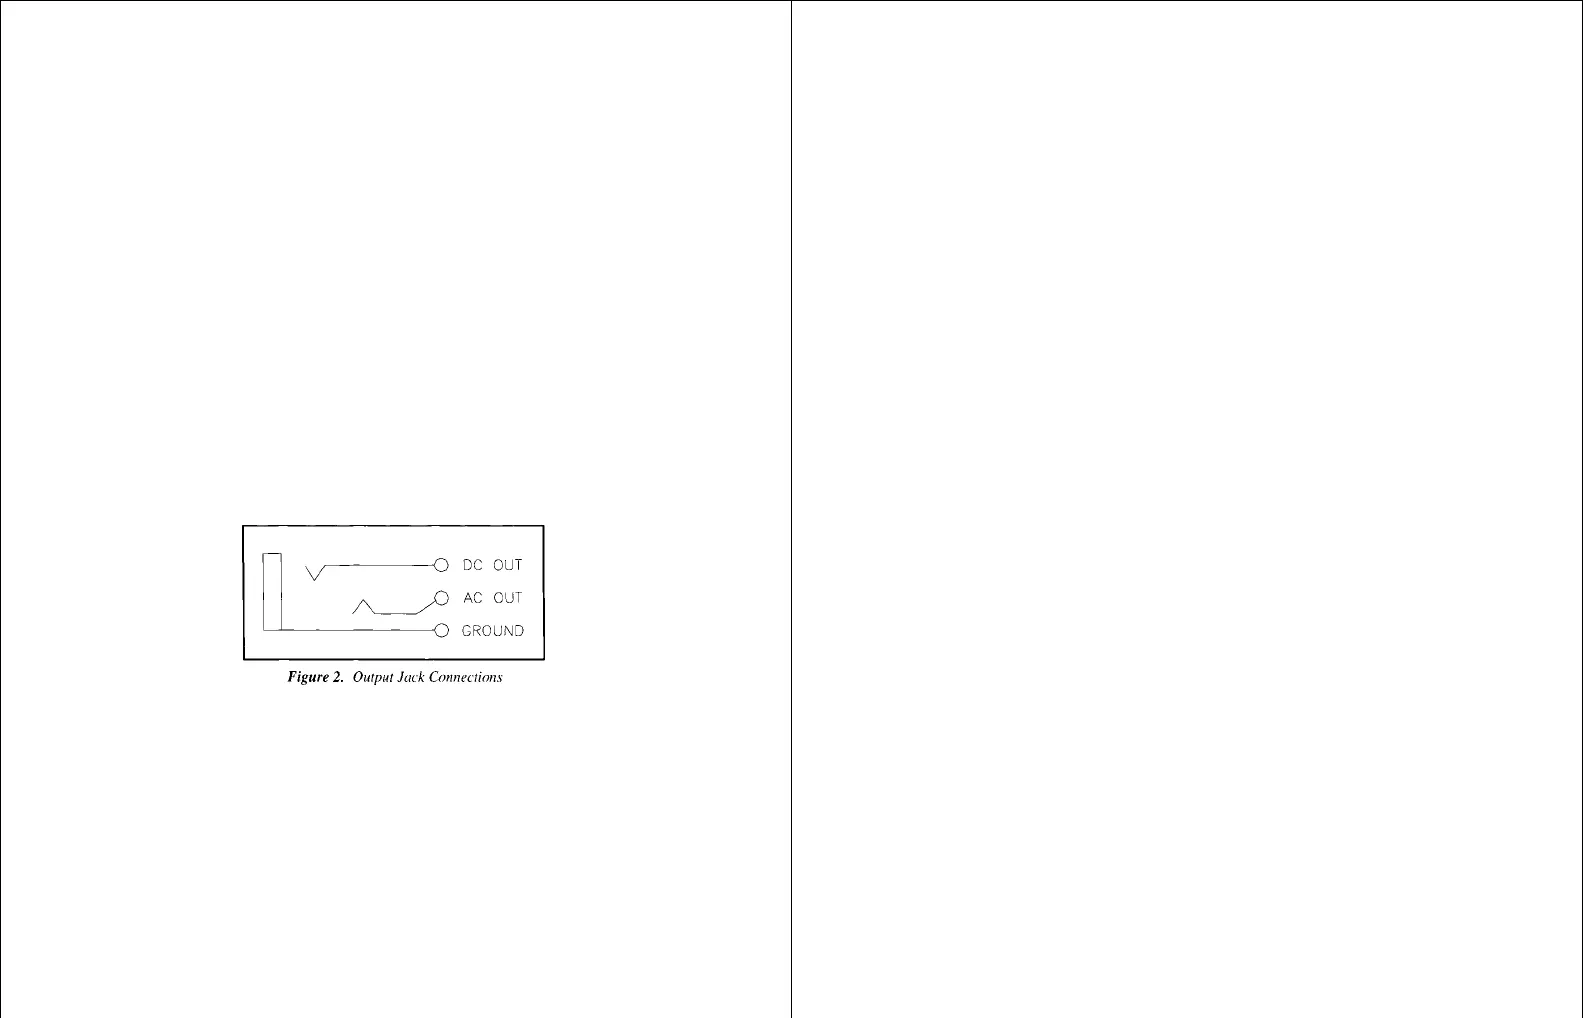
2.3 Output Jack:
The model 1200 provides an output jack on the bottom of the meter for
measuring the weighted AC signal before the rms/log detector and the DC
output of that detector. Both signals are real time, i.e. LEQ is not
represented at the DC output. This jack may be connected to any load
without affecting the operation of the meter. Connection to low impedance
loads will require correction for the 1 Kohm impedance of these outputs and
will also decrease battery life.
The output jack takes a 3.5mm stereo plug. (See Figure 2, Output Jack
Connections.)
2.3.1 DC Output Function:
The SPL or PEAK level over the range selected is linearly represented by a
DC output. The output changes 16.7mV/dB or 1V/60dB. This output is
provided for connecting a 0 to 1 volt span data recorder. (See section 4.4
Data Recording)
2.3.2 AC Output Function:
This jack provides the amplified, frequency weighted AC signal at the input
of the RMS detector.
3. METER INTEGRITY
3.1 Power On and Battery Check:
Set the OFF/PAUSE/RUN switch to either the PAUSE or RUN position as
desired. At any time, other than initial turn-on, if the LOBAT indicator is
displayed, the user must replace the battery. A 9 Volt Alkaline battery is
recommended for best performance.
3.1.1 Battery Replacement:
Slide the battery door to the left to open the battery compartment. Refer to
the sticker inside the compartment for proper battery orientation.
3.1.2 Rechargeable Batteries:
Nicad type rechargeable (9V batteries (such as Radio Shack® 23-299 7.2 V,
120 mAh) and an appropriate charger may be used with the 1200. The fact
that nicad 9 V replacement cells typically operate at 7.2 V will be observed
as shorter battery life (approximately 8 hours with Radio Shack® 23-299).
At the appearance of the LOB AT indicator the nicad battery must be
recharged.
NiMH (Nickel-Metal-Hydride) batteries are NOT recommended. This is
due to the excessive discharge of the typical NiMH cell prior to the voltage
dropping low enough to activate the LOBAT indicator.
3.2 Setup:
NOTE: There may be times when it is necessary to change the Exchange
Rate or Calibration Level that is stored in the meter. Both of these items are
accessible during the power-up sequence.
The power-up sequence is as follows:
1. All display segments turned on for 2 seconds.
2. The meter firmware revision 'rX.X' for 2 seconds.
3. The current Exchange Rate or Doubling Rate 'Er3' or 'Er5' for 3
seconds.
4. The current Calibration Level for 3 seconds.
3.2.1 Changing the Exchange Rate:
Turn on the meter.
When 'Er3' or 'Er5' appears in the display, press both the CAL and RESET
button simultaneously until dashes are displayed.