True to the Music
Radial Engineering PRO DI User Guide
3
MAKING CONNECTIONS
Using the Radial PRO DI is easy. Before connecting, start by making sure all volume levels are set to zero and the audio
system is turned off. This will avoid any loud pops in your sound system that could cause system damage. The PRO DI
does not require any power and it will ignore the phantom power from your mixer, if it is turned on.
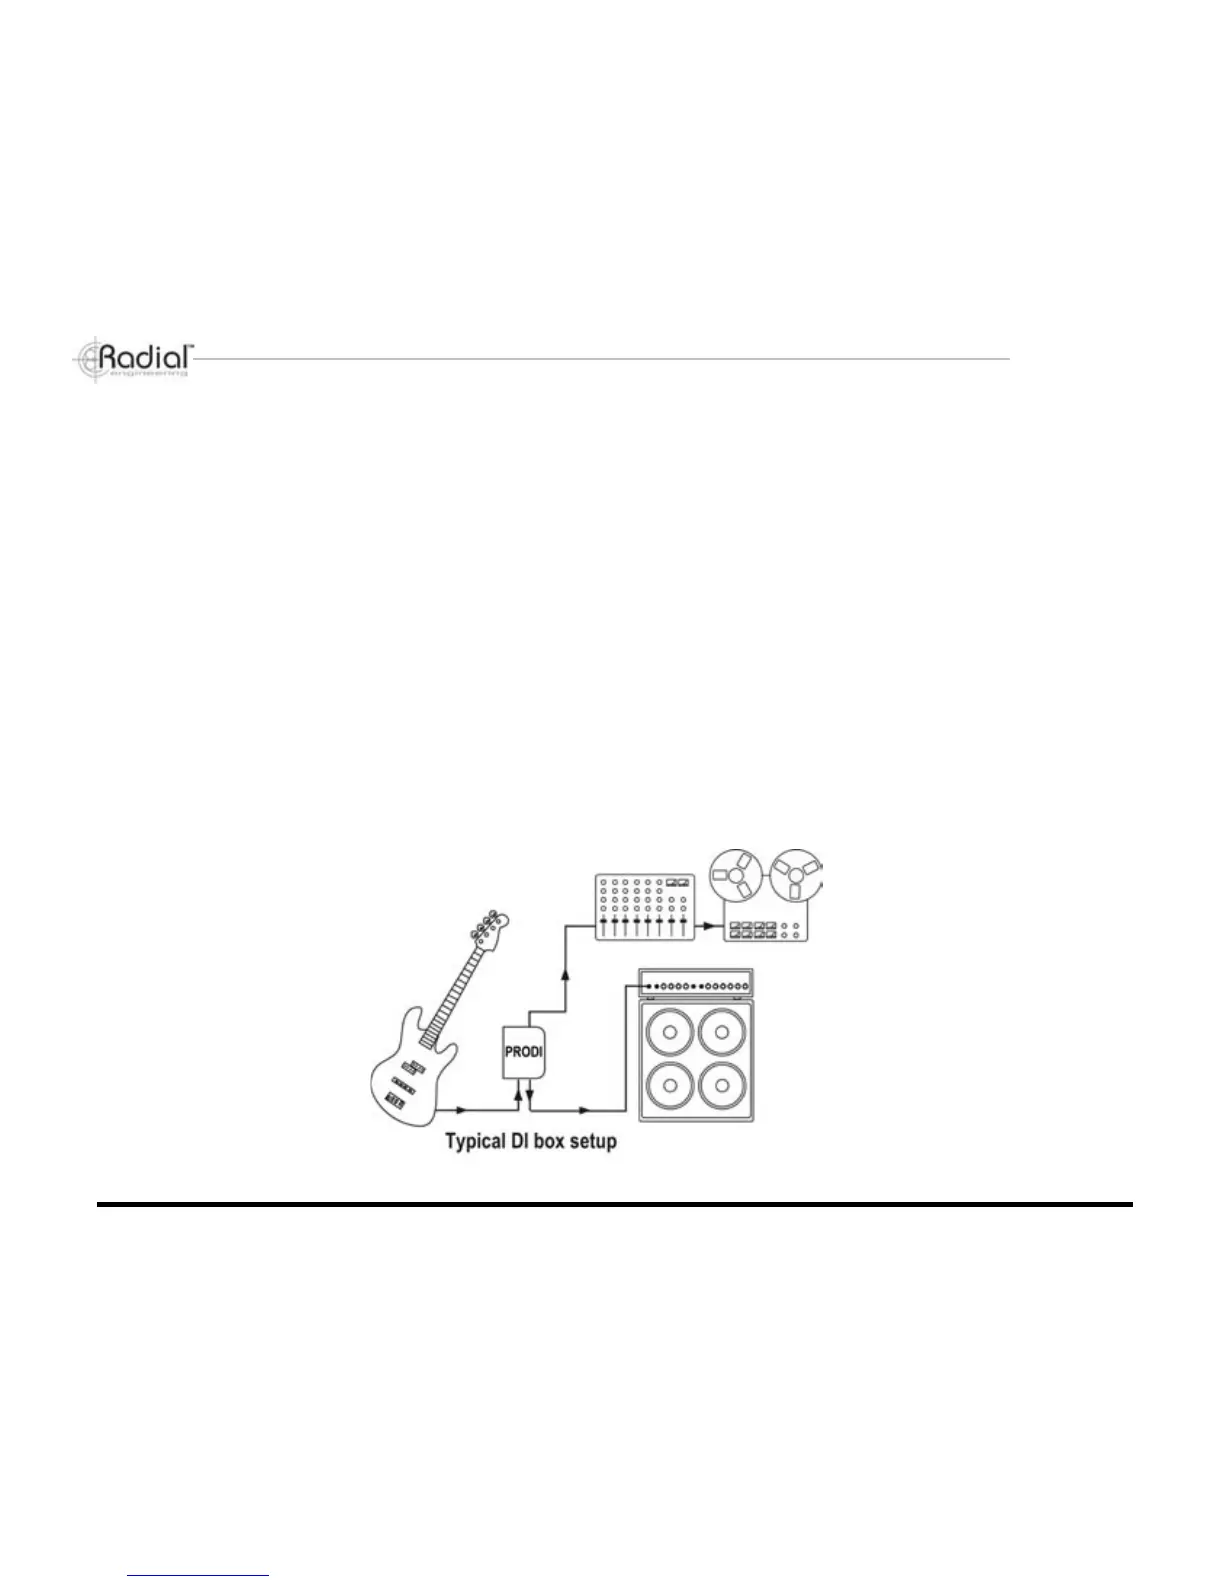
Begin by connecting the instrument or source device to the INPUT connector on the PRO DI. The THRU connector would
be used to connect the signal from the instrument to the musician’s stage amplifier. For line-level sources, the THRU con-
nector may be used to feed a second mixer, recorder, or monitor speaker.
Finally, connect the PRO DI’s LOW-Z OUT to the microphone input of a mixing console or other suitable device. Often the
PRO DI’s output will connect through a microphone snake system to a mixing console.
Once your cables are connected, you can turn your system on and turn the volume up. Start at a low volume to make sure
everything is working properly. If you encounter any buzz or hum, try lifting the ground switch on the PRO DI. If you hear
any distortion, check the input at your mixer first and then, if your input controls appear normal, try depressing the input
PAD switch on the PRO DI. This will reduce the input level by -15dB and eliminate distortion caused by ultra-high output
sources. After depressing the PAD switch, the mixer input controls may have to be readjusted.