M
Megan MontgomeryAug 4, 2025
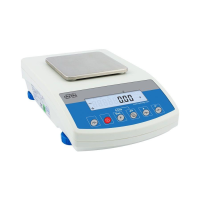
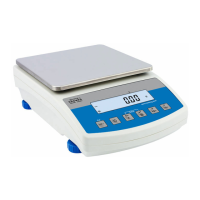
What to do if my RADWAG WLC Scales fail to start?
- CChristina RayAug 4, 2025
If your RADWAG Scales fail to start, there are several possible causes: * The power supply may be disconnected. Connect the power supply to the scale. * The battery may be discharged. Connect the power supply to the mains to charge the battery. * There might be no battery installed, or it might be installed incorrectly. Check if the battery is installed correctly, paying attention to the polarization.