flow; clockwise turns decrease flow. Close the valve before
making large flow adjustments, then activate the valve to
fine tune flow adjustments. Good adjustment practice,
when not intentionally trying to limit the flow, is to turn the
flow control stem (from the full up position) clockwise until
resistance is felt on the flow control stem handle.
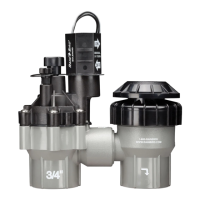
10. If necessary, install Rain Bird’s pressure regulating module
PRS-B according to the installation manual.
2
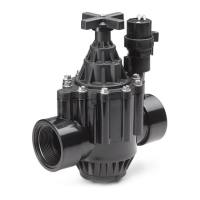
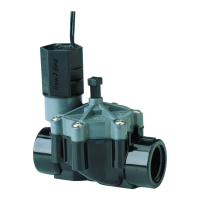
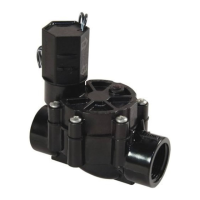
Internal Bleed
Handle
Controller Wires
Flow Control
Handle
Inlet
(Globe)
Inlet
(Angle)
Outlet
PRS-B Module
Accessory