Pro3 Series 3D Printer
/ User Manual
F. Hardware Installation
After removing the starter box, keep following the start-up wizard to finish the network
connection, printer settings and RaiseCloud settings.
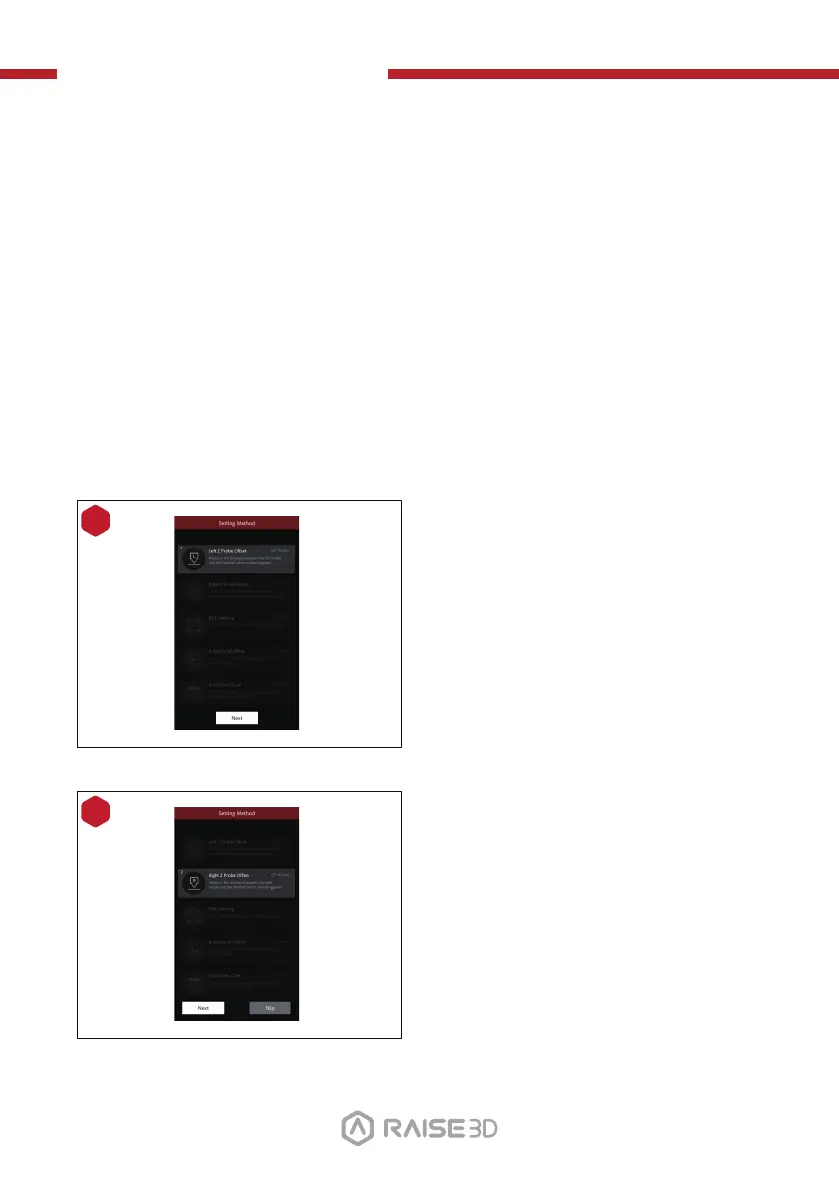
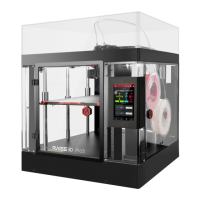
After the start-up wizard, the printer will carry out 5-steps Offset Calibration, and the
whole process takes about 1 hour.
Calibrating the offset value of the printer can increase the printing success rate. Offset
Calibration includes Left Z Probe Offset, Right Z Probe Offset, Bed Leveling, R-Nozzle
XY Offset and Dual-Color Cube. The calibration process also includes loading the
filament. After all calibrations are completed by following the instructions on
Raisetouch, subsequent printing can be performed.
NOTE: Once all the basic settings are completed, a window introducing EVE will pop
up. Please follow it to move to the next step.
8
Adjust the distance between the left
nozzle and the build plate. If one corner
of the bottom plate is a few millimeters
higher or lower than the other corner,
this gap can be compensated by
calibration.
9
Adjust the distance between the right
nozzle and the build plate.
17