30
INSTALLATION
Check the appliance is electrically safe and gas sound when you have nished.
Final Fitting
Fitting the Plinth
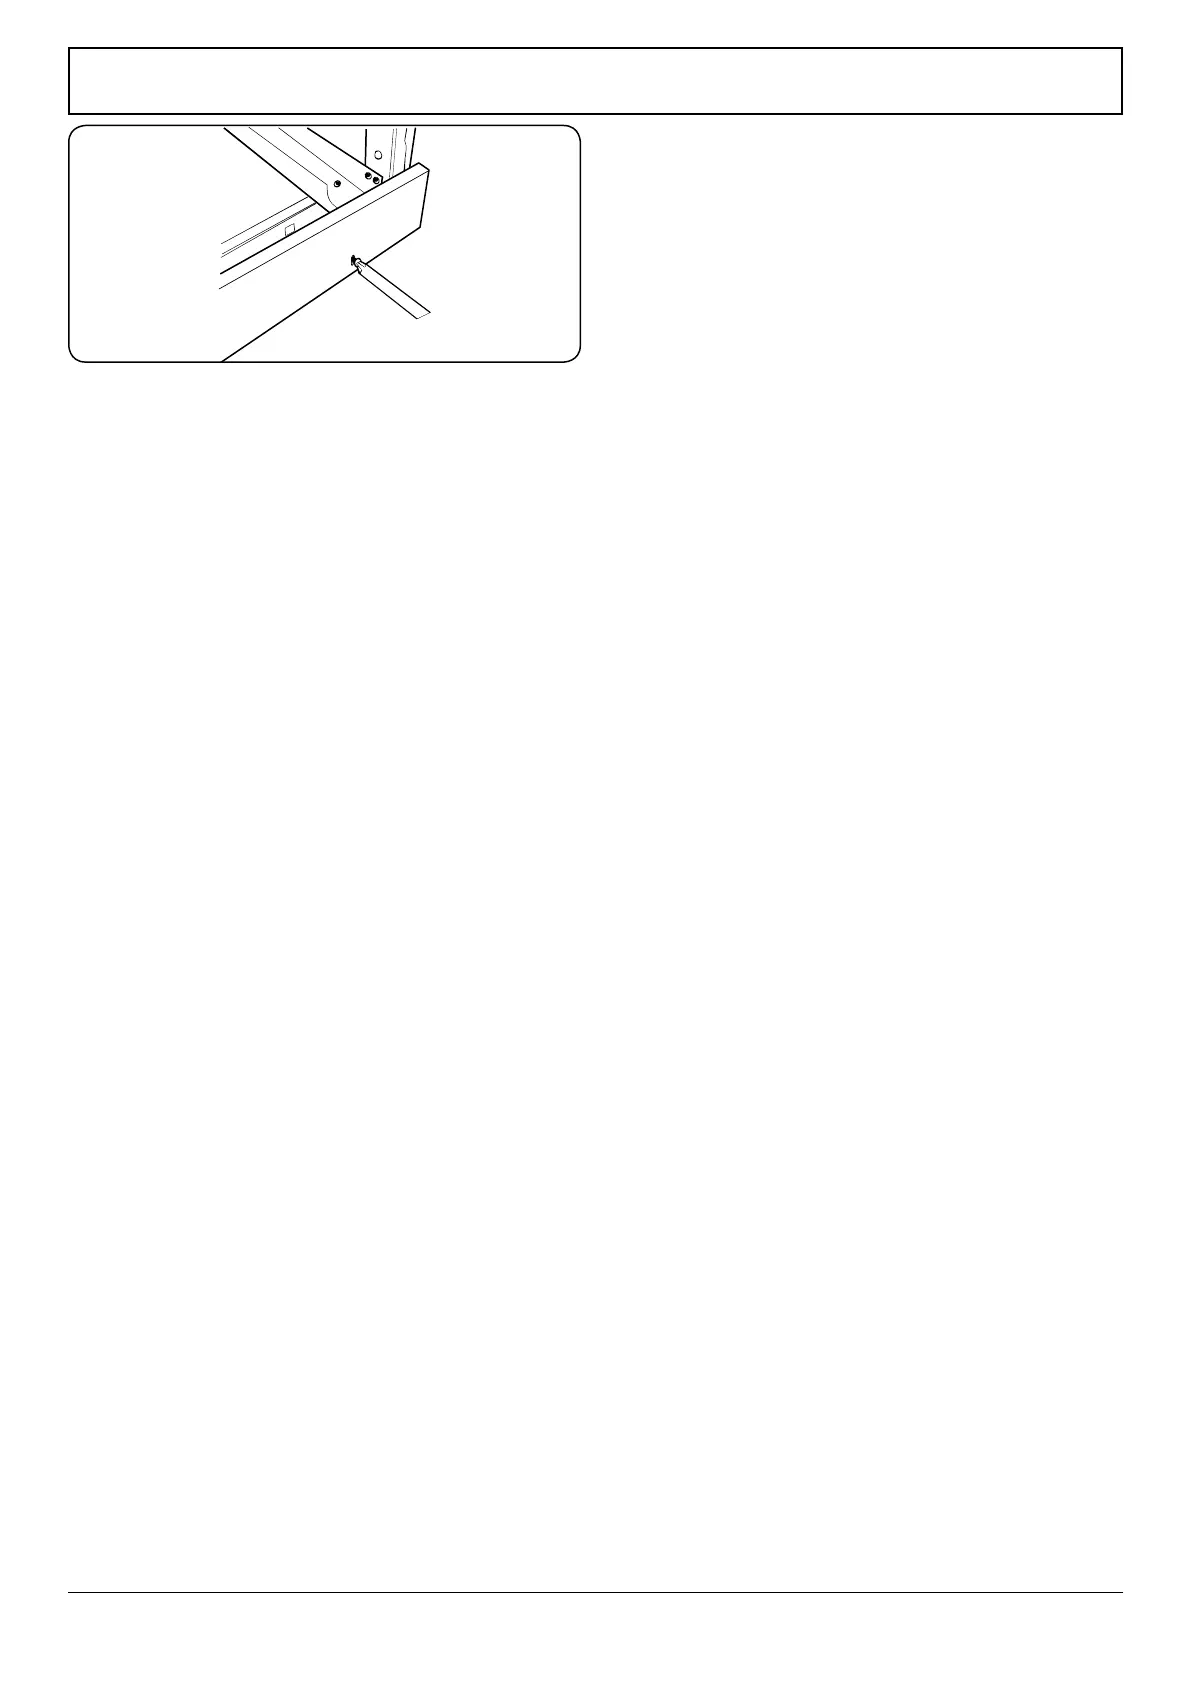
Loosen the 3 screws along the front bottom edge of the
cooker. Hook the central keyhole over the central screw. Twist
and t each end keyhole over their respective screws. Tighten
the xing screws (Fig. 8.16).
Customer Care
Installer: Please complete your details in this guide, inform
the user how to operate the cooker and hand over the
instructions.
Thank you.
ArtNo.281-0026 - Front plinth
Fig. 8.16
 Loading...