Handheld touch radio initialization
In order to operate correctly, the handheld set should be interfaced with the electronic board installed inside the stove. For this
reason, on display appears the following message:
If the handheld set is used for the rst time, select YES using the selection keys and conrm with the dedicated key.
On the display of the handheld set appears the following:
Hold down for a few seconds the button of radio communication (RADIO ADJ) of the PCB, located on the back of the stove, to
initialize the device.
The ashing yellow LED indicates that the circuit board is waiting to receive the signal from the handheld set.
By pressing the enter key on the handheld set, the components start communicating with each other. A check sign on the display,
accompanied by a sound signal, shows that the initialization of the handheld set has been completed sucessfully .
When you replace the batteries, you do not have to run the initialization procedure of the handheld set. In this case, when
on display appears the message “FIRST INSTALLATION ?”, select NO and press the conrmation key.
Description of the display
The display of the handheld set is described below (in stand-by mode):
After 5 minutes of inactivity, the display of the handheld set turns dark, switching to “SLEEP” mode, while maintaining the
radio connection with the stove. By pressing the key ON/OFF, the display becomes active again.
The rst pressure of any key with the display active, lights up its backlight, but it is not, however ,
considered a command.
The display is subdivided into three parts:
1. It shows the current room temperature measured by the handheld set. Moreover, if you press the DOWN scroll key you will
display the temperature settings that can be changed using the two UP/DOWN keys. Any change made is conrmed automatically
within 3 seconds from the change or by pressing the conrmation key. A sound signal indicates that the change has been con-
rmed.
In the inactive phases (combined with the 3rd part of the display) indicates the state of the stove.
In the active phases, it indicates the operating power of the stove.
In addition, by pressing the DOWN scroll button, you can display the power settings, that can be edited using the two scroll
keys
UP/DOWN: The conrmation of any change takes place automatically within 3 seconds from the change or by pressing the con-
rmation key. A sound signal indicates that the change has been conrmed.
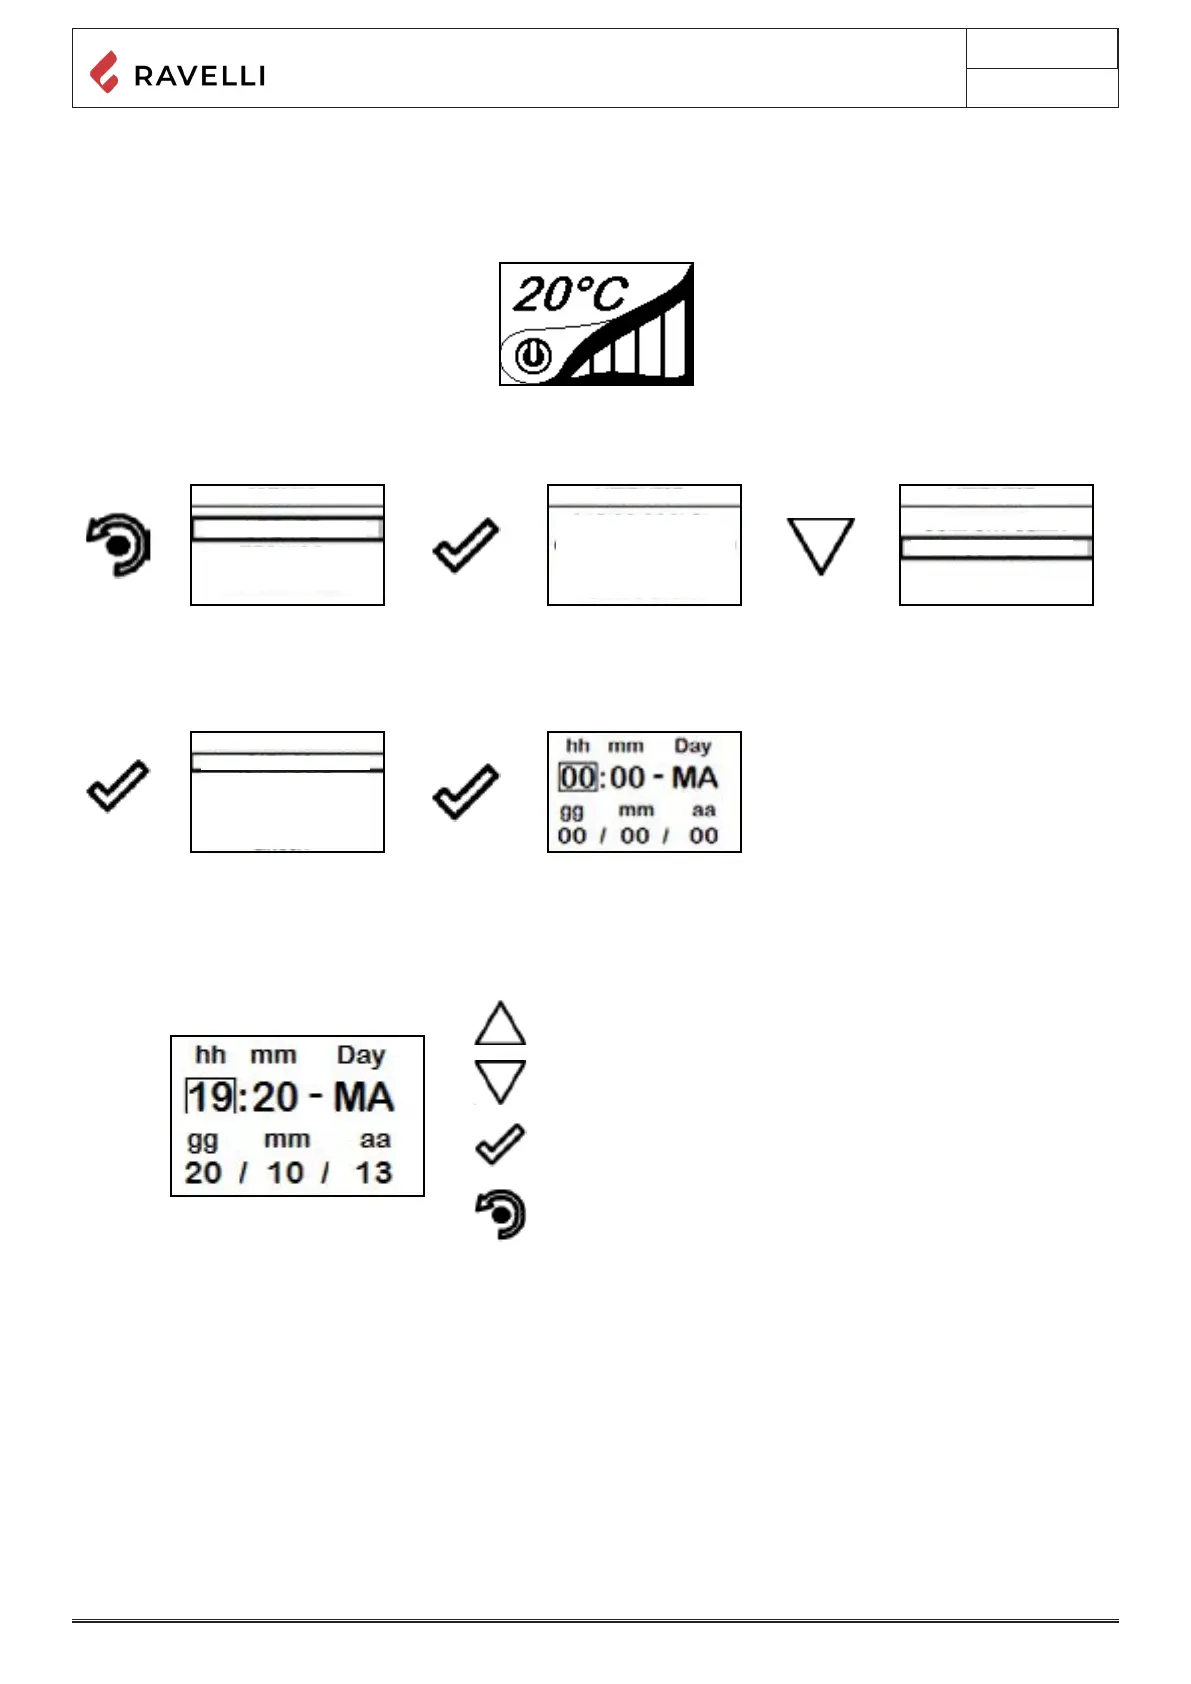
Time and date setting
Below are given the steps for accessing the relative menu.
SETTINGS.
value.
the stand-by page.
2- Icon indicating the status of the stove (see synthetic phase diagrams).
3- In the inactive phases (combined with the second part of the display) indicates the state of the stove. In the active phases, it
indicates the operating power of the stove. In addition, by pressing the DOWN scroll button, you can display the power settings, that