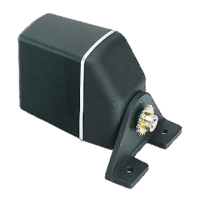
5.1Surfacemounting
Theunitcanbemountedonasurfacethatisupto
28mm(1.10in)thick,approximately.Tomountona
thickersurfacelongerstudswillberequired.
1.Ensuringcorrectorientation,afxthesupplied
mountingtemplatetothemountingsurfaceatthe
desiredlocation.
2.Drill3xxingholesand1xcableholeusingdrill
bitsofthesizeindicatedonthetemplate.
3.Placethewaterproofgasketintopositiononthe
undersideofthereceiver.
4.Connectthesuppliedcabletoanavailable
SeaTalk
ng
spurconnection.
5.Routetheotherendofthecablethroughthe
cableholeandconnecttotheunit.
6.Screwthethreadedstudsintotheunderside
ofthereceiverunit(theseshouldbehand-tight
only).
7.Positiontheunitsothatthemountingstudspass
throughtheholesinthemountingsurface.
8.Securetheunittothemountingsurfaceusingthe
thumbnutsprovided.(theseshouldbehand-tight
only).
5.2Polemounting
TheunitcanbemountedusingtheoptionalPole
MountAdaptor(A80370).
PolemountingrequiresaPolewitha1inch14TPI
thread:
1.AttachthePoleMountAdaptortothetopofthe
pole.
2.Feedthesuppliedcablethrougheither:
•2a)thecenterofthePoleMountAdaptorand
Pole,or
•2b)thecableexithole.
3.Connectthesuppliedcabletoanavailable
SeaTalk
ng
spurconnectionandthenconnectthe
otherendofthecabletotheconnectoronthe
unitandsecureusingthelockingcollar.
4.Ensuringcorrectorientation,Securetheunit
tothePoleMountAdaptorusingthexings
provided.
5.Fixtheunit’sorientationbytighteningthegrub
screwsprovided.
Note:ThePoleMountAdaptormayalsobeused
torailmounttheunitusinga3rdpartyrailclamp
witha1inch14TPIthread.
24
RS150Installationinstructions

 Loading...