Install Battery
CAUTION: DO NOT allow direct metal
contact across battery posts.
Install Factory Battery
1. Reinstall the positive cable and then the
negative cable.
2. Insert T bracket through lower slots in hold-
down brackets.
3. Tighten hex nut securing right hold-down
bracket to frame.
4. Return hood to operating position.
Install U1 Battery
1. Reinstall the positive cable and then the
negative able.
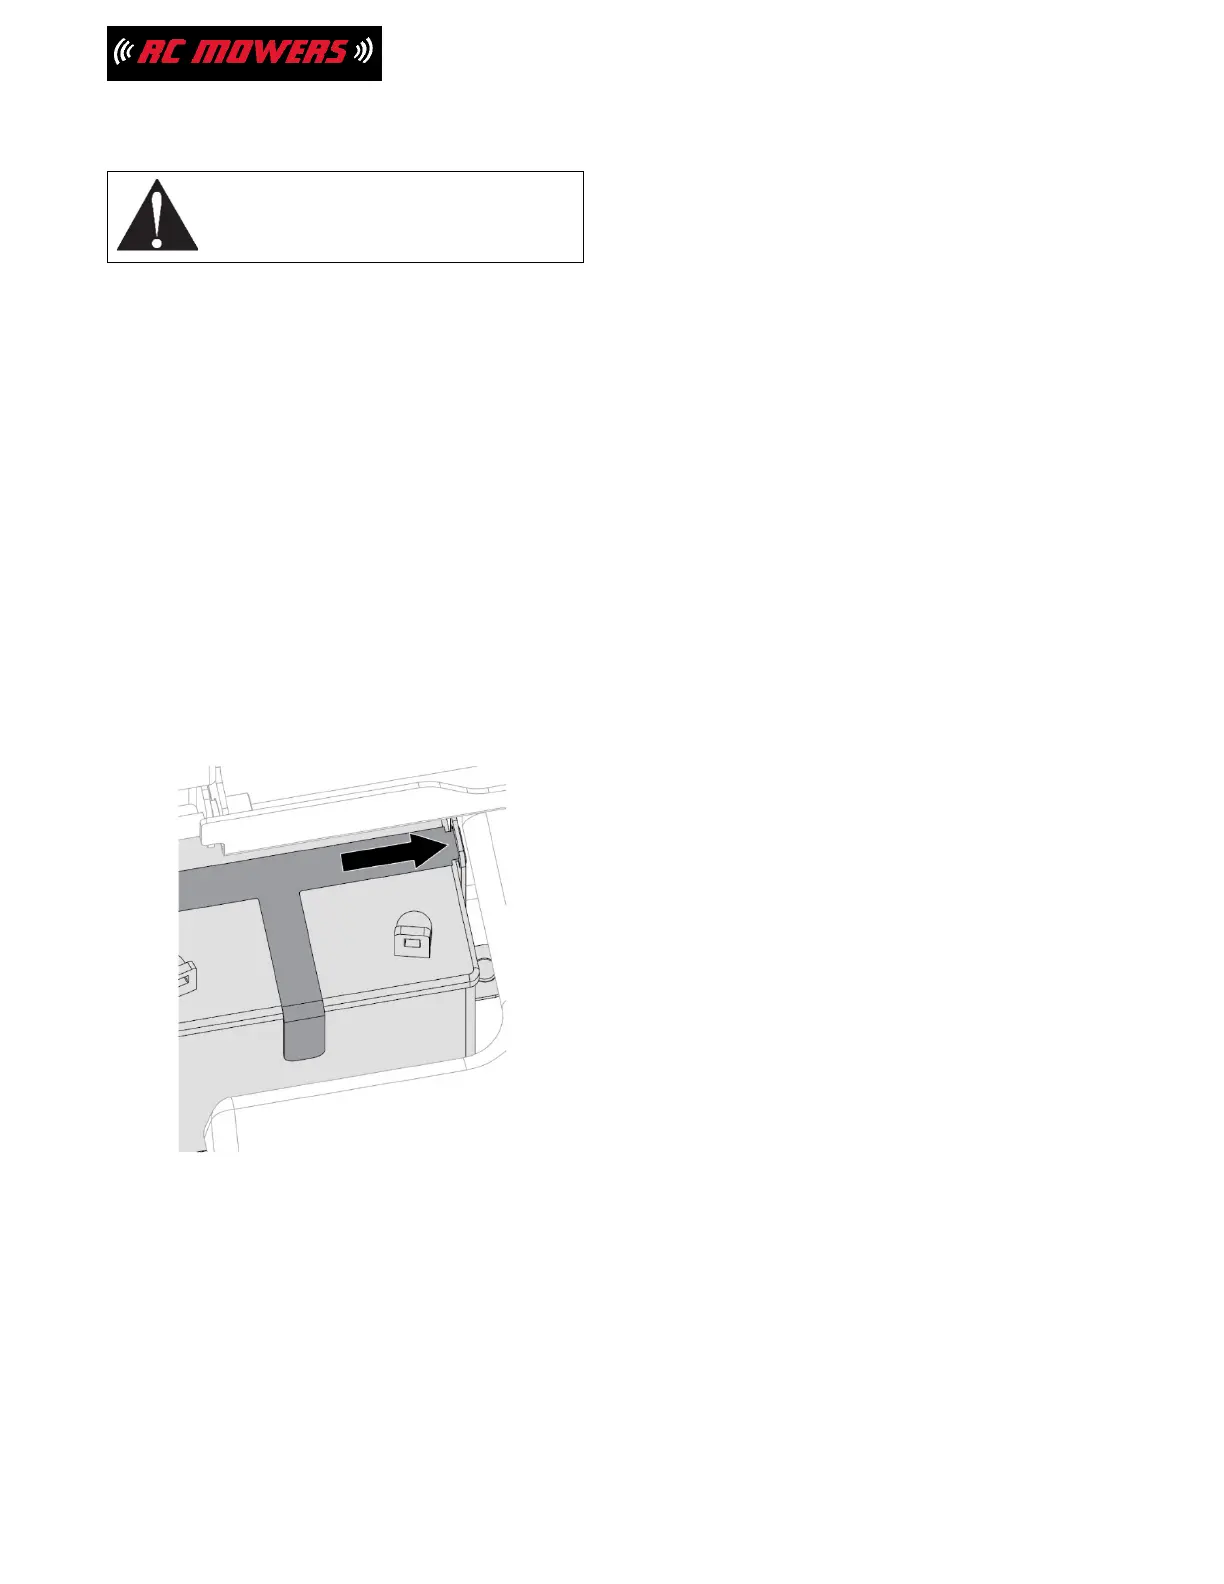
2. Insert T bracket through upper slots in hold-
down brackets. (See Figure 18.)
3. Tighten hex nut securing right hold-down
bracket to frame.
4. Return hood to operating position.
Figure 18
CHARGE BATTERY
Check battery with a voltmeter. If battery is less than
11 volts, charge battery.
NOTICE: DO NOT fast charge. Charging at a higher
rate damages or destroys battery. ONLY use an
automatic charger designed for use with your battery.
NOTICE: Always follow information provided
on
battery by battery manufacturer. Contact
battery
manufacturer for details regarding
charging.
1. Remove battery from unit. See Remove
Battery on page 20.
2. Place battery on bench in a well-ventilated
area.
3. Connect positive lead of charger to
positive
terminal.
4. Connect negative lead of charger to
negative terminal.
5. Charge battery following battery
manufacturer’s instructions.
6. Reinstall battery. See Install Battery on
page 21.
Jump Starting
RC Mowers does not recommend jump-starting
your
unit. Jump-starting can damage engine
and control
system components. Damage is more likely when
battery is faulty or missing. Refer to engine manual
for details.
CHECK MOWER BELTS
Check belts for wear and replace as needed.
CHECK HYDRAULIC SYSTEM
Check Hydraulic Oil Level
See Figure 19.
1. Place unit in service position. See Service
Position on page 17.
2. Check oil level in expansion tanks. Oil
should reach the cold fill indicator mark.
IMPORTANT: Engine should be cold when
checking initial oil level.
3. Operate engine for 1 minute and recheck oil
levels.
4. Add hydraulic oil, if needed.
a. Remove expansion tank
caps.
b. Fill expansion tanks with 15W-50
synthetic motor oil (or equivalent) until oil
reaches the cold fill indicator mark. (See
Figure 18.)
c. Reinstall expansion tank caps.
21
 Loading...