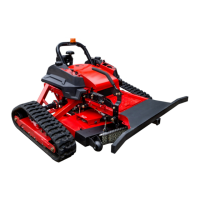
Figure 36
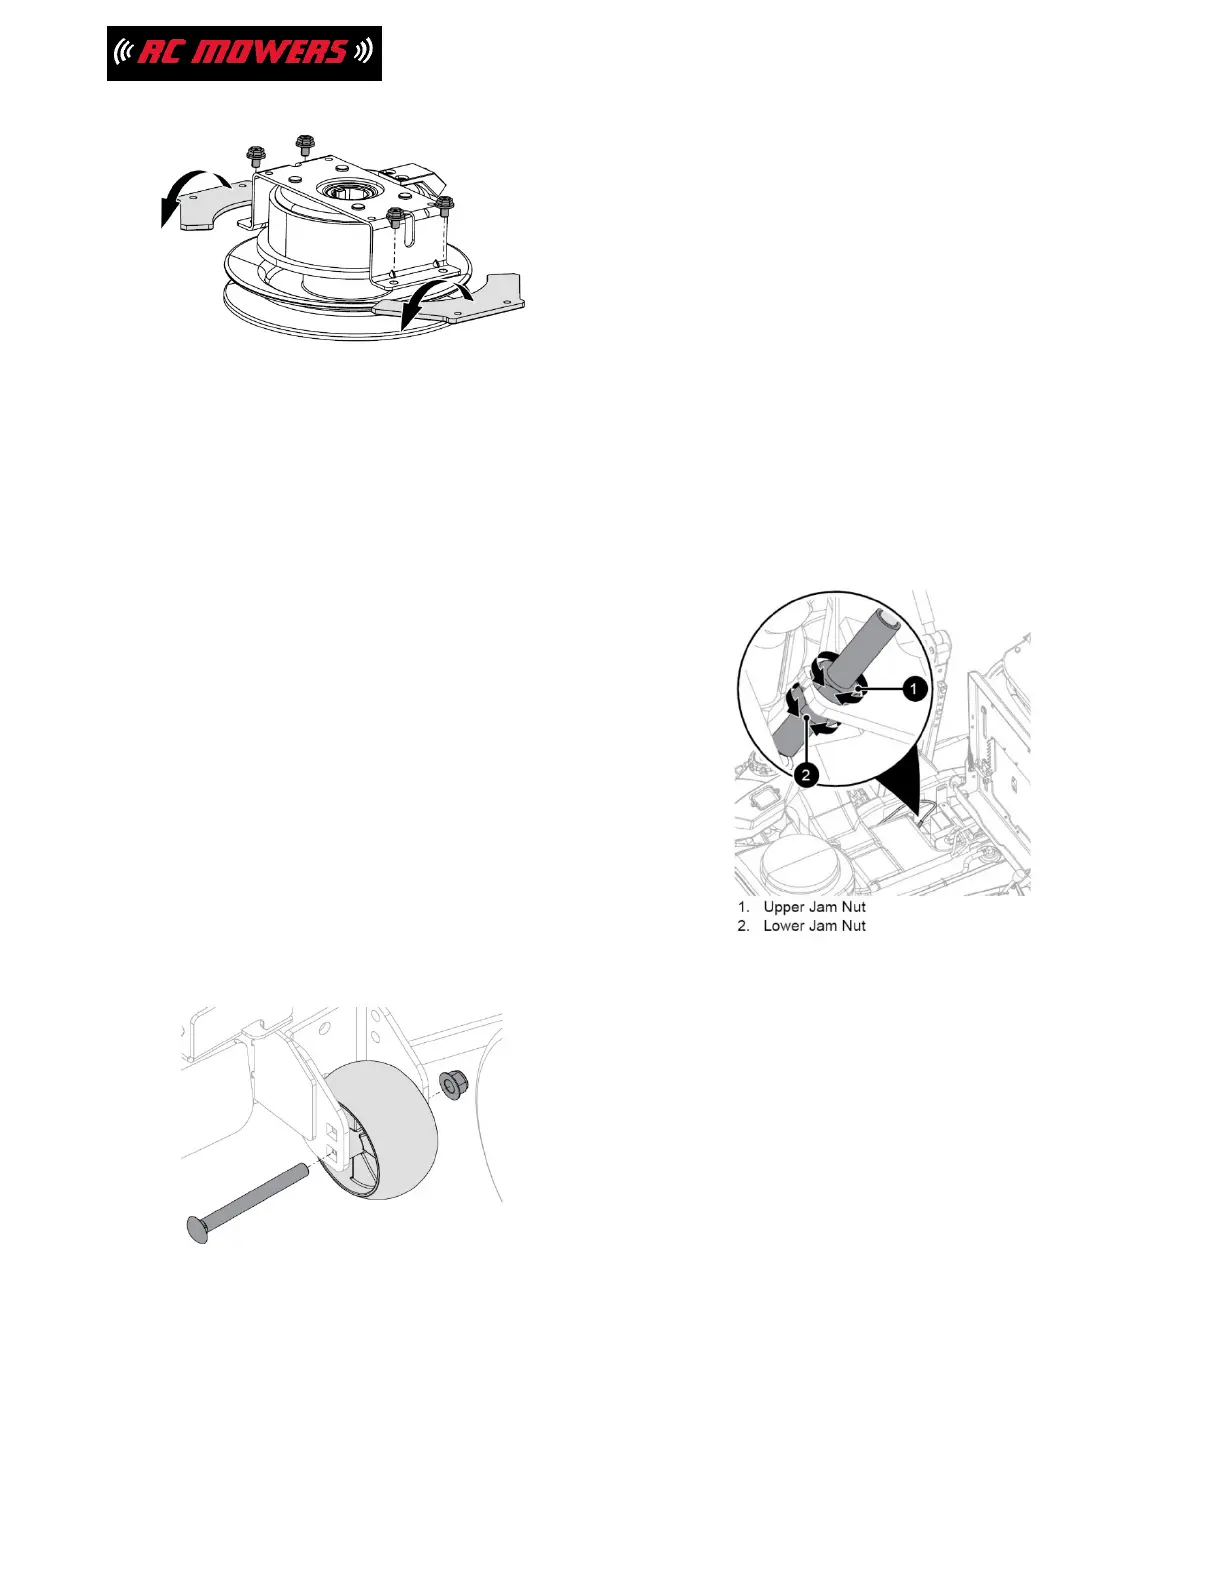
ADJUST ANTI-SCALP WHEELS
See Figure 37.
The anti-scalp wheels are set at the factory
for
typical mowing height, but can be adjusted
for high
or low cutting conditions.
IMPORTANT: All anti-scalp wheels MUST be
set to
the same height.
1. Stop engine, remove key and wait for
moving parts to stop and for hot parts to
cool.
2. Remove hardware securing anti-scalp
wheels to deck and remove wheels.
3. Position wheels as necessary:
•
For a very high cutting height, set the
anti-scalp wheels in the lowest position
on the bracket.
•
For a very low cutting height, set the
anti-scalp wheels in the highest position
on the bracket.
4. Secure with original hardware.
Figure 37
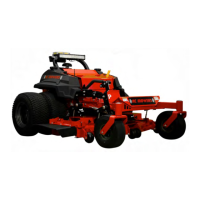
ADJUST PARKING BRAKE LEVER
See Figure 38.
1. Place unit in service position. See Service
Position on page 17.
2. Loosen jam nuts on cable adjustment barrel.
3. Adjust cable tension.
•
To increase lever response, loosen the
upper jam nut and tighten the lower jam
nut until both jam nuts are tight against
the cable bracket.
•
To decrease lever sensitivity, loosen the
lower jam nut and tighten the upper jam
nut until both jam nuts are tight against
the cable bracket.
4. Check parking brake and readjust if
necessary. See Check Parking Brake on
page 18.
Figure 38
28
 Loading...