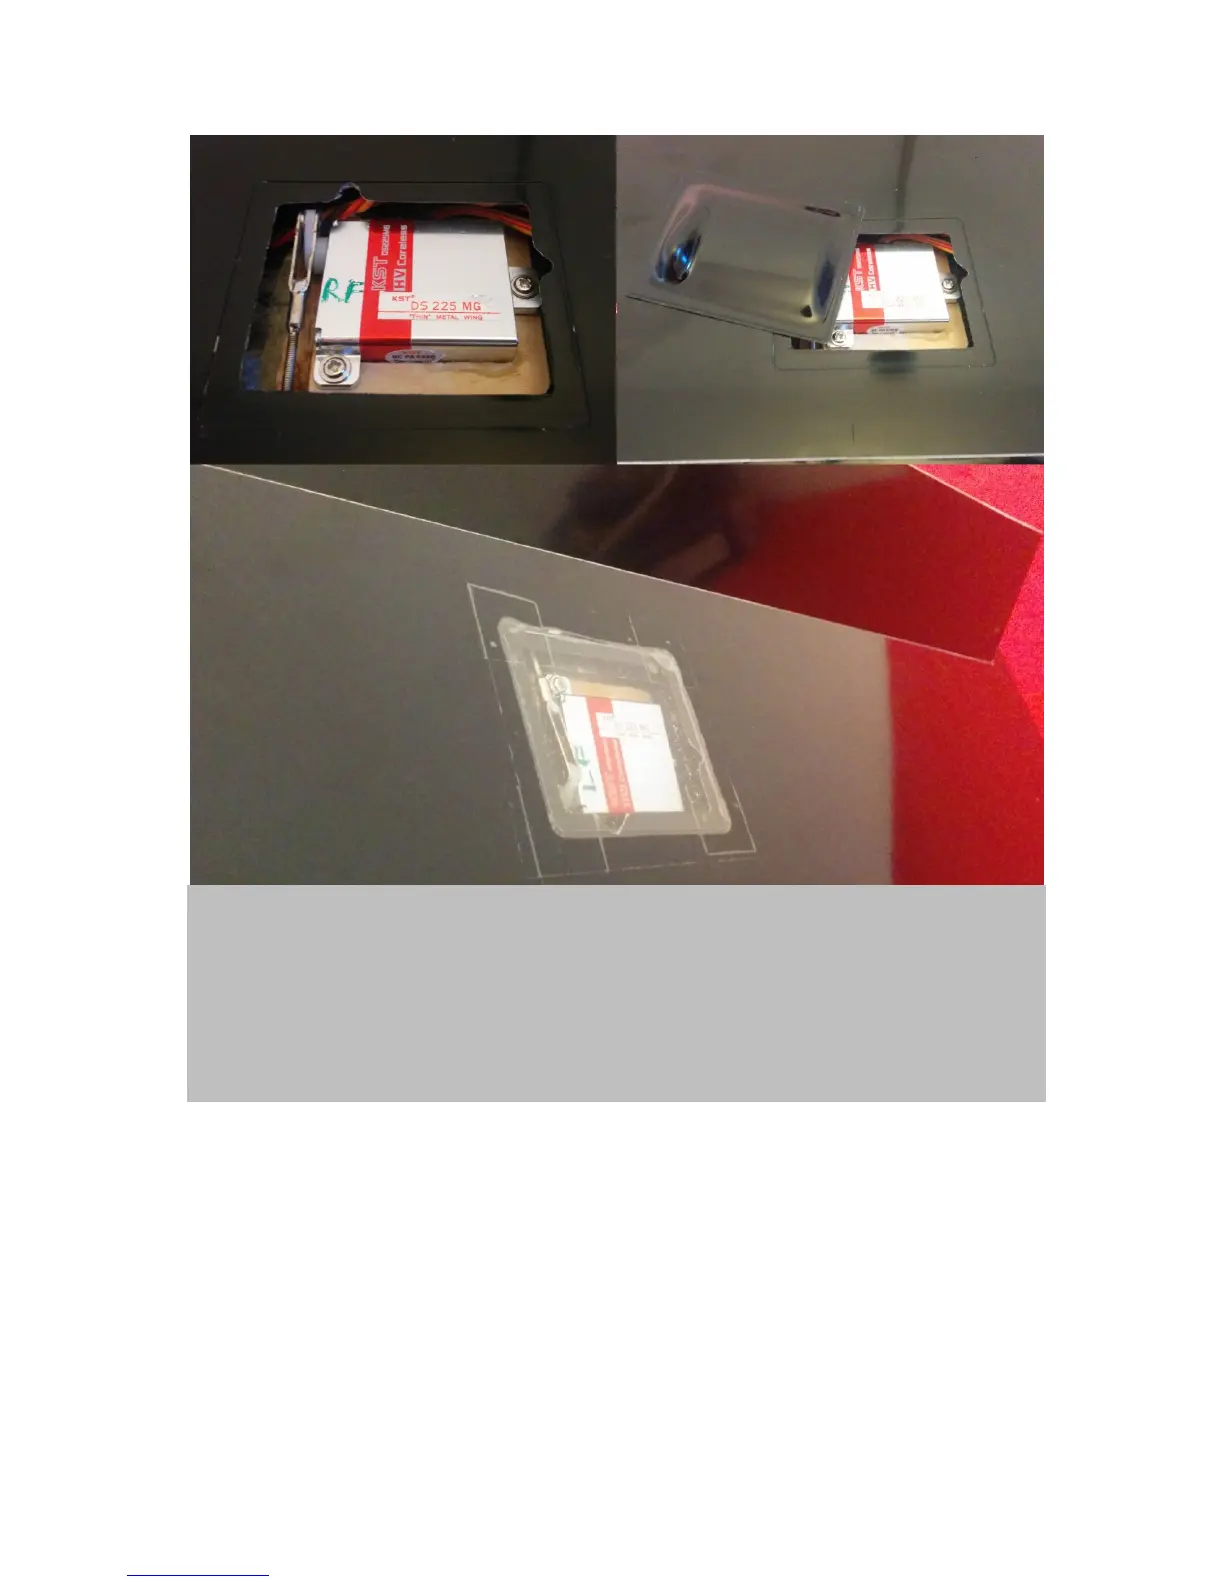
Figure 12. Mount the wing servo, in their respective servo bays, in the readily prepared servo frames (upper
left). Servo arms shoud still be in the right positions as prepard under figure 9, above. Therefore, you can
also easily attach the linkage system at the servo horns and at the control horns. Again, one of the two
clevises on each pushrod has a grinded side, which needs to face the servo horn base, to allow for full
movement . Once each servo is propely installed and connected (upper right), the supplied servo covers will
fit easily on top of them (upper right). However, for better aerodynamics you can substitute them for plain
plastic plates that were cut to size, accordingly. Fix them with transparent tape, as usual. No structural
support is provided or needed by any of those servo covers. I personally used transparent plastic plates so
that you can see the servo below (lower image).
If that is done the wings are all ready to go! Now prepare the fuselage side of the wing servo cable
connectors. Figure 13 shows readily assembled Strega wings.