Installation
Load Sensor mounting
6. Connect the hydraulic hose to the tee
fitting and route the hose towards the
back of the loader frame. Connect to
the load sensor and mount the sensor
in a well protected position where it
can be easily reached for servicing.
7. With the bucket a few inches off the
ground, gently slacken the hose
connection at the load sensor to bleed
off any air inside.
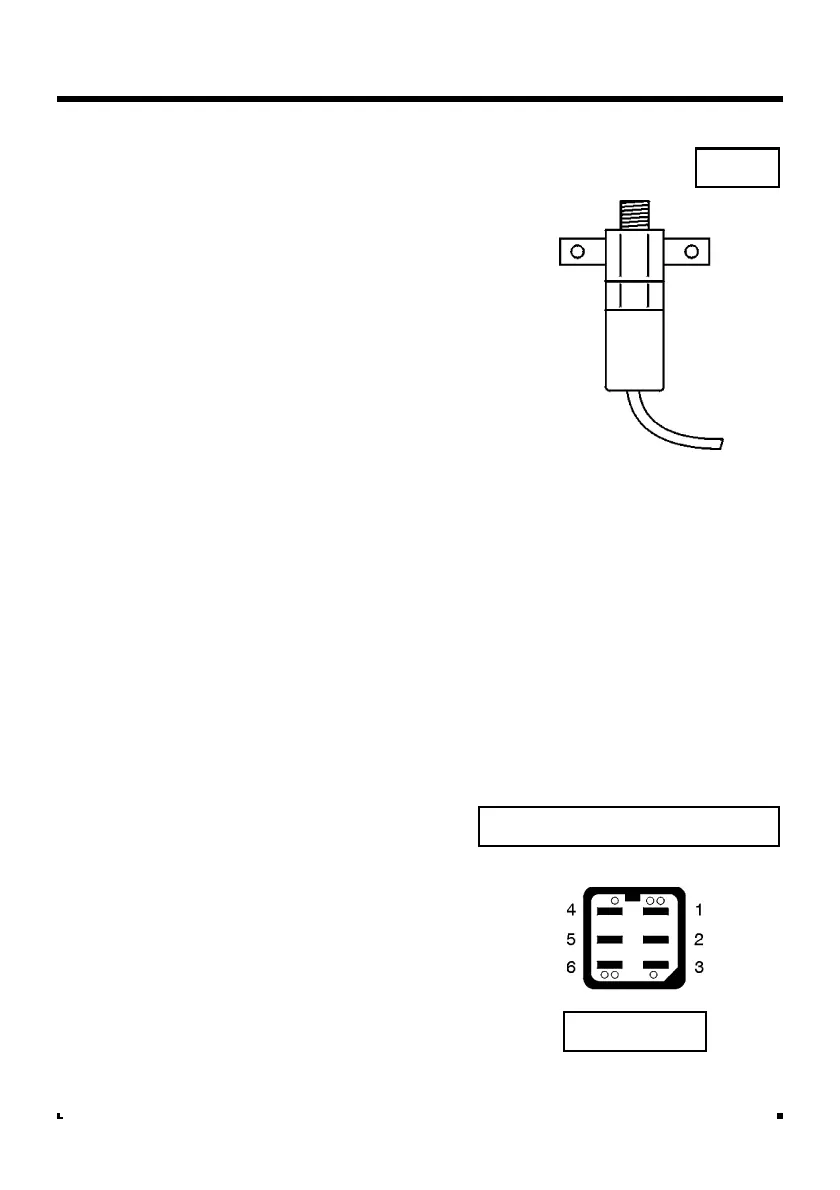
NOTE: Mount the pressure sensor in a well
protected area, in an upside down
position (fig 6b). This helps prevent air
bubbles hitting and damaging the
diaphragm of the sensor.
Load Sensor connection
7. Connect the extension cable to the
"Weatherpak" connector on the sensor
lead and route inside conduit back to
the Harting connectors.
Cable-tie the conduit securely to
existing hydraulic lines or conduits.
Avoid coiling excess cable - it is best
practice to cut the cable to the
required length and re-crimp.
8. Connect to the GRAY Harting connec-
tor as follows (fig. 7):-
Colour Function Terminal #
Red +V GRAY 4
Blue 0V GRAY 1
Green Signal GRAY 5
NOTE: There is no provision for strain relief on
these connections. It is recommended
that sensor cables are cable-tied
securely out of the way.
Fig. 7 : Load Sensor Connections
Fig. 6b
Red - +V
Blue - 0V
Green - Signal
Gray Harting