Do you have a question about the Redtiger T700 and is the answer not in the manual?
Be cautious of your surroundings and follow local laws regarding recording.
Adjust the dash cam lens to match the vehicle's rearview mirror.
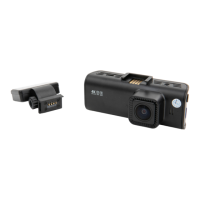
Extend straps around the rear-view mirror and attach to hooks.
Use the included car charger; do not use personal chargers.
Verify all camera functions are working correctly after installation.
Install above license plate for best effect; avoid windshield obstruction.
Tear off 3M tape and paste the rear lens above the license plate.
Remove trunk panel, snake cable through trim into the trunk.
Connect rear camera power to extension cable, use trigger cable for reversing if needed.
Confirm mount bracket and screws for internal installation.
Place iron sheet over camera, align hole, and screw it on.
Join the two iron sheets and tighten screws.
Stick the bracket to the rear windshield using 3M glue.
External is recommended; internal placement may affect image quality.
Tear off 3M sticker, paste lens directly above license plate.
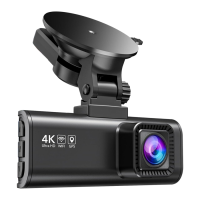
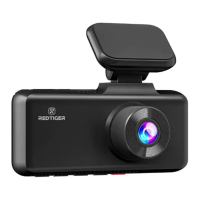
Position 1: Central console/windshield edge for best sky view; use double-sided tape.
Install at position 1, or other suitable locations; test signal search.
Attach GPS Antenna to camera; it will search for a GPS signal.
GPS icon appears on home screen; shows direction/speed when signal is received.
Displays speed, direction, GPS status, recording status, and SD card info.
Auto-on with ACC; power button for on/off and screen sleep.
Press pause icon, then settings icon to enter the setup process.
Details Recording Resolution, Loop recording, Recording method, Screen View.
Includes Video Format, Memory Card support, GPS, G-sensor, Audio, Operating Temperature.
| Rear Camera Resolution | 1080p (1920 x 1080) |
|---|---|
| Field of View (Front) | 170 degrees |
| Field of View (Rear) | 140 degrees |
| Loop Recording | Yes |
| G-Sensor | Yes |
| Wi-Fi | Yes |
| GPS | Yes |
| Parking Monitoring/Mode | Yes |
| Video Resolution | 4K (3840 x 2160) |
| Storage | Supports up to 256GB MicroSD card |
| Battery | Super capacitor |
| Display Size | 3.16 inch IPS |