www.rega.co.ukEN
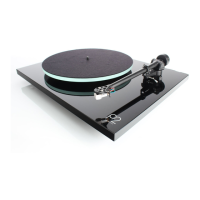
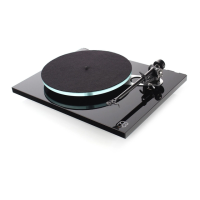
TURNTABLE SETUP
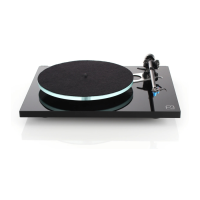
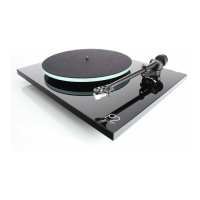
• Carefully unpack the turntable. Always
keeping it upright.
• Place the turntable on a level surface.
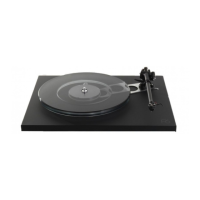
• Connect the power supply to the rear of
the turntable (1).
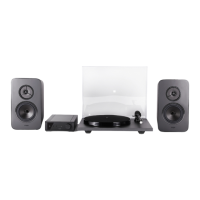
• Connect the phono output (2) to INPUT 1
on the io
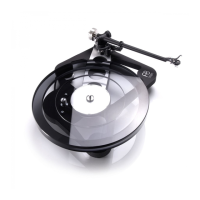
• Remove the packing card (A) from beneath
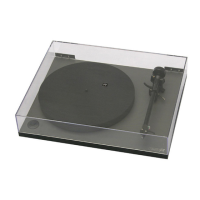
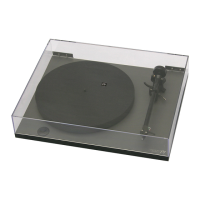
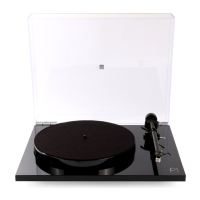
• Fit dust cover into rear brackets (3) on
plinth (4).
• To automatically set the required
downforce, simply push the balance
weight (5) onto the rear of the tonearm (6)
until it fully reaches the stop point (B).
• Carefully remove the stylus guard from
the Carbon cartridge (7).
•
located on the left underside of the plinth
(8).
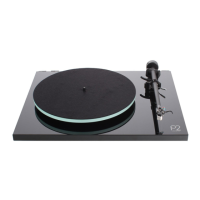
• To change the RPM, simply move the drive
pulley as required (C).
• Bias is automatically set on the RB110
tonearm, no setting is required.
1
+
+
+
-
+
7
DUST COVER
LOOK FOR
IDENTIFIER
MAY VARY,
5
A CB
STOP POINT
STYLUS GUARD
LOCATED
BENEATH
PLATTER
(9)
OR
LOUDSPEAKER CABLE
45 RPM