- 7 -
www.rotork.com www.remotecontrol.se
Electrical wiring
Inside & Outside earth terminal
1. Conrm that the wiring diagram located in the actuator
and Wiring No. on the name plate match with each other.
2. Conrm that the main power and power supply
described on the name plate of the actuator match with
each other.
3. Insert a small athead screwdriver to open the terminal
point, then insert the wire.
4. Be sure to properly ground the actuator wiring to the
grounding terminals provided on the inside and outside of
the actuator body.
The internal grounding wire size shall be at least the same
with the conductor used and the external grounding wire
size shall be 4.5 ~ 5.0mm
2
at least.
5. Be sure to wire and energize the heaer that is provided.
6. Each actuator must be powered by their own individual
relays to prevent voltage feedback and actuator damage.
7. After the wiring is completed in the actuator, use wire
ties to clean up the actuator and group wires togheter,
and be certain that the wires are secured away from any
moving parts, remove any loose debris.
8. When all the work is completed, replace the top cover
and secure it using the six cover screws.
9. Apply the power and do a nal check to conrm proper
operation.
Main Power must only be applied when the top
cover is re-installed on the actuator body. If the
main power is on while wiring the actuator stop
work immediately and turn the power off. Only
then it is safe to proceed.
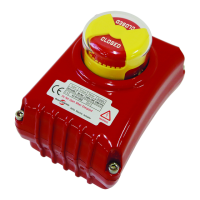
Potentiometer Setting
Change the potentiometer
value by altering the gear.
Potentiometer Check
● Actuator delivered full close at 85 ~ 120Ω
● After limit setting it should check at closed 85 ~ 120Ω
● Make actuator full closed and power off by moving
of gear.
Warning when setting the POTENTIOMETER:
When setting the resistance value on the
potentiometer, always operate when the actuator
power is OFF.
If the power is on, the resistance value on the
calibrator will not show accurately.
● When nished setting device, x the stop screw so that
the gear will not move.
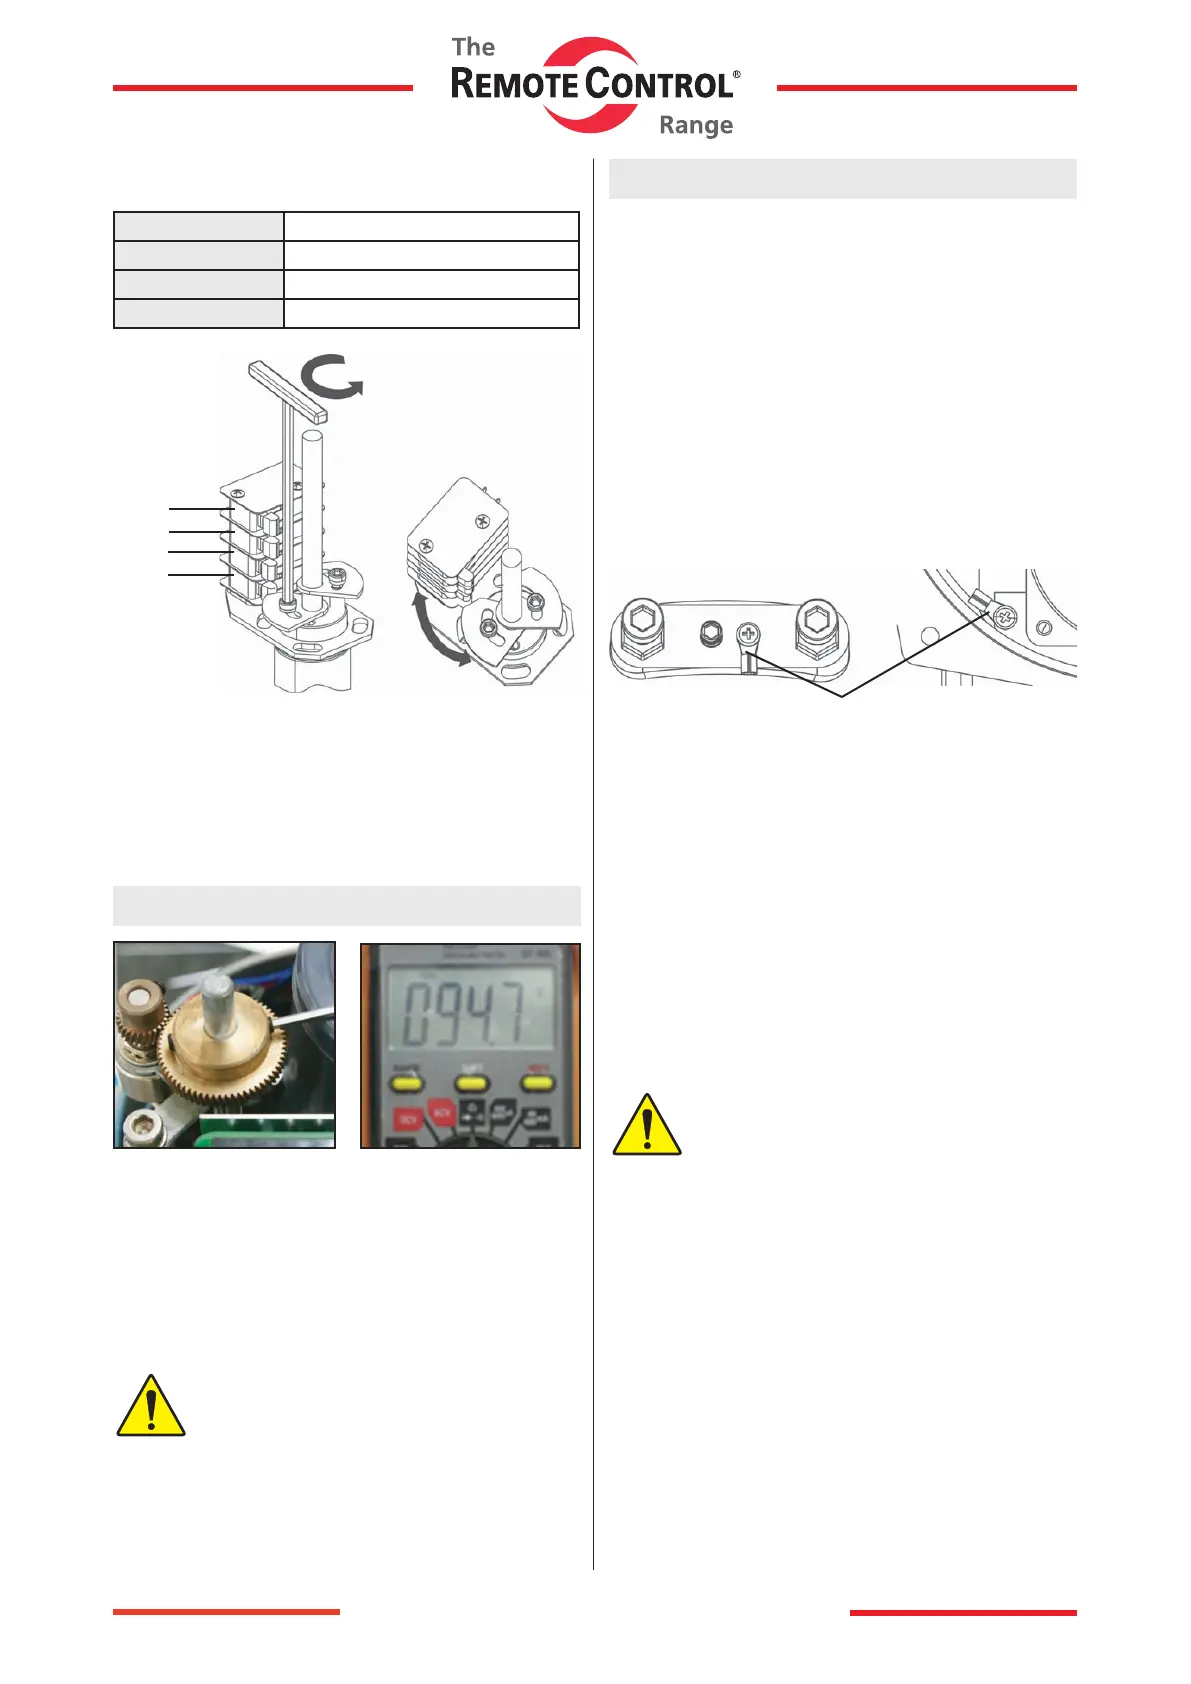
AOLS Dry Contact Open Limit Switch
OLS Open Limit Switch
ACLS Dry Contact Closed Limit Switch
CLS Closed Limit Switsh
2. Loosen the xed bolt of Close Limit Switch and align the
Limit Switch to meet the contact point of Micro Switch.
AOLS
OLS
CLS
ACLS
3. Firmly fasten the xed bolt again.
4. As for Open Limit Switch Setting, follow the instruction
of Close Limit Switch setting.