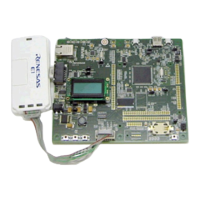
RSKRX111 3. Tutorial Project Workspace
R20UT2194EG0100 Rev. 1.00 Page 10 of 27
Jul 3, 2013
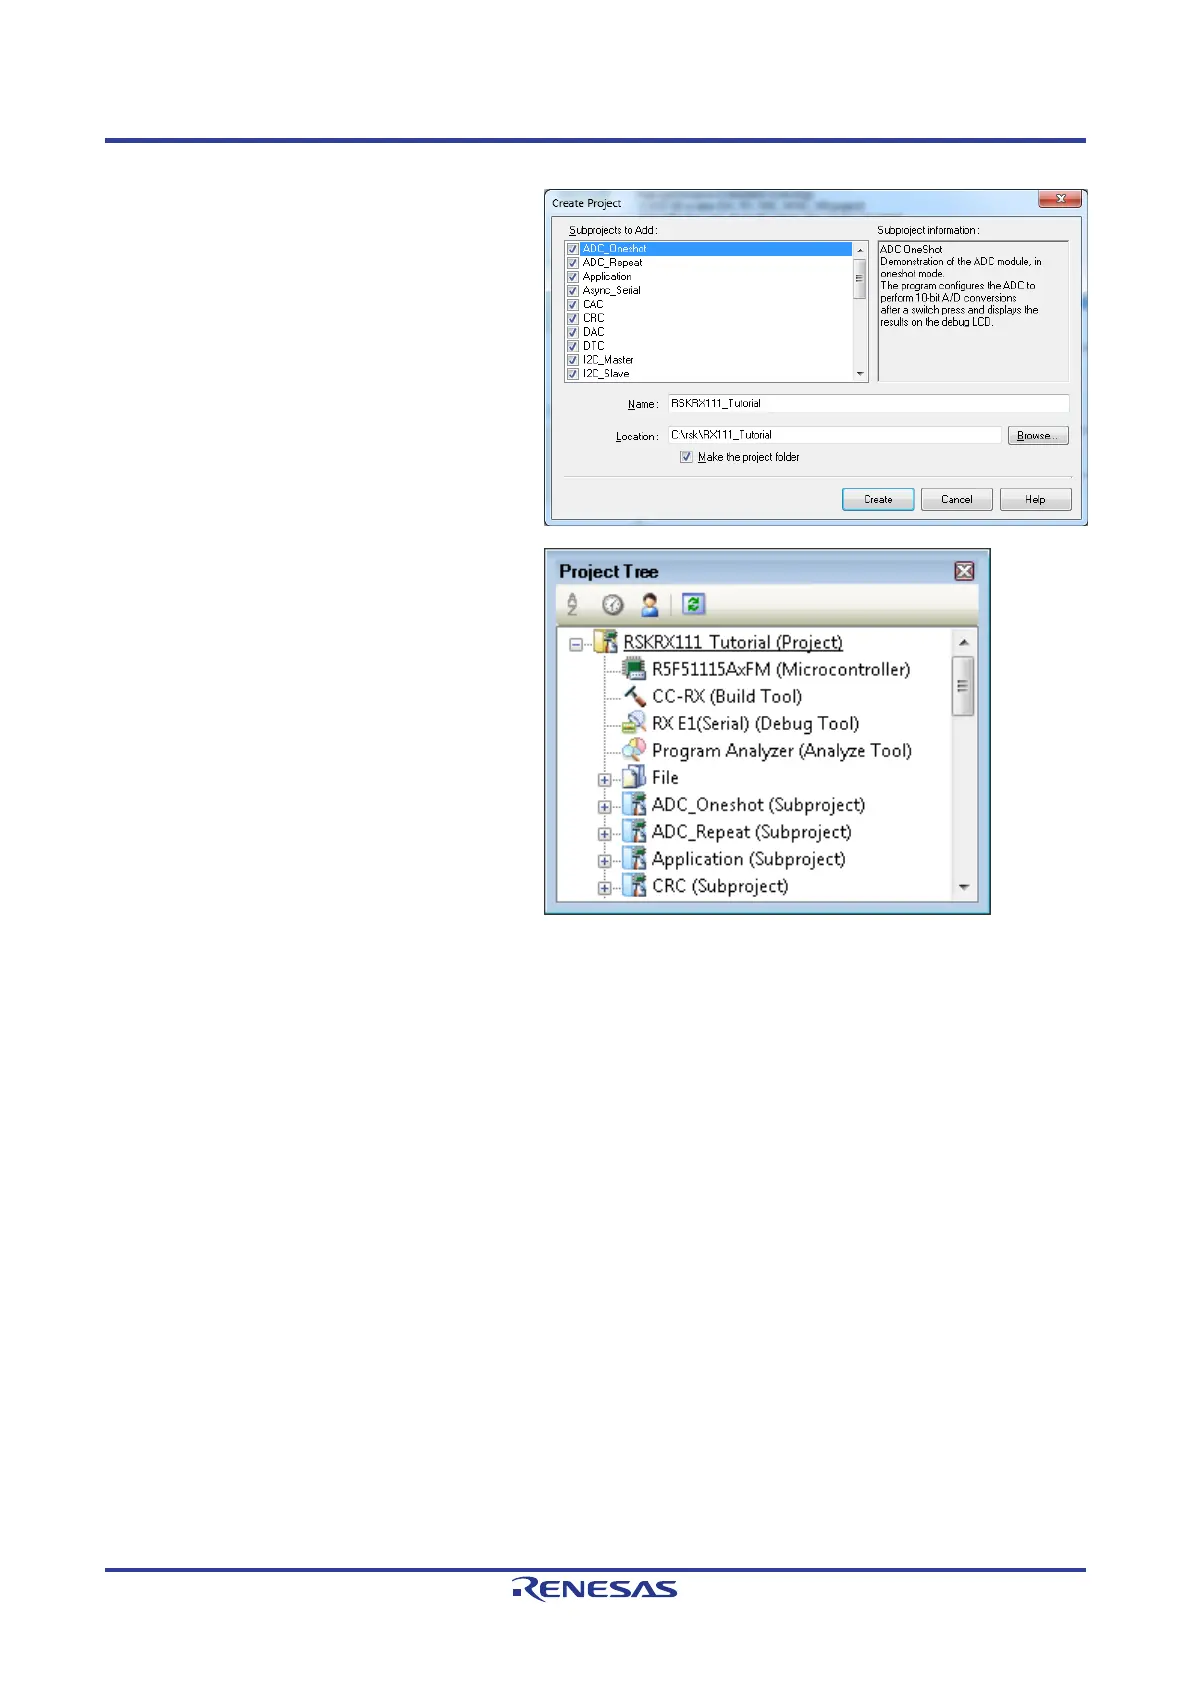
• CubeSuite+ will present a ‘Create Project’
dialog box.
• Select all sub-projects by clicking on each
checkbox and observe the information
di
splayed under the ‘Subproject
information’ heading as you select each
project.
• Specify a name and location for the new
project and click on ‘Create’
• A dialog box will appear if the location
specified does not exist; asking to create
the folder specified. Click ‘OK’.
• CubeSuite+ will create and open the
project showing the Project Tree as seen
in the screenshot opposite.
• RSKRX111
_Tutorial (Project) is the
master project and includes the tools to
modify, build and debug the code.
• The File folder seen in the screenshot
belongs to the master project,
RSKRX111_Tutorial.
• This folder contains and lists all project
source and header files including text files
arranged in separate folder structures.
•
Folders containing the subprojects,
indicated by “(Subproject)”, are listed
below the File folder.
• Each subproject folder, when expanded,
reveals an identical tools and folder
structure to that of the master project,
RSKRX111_Tutorial.
• By default the RSKRX111_Tutorial project
is set as the active project, indicated by
the line under the project name.
 Loading...