10
Installation
Connect battery terminal wires to the charge controller FIRST then connect the
solar panel(s) to the charge controller. NEVER connect solar panel to charge
controller before the battery.
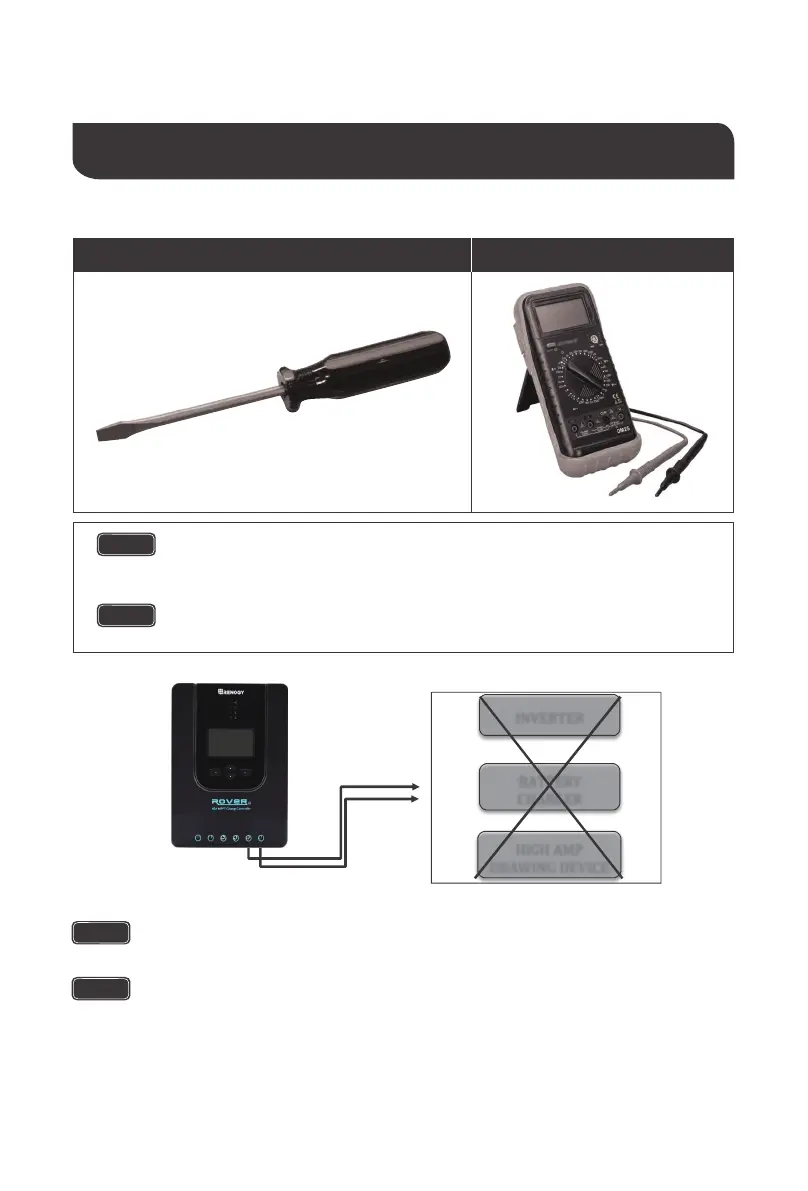
Do NOT connect any inverters or battery chargers into the LOAD TERMINAL of
the charge controller.
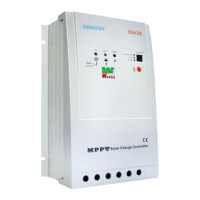
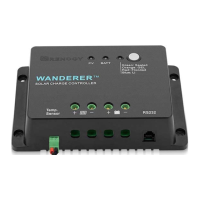
Recommended tools to have before installation:
Screwdriver
Do not over tighten the screw terminals. This could potentially break the
piece that holds the wire to the charge controller.
Refer to the technical specifications for max wire sizes on the controller and
for the maximum amperage going through wires.
You are now ready to begin connecting your battery to your charge controller.
Multi-Meter
CAUTION
CAUTION
WARNING
WARNING
INVERTER
BATTERY
 Loading...