EasyManuals Logo

Renogy ROVER Series User Manual

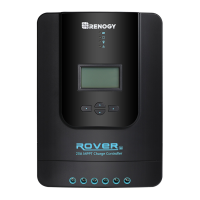
Renogy ROVER Series
36 pages
To Next Page IconTo Next Page
To Previous Page IconTo Previous Page
Page #15 background imageLoading...
Page #15 background image
Mounting Recommendations
14
The controller can be mounted using the existing mounting holes or using the included
mounting brackets.
Mounting Recommendations
NEVER
install the controller in a sealed enclosure with flooded batteries. Gas can
accumulate and there is a risk of explosion.
1. Choose Mounting Location—place the controller on a vertical surface protected from
direct sunlight, high temperatures, and water. Make sure there is good ventilation.
2. Check for Clearance—verify that there is sufficient room to run wires, as well as clearance
above and below the controller for ventilation. The clearance should be at least 3 inches (75mm).
3. Mark Holes
4. Drill Holes
5. Secure the charge controller.
WARNING
3 inches
(75mm)
3 inches
(75mm)
warm air
cool air

Other manuals for Renogy ROVER Series

Questions and Answers:

Question and Answer IconNeed help?

Do you have a question about the Renogy ROVER Series and is the answer not in the manual?

Renogy ROVER Series Specifications

General IconGeneral
Temperature Compensation-3mV/°C/2V(Default)
TypeMPPT
Nominal System Voltage12V/24V Auto
Rated Charge Current20A, 30A, 40A, 60A
Max PV Input Voltage100V (20A/30A), 150V (40A/60A)
Max Solar Input Power260W (12V)/520W (24V) for 20A, 390W (12V)/780W (24V) for 30A, 520W (12V)/1040W (24V) for 40A
Battery TypeSealed, Gel, Flooded, Lithium
CommunicationRS232
ProtectionOver Heating

Related product manuals