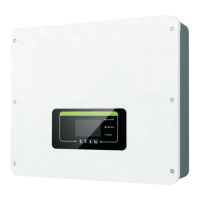
HYD 3K~6K-EPUser manual
Copyright © Shenzhen SOFARSOLAR Co., Ltd。
- 31 -
Step 3
Connect load output cable as per the following requirements:
Connect the yellow-green wire to the hole labeled "PE"
an Cross screwdriver;
Connect the brown wire to the hole labeled "L"
, fasten the wire using an
screwdriver;
Connect the blue wire to the hole labeled "N"
, fasten the wire using an
screwdriver.
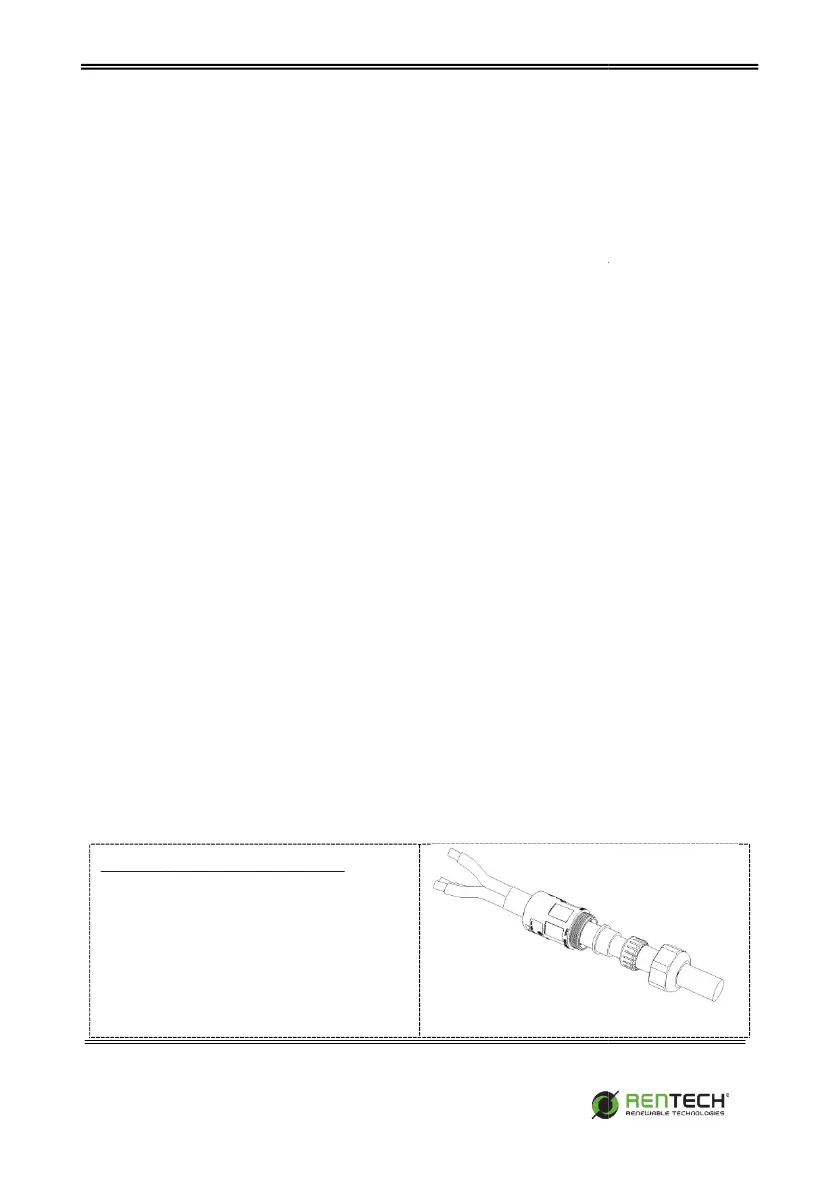
Step 4Insert the load connector
and hear "click", then tighten the waterproof
nut at the instantaneous value, as shown
in the figure below, to ensure that the cable
is firmly connected.
Step 5Connectthe connectedload connector to the
Turn the ac connector knob to lock
until you hear a "click" and the clasp is in place.
Removing the load connectorHold the button to unlock
counterclockwise to the unlock position, then pull out the load
following figure ⑦,
Make sure the grid is disconnected before removing the
connector .
Fig.4-4 Grid connection
Connect load output cable as per the following requirements:
, fasten the wire using an
Cross
, fasten the wire using an
Cross
and hear "click", then tighten the waterproof
in the figure below, to ensure that the cable
of the inverter.
until you hear a "click" and the clasp is in place.
,the
Make sure the grid is disconnected before removing the
load