10 11
• For safety reasons, recharge the battery only with chargers
supplied by ReSound.
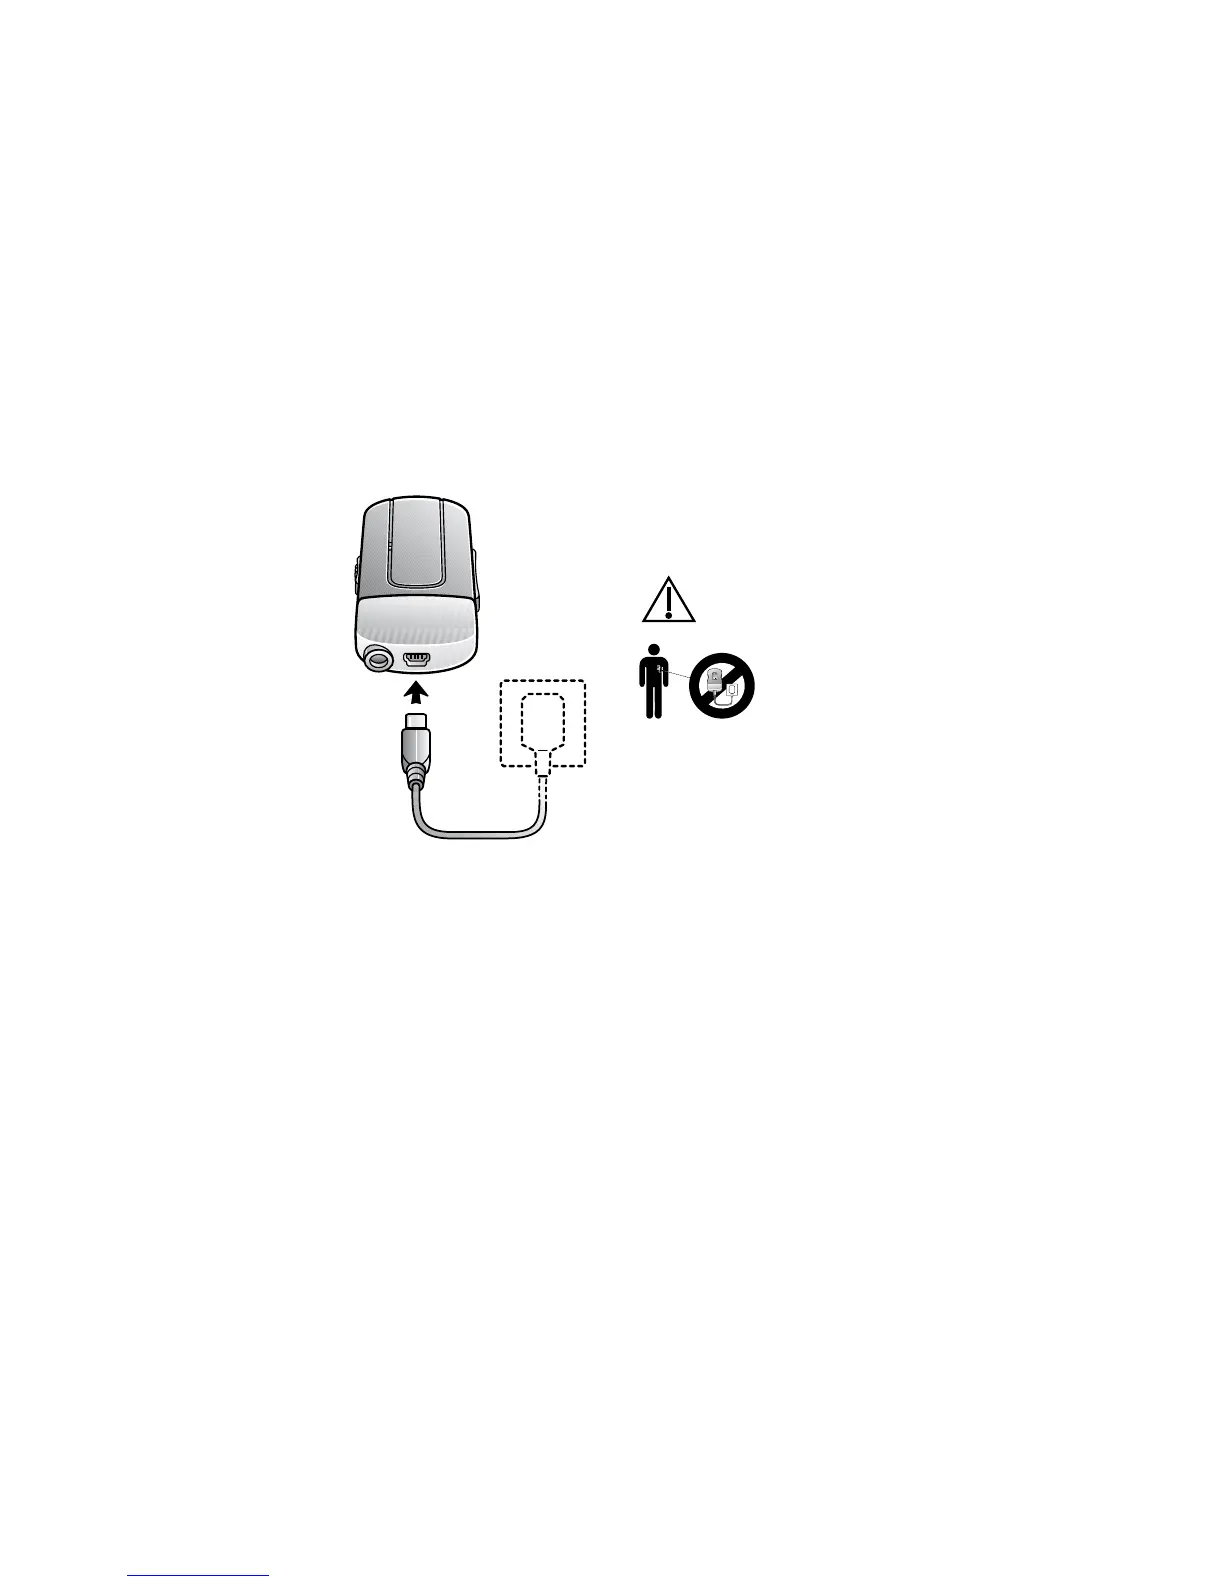
Do not charge the Unite Mini Microphone while it is on
your body.
Turning your Mini Microphone ON and OFF
To turn ON your ReSound Unite™ Mini Microphone slide the ON/
OFF switch (4 on page 8) down to the ON position. A white”I” icon
will be visible on the switch and the LED indicator will now blink
green every 2,5 second.
To turn it OFF, slide the ON/OFF switch up to the OFF position.
The LED will now stop blinking.
If battery level is low the LED will blink yellow every 2 seconds.
Getting Started
Charging the Battery
Before using your ReSound
Unite™ Mini Microphone, you need
to fully charge the rechargeable
battery. To charge it, plug the
charging cable as shown in the
picture to the right. Then plug the
other end of the charging cable into
a power outlet.
During the charging process, the
LED indicator will show a solid red
light. When fully charged and still
connected to the charger, the LED
will turn solid green interrupted by a
red blink every 2 seconds.
Charging an empty battery typically takes about 3 hours. It is safe
to leave the charger connected overnight – the battery cannot be
overcharged.
• When charging your ReSound Unite™ Mini Microphone for the
first time, leave it to charge for at least 3 hours, even if the bat-
tery indicator indicates that the battery is fully charged.