English
English
4 CHARGING THE MODEL
Attention: The battery and motor must cool down for 15 to 30 minutes before
charging and after every flight. Otherwise they can be damaged. The charging process
must be constantly monitored. Always ensure that the charging process takes place on
a fireproof surface in a fire-resistant environment.
•Unplugthebatteryplug(1B) from the battery connection cable (1F) and switch off
the remote control. Remove the battery from the model (4A). Plug the USB charger
into an open USB port (4B). The status LED on charger starts to flash.
•Plug the white balancer plug into the charging socket of the charger, ensuring correct
polarity (4C).Thebatterymustbegentlyinsertedintothechargingsocket–DONOT
USE FORCE. If the battery is not correctly inserted into the charging socket, the battery
may become damaged and, under certain circumstances, cause injury.
•ThestatusLEDontheUSBchargerlightsupcontinuouslywhenthechargingprocess
starts.
•Thechargingprocesslastsapprox.150 minutes and must be continuously monitored.
The red LED on the charger goes out as soon as the charging process is finished.
•DisconnectthebatteryfromthechargeranddisconnectthechargerfromtheUSB
port once charging is complete.
The model can fly for approx. 5-7 minutes after a charge time of approx. 150
minutes.
Warning notice: The battery does not normally heat up while charging. If it should
becomewarmorevenhotand/orchangestothesurfacebegintoappear,immediately
discontinue the charging process!
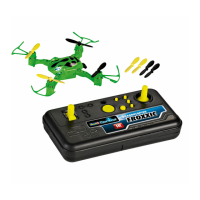
2 REMOTE CONTROL
2A No function
2B No function
2C Control for thrust and rotation
2D Video button
2E Power LED
2F Antenna
2G Turbo switch
2H Flip button
2IControlforforwards/backwardsand
sideways flight
2JTrimforforwards/backwards
2K Trim for sideways
2LON/OFFswitch
2M Battery compartment cover
2N Locking screw
2O Opening lever for the battery
compartment
2P Button for Headless Mode
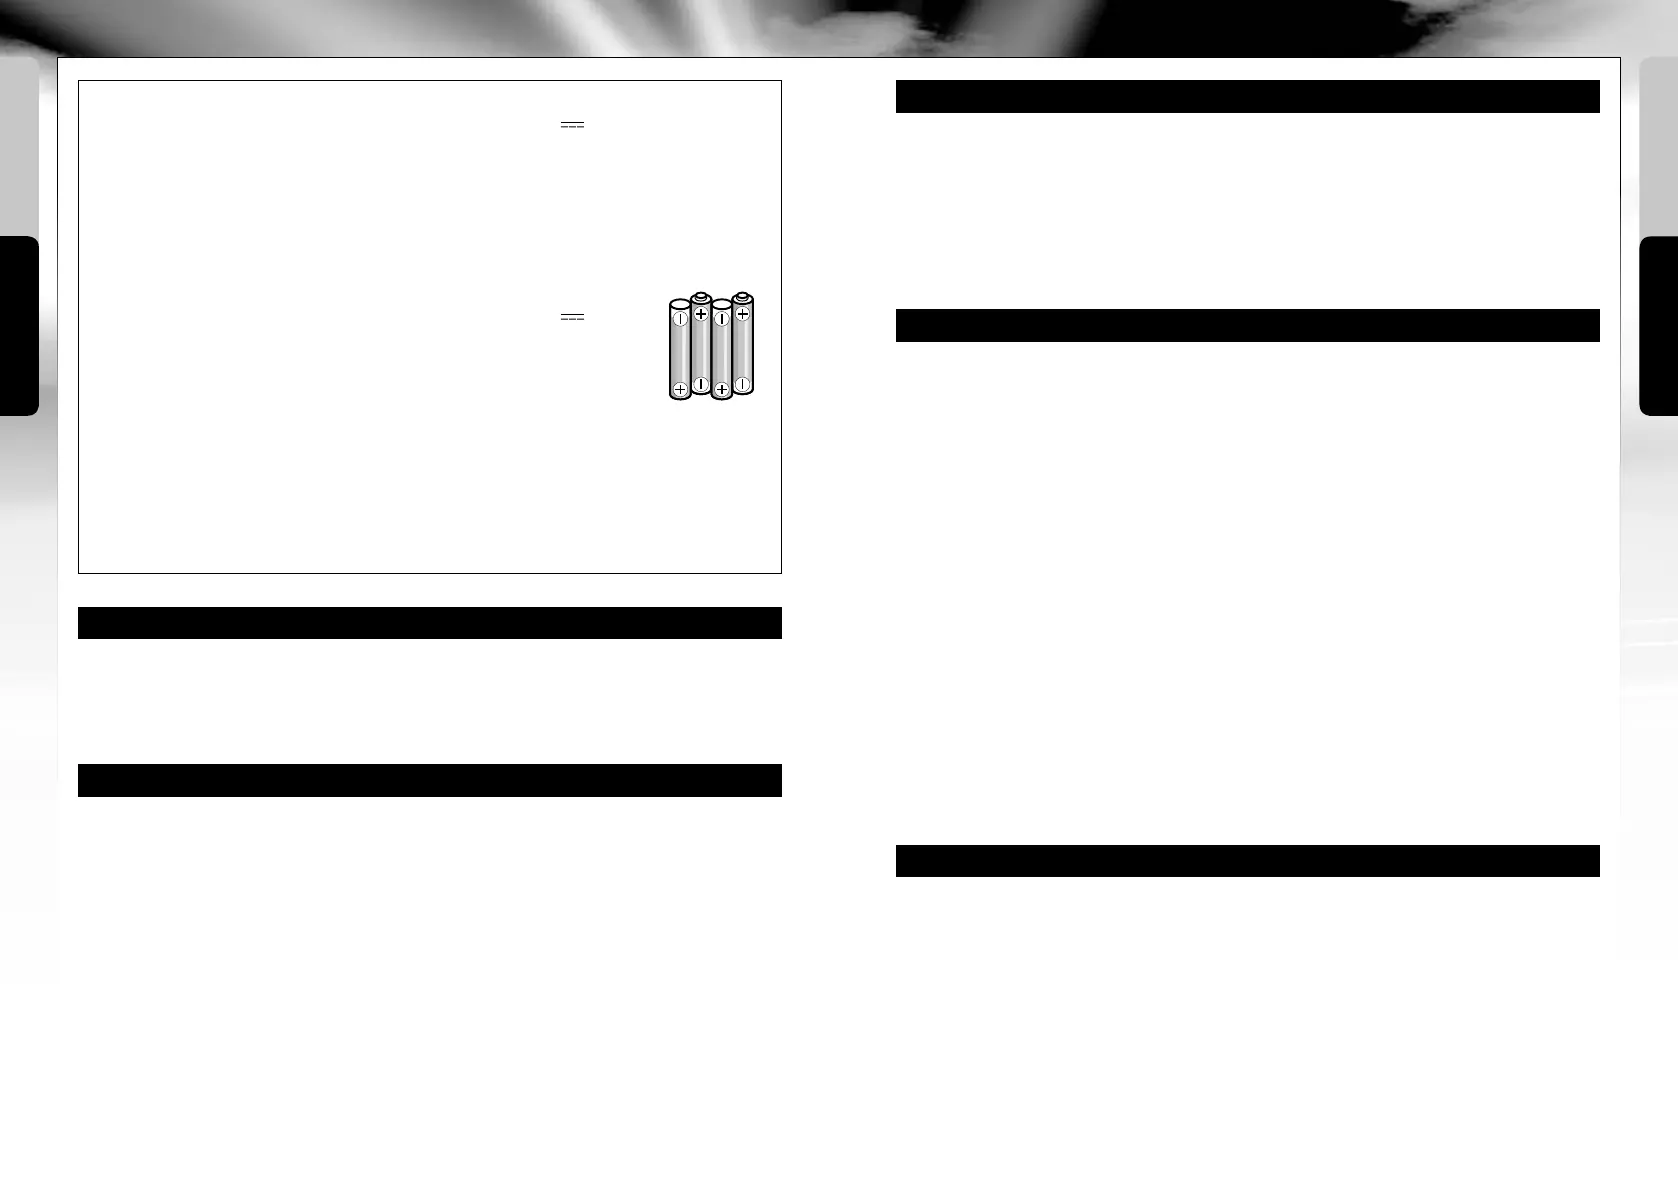
3 INSERTING BATTERIES (REMOTE CONTROL)
3B Insert 4 x 1.5 V AA batteries
and pay attention to the
polarity specifications, as
indicated in the battery
compartment.
3ATo open the battery
compartment, unscrew the
locking screw (2N) counter-
clockwise and open the
battery compartment cover
(2M) to the top by pressing
down the opening lever (2O).
3C Close the battery
compartment cover
and screw in the
locking screw (2N)
clockwise.
•Neverdisassembleoralterthebattery
contacts. Do not damage or puncture
the battery cells. There is a risk of
explosion!
•TheLiPobatterymustbekeptoutof
reach of children.
•Whendisposingofbatteries,theymust
be discharged or their capacity must be
fully depleted. Cover exposed terminals
with adhesive tape in order to prevent
short-circuiting!
Maintenance and care:
•Pleaseonlyuseaclean,dampcloth
to wipe off the model.
•Protectthemodelandbatteriesfrom
directsunlightand/ordirectheat.
•Neverallowtheremotecontroland
charging unit to come into contact
with water, because the electronics
will be damaged as a result.
Technical changes and differences in
color reserved!
Required batteries for the model:
Power supply:
Rated output:
1 x DC7,4V/3Wh
Batteries: 7,4 V
echargeable
LiPo battery (included)
Capacity: 400 mAh
Battery requirement for the
remote control:
Power supply:
DC 6 V
Batteries:4x1.5V“AA”
(not included)
USB charger:
Power supply: DC 5V via USB port,
500 mA or higher
Ratedoutput:2x4,2V/250mAhmax.
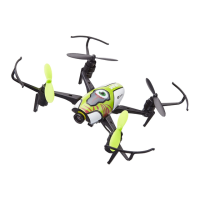
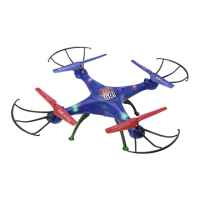
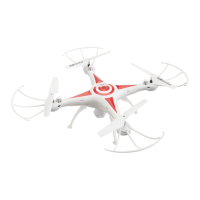
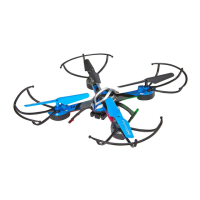
1 MODEL
1A Camera
1B Rotor shaft with main
gear wheel
1C Rotors
1D Fuselage cover
1E Camera lens
1F Battery connection
cable
1G Battery compartment
1H SD card slot
5 START PREPARATION
The model must be switched on first in order to connect it to the remote control. To
do this, push the battery into the battery compartment on the model and connect the
battery plug with the battery connection cable (1F). Do not use force and ensure the
correct polarity (5A). Then place the model on an even, flat and stable surface.
Before switching on the remote control, the control for thrust and rotation (2C) must
point down (5B).Toswitchontheremotecontrol,settheON/OFFswitch(2L) to ON
and move the control for thrust and rotation (2C) briefly all the way up and then back
down again. After approx. 3 seconds, the model activates and is ready for use.
Once you have finished flying, switch the model off first and then the remote control.
A A
A A
A A
A A
16 17