4
4. Installation
Step 1: Installing the Electrostatic Stickers
1.1 Prepare Your Windshield
Thoroughly cleanse your windshield with either water or alcohol.
Follow this by wiping it dry using a clean, dry cloth to ensure a
spotless surface.
1.2 Position the Sticker
Next, carefully peel off the protective film from the electrostatic
sticker.
Attach the sticker to the windshield, ideally behind the rear-view
mirror.
This position is recommended to avoid obstructing your view
while you're on the road.
Electrostatic
sticker
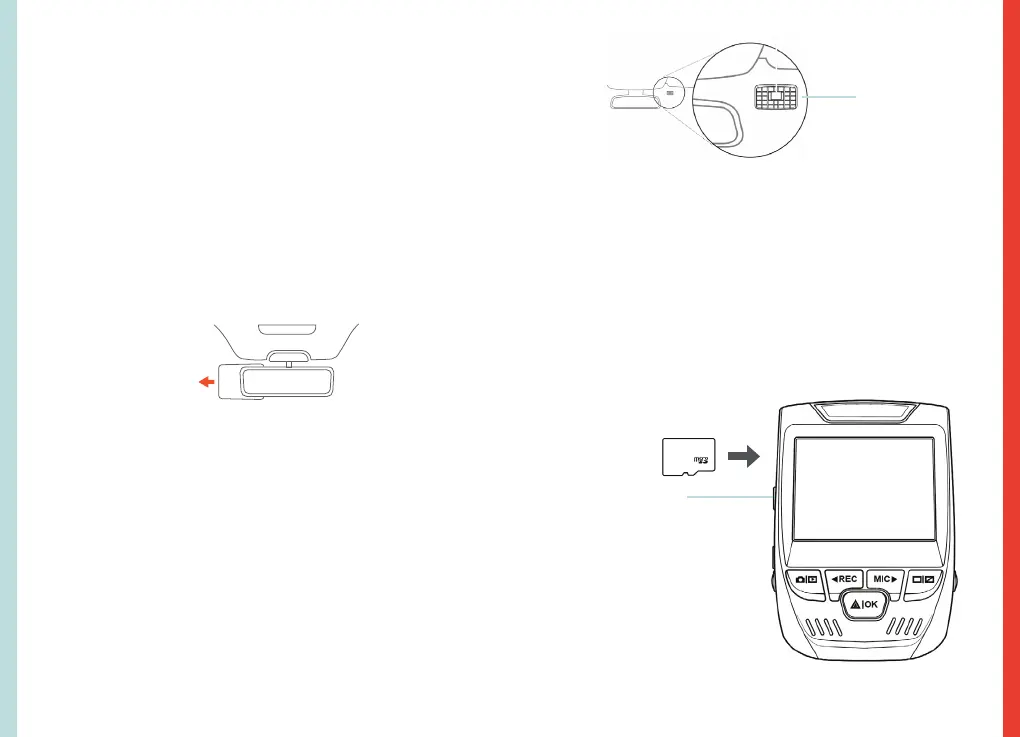
Step 2: Install the Dash Cam
Place the 3M adhesive on the mount plate and properly orient
the mount piece to the roof and hood line of the vehicle.
Secure the Mount and Camera
Now, remove the 3M tape from the mount. Once done, you
can proceed to fix both the mount and camera onto the
previously positioned electrostatic stickers
.
Important! Ensure the T-interlock on the mount is oriented in the
correct direction. Firmly press the mount onto the windshield.
Wait at least 20 minutes before mounting the camera.
Orient the
mount as
shown
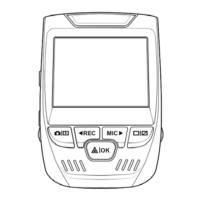
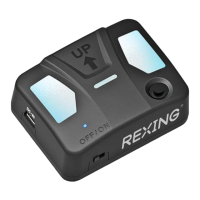
Step 3: Insert the Memory Card
The Rexing V1 FHD accepts [Class 10/UHS-3 or higher] Micro SD
memory cards up to 256GB. You will need to insert a memory
card before you can begin recording. Before inserting or
removing a memory card, first ensure you’ve powered down
the device.
Gently push the memory card in until you hear a click, and
allow the spring release to push the card out.
Press the Power
button to turn the
power off
5