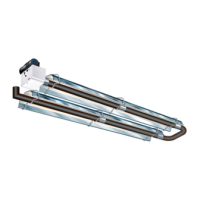
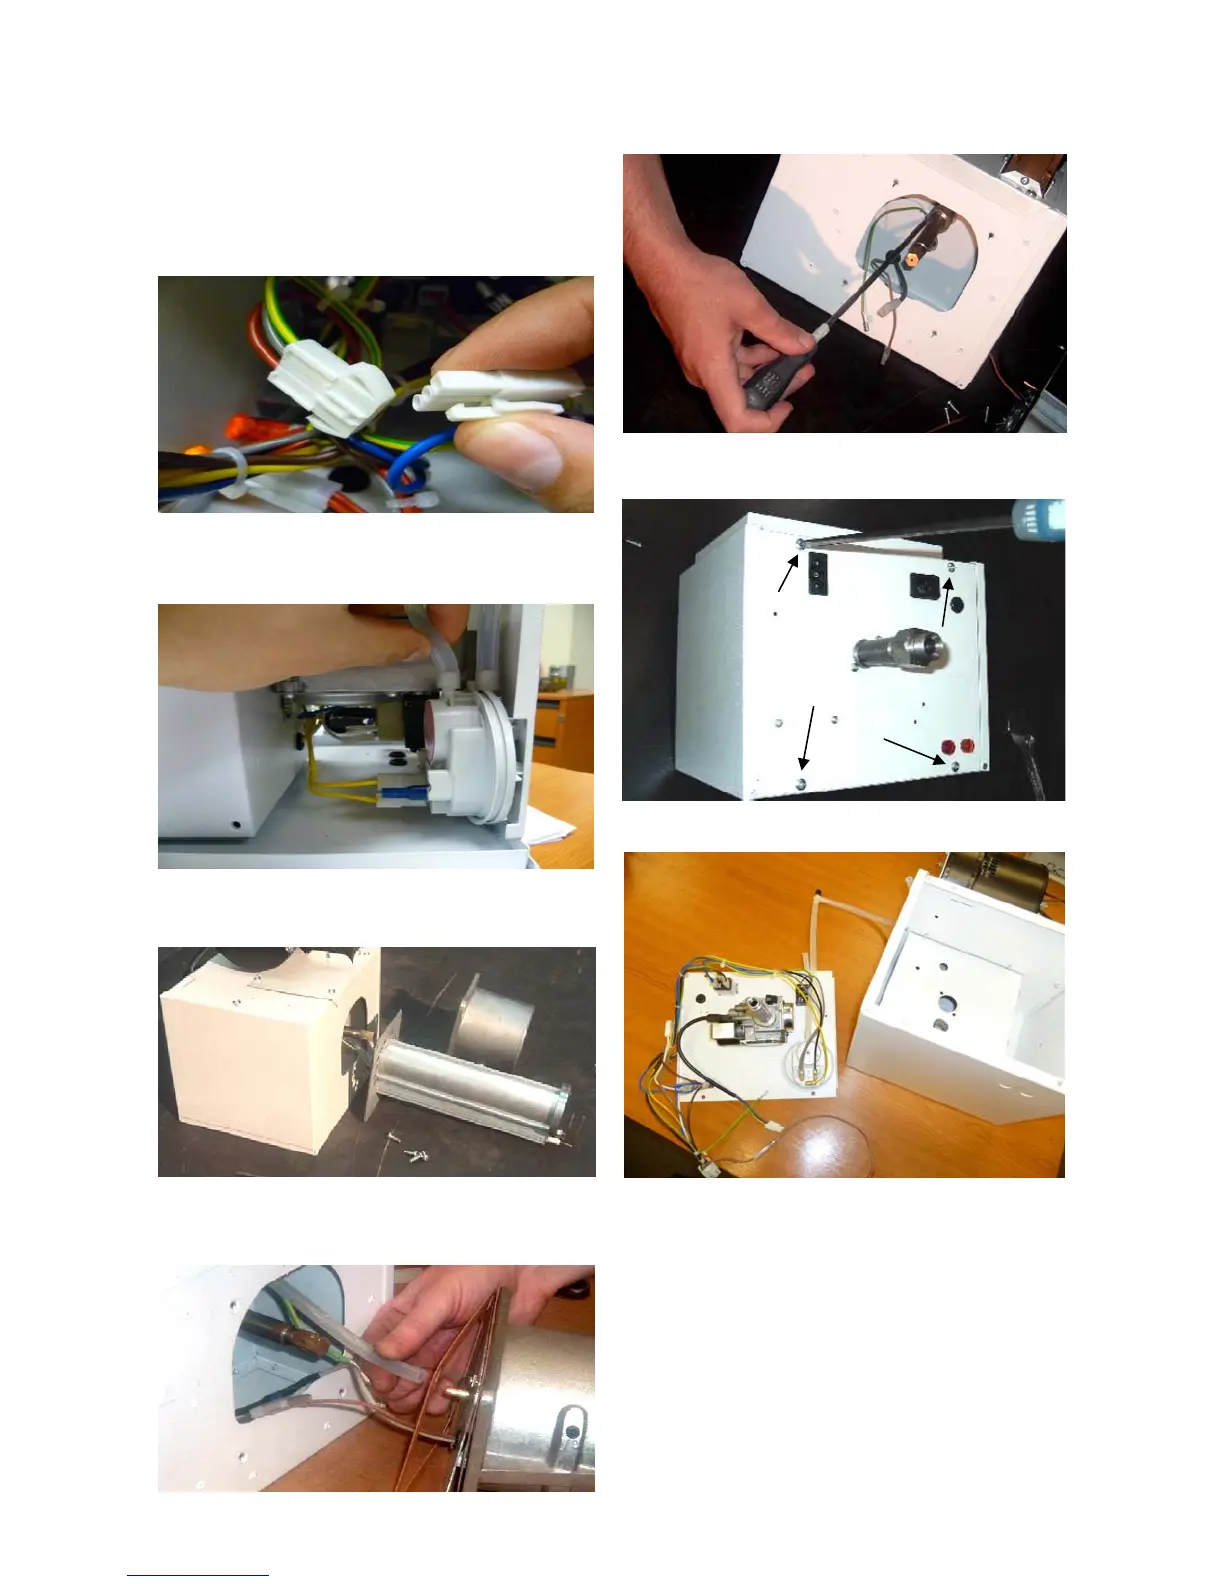
7.3 Gas Valve Replacement
Step 1: Remove the burner assembly as
described in the servicing section.
Step 2: Open the right hand access door and
detach the burner controller from the wiring
harness.
Step 3: Open the left hand access door and
detach the silicon hoses from the air pressure
switch.
Step 4: Remove the 4 screws holding the
burner head onto the burner assembly.
Step 5: The burner head can now be detached
by disconnecting the silicon tube and the burner
head wiring.
Step 6: Detach the two screws securing the
front of the gas valve.
Step 7: Remove the four screws (arrowed),
holding the rear burner plate in position.
Step 8: Remove the rear plate.
Step 9: The jet carrier, gas inlet, and wiring
harness can now be detached from the gas
valve.
Step 10: The two screws retaining the gas valve
can now be removed.
Step 11: The gas valve can now be replaced.
Step 12: Reattach all components.
Step 13: Set pressures and test for reliable
burner performance.
Step 14: Close access door.