3 Getting Started
The RFD TXMOD setup has five elements.
3.1 Radio Controller (RC) configuration
3.2 TXMOD Wi-Fi access configuration
3.3 TXMOD RFD900x Radio Configuration
3.4 Vehicle (paired) RFD 900x modem configuration
3.5 Ground Control Station (GCS) configuration
3.1 Radio Controller Configuration
a) Enable PPM mode on radio controller
This guide is based on TARANIS X9D PLUS radio controller (RC). Specific instructions on activating the
required mode on other RCs should be sort in the relevant device manufacture’s manual. Please
check the transmitter for RFD TXMOD compatibility and ensure it supports the same interface.
- Switch on the RC and choose the vehicle you intend to operate.
- Navigate to the Model Setup sub-menu
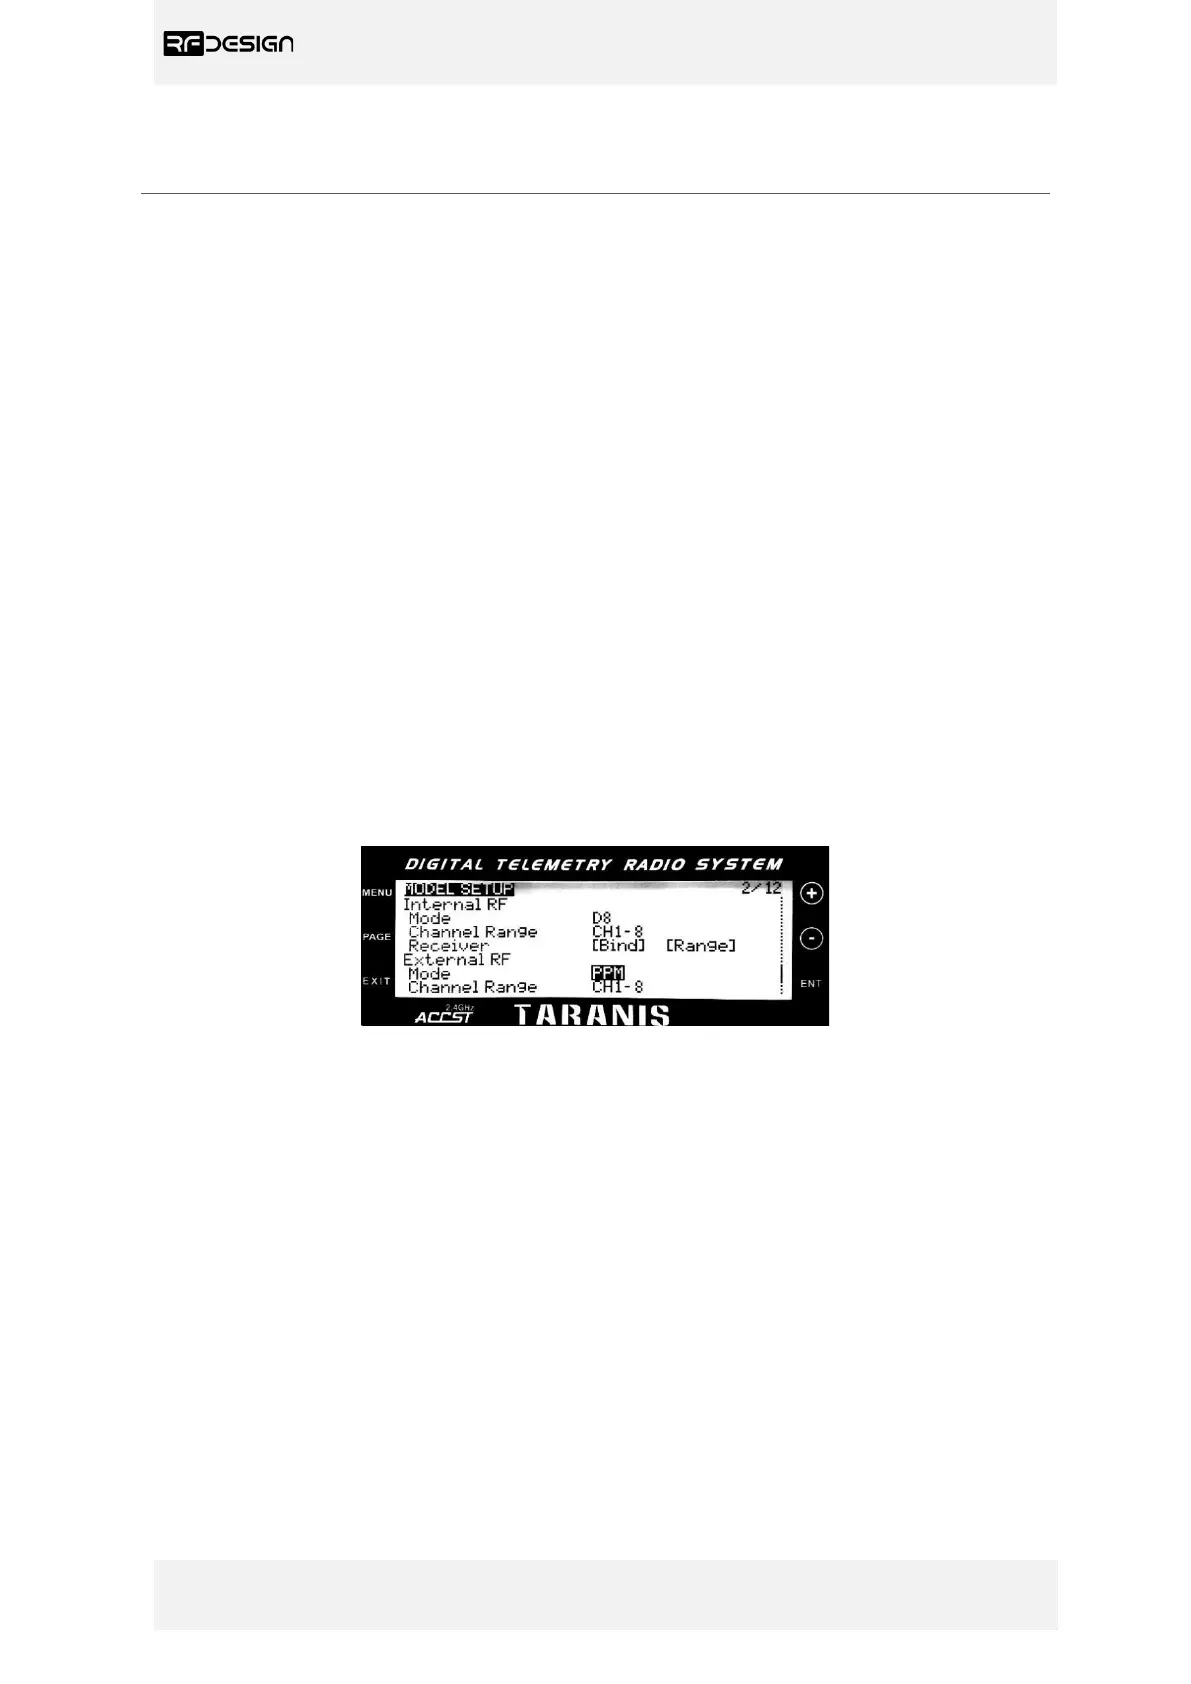
- Scroll down until you find the External RF configuration section, as shown in figure 4.
- Choose “Mode PPM” to enable external PPM stream for the TXMOD.
Figure 4 - PPM mode configuration on TARANIS X9D PLUS RC.
3.2 TXMOD Configuration
- With the RC switched off, remove the rear protective cover from the radio controller and insert the
TXMOD.
- Ensure the TXMOD is inserted fully into the opening and the two tabs have locked in place.
- Switch on and observe the TXMOD’s LEDs. The red LED will blink and then go solid during the
power up sequence, as per the descriptions in Table 1, and the green LED will indicate the state of
the modem link with the modem on the aircraft. Note: The green LED functionality will only be
enabled after the ‘First Run Wizard’, see section 0, is completed; before that it will remain off.
The configuration interface webpage and the communication settings for both the Wi-Fi and the
RFD telemetry links are described throughout this section.