39
D. ROOFTOP INSTALLATION
1. Before locating the unit on the roof, make sure that the
strength of the roof and beams is adequate at that point
to support the weight involved. This is very important
and user’s responsibility.
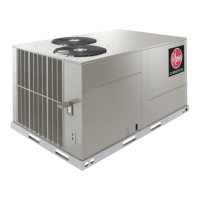
2. For rigging and roofcurb details, see Figures 7 and 8.
Use eld-furnished spreaders.
3. For roofcurb assembly, see Roofcurb Installation Instruc-
tions.
4. If the roofcurb is not used, provisions for disposing of
condensate water runoff during defrosting must be pro-
vided.
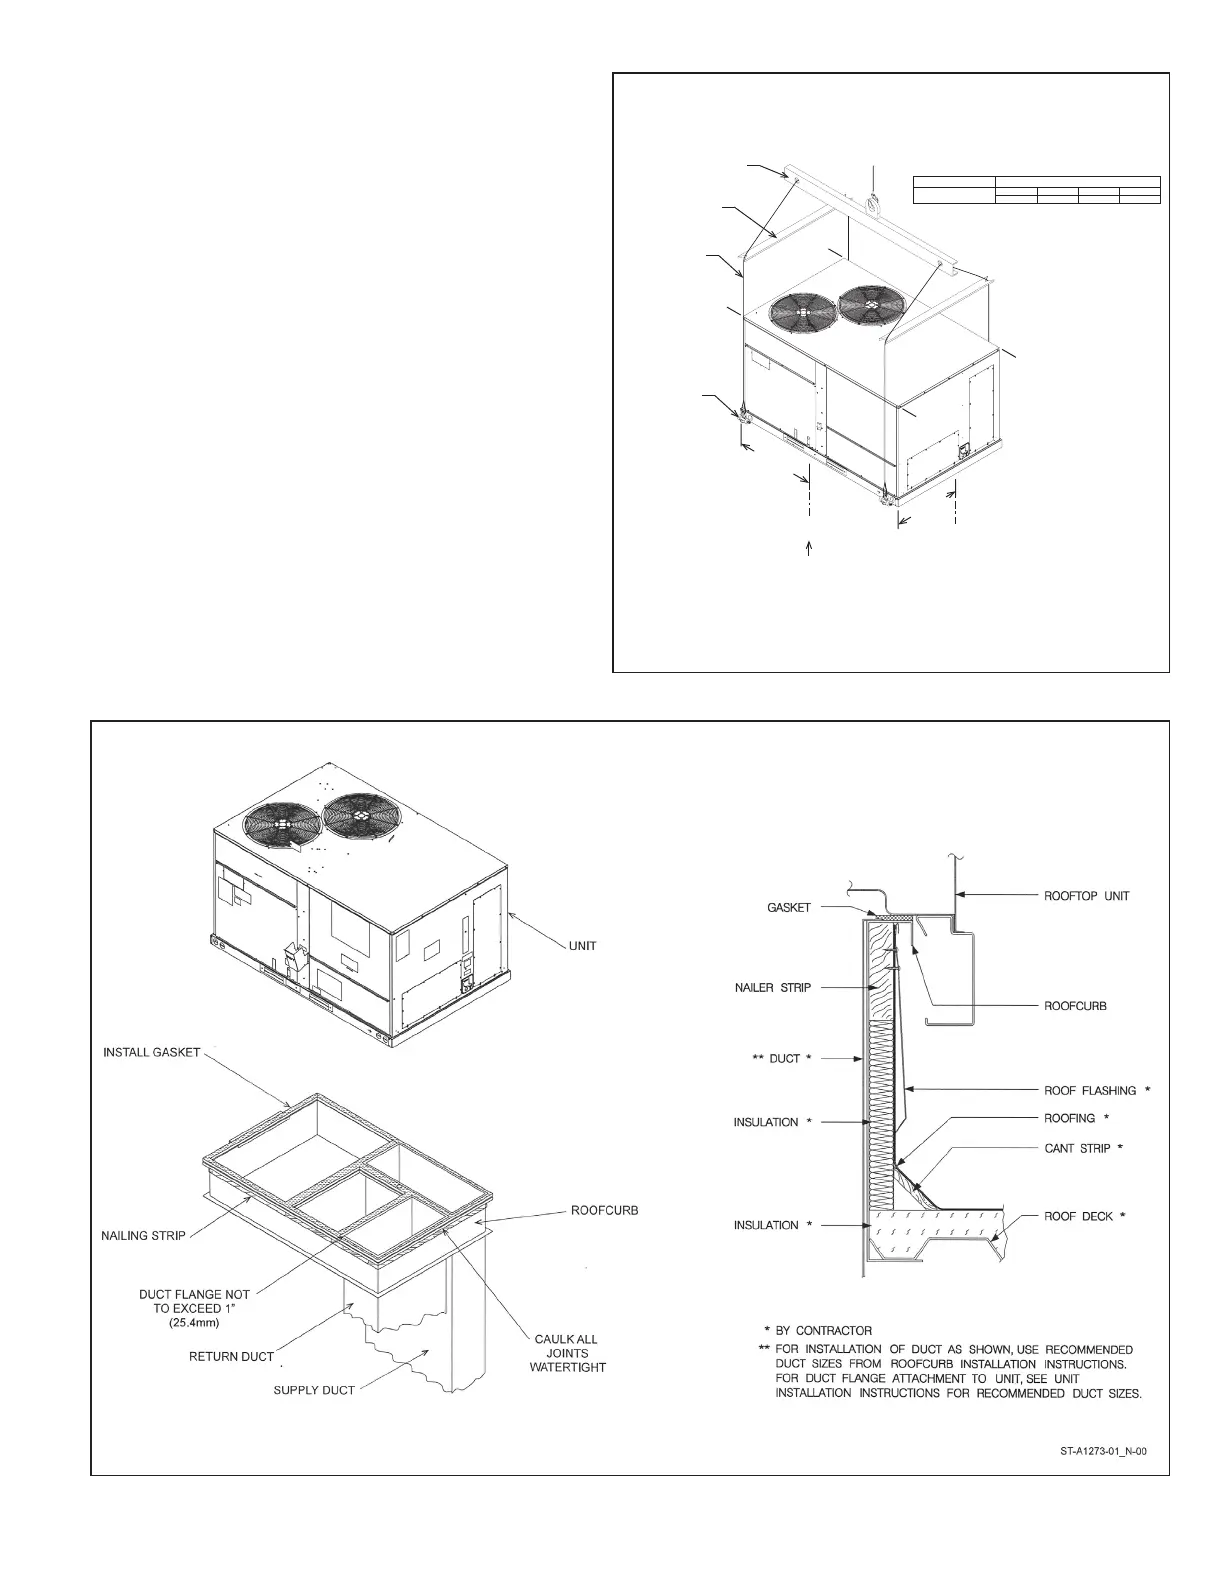
5. The unit should be placed on a solid and level roofcurb
or platform of adequate strength. See Figure 8.
6. The location of the unit on the roof should be such as to
provide proper access for inspection and servicing.
IMPORTANT: If unit will not be put into service immediately,
cover supply and return openings to prevent excessive con-
densation.
FIGURE 8
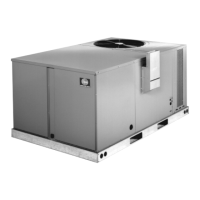
PACKAGED HEAT PUMP
ROOFCURB INSTALLATION
43 1/2”
[1104.9 mm]
23 7/8”
[606.4 mm]
A
B
C
D
*(7(*0;@;65:BR>D*695,9>,0./;:)@7,9*,5;( .,
7.5-12.5 [21.1-44.0]
AB
26%
34% 17% 23%
5/8” [14.9 mm] SHACKLE
(EACH CORNER)
C
G
*,5;,9
6-
.9(=0;@
C
G
ST-A1273-20-00
LIFTING BEAM
SPREADER BAR
CABLE OR CHAIN
FIGURE 7
PACKAGED HEAT PUMP
RIGGING FOR LIFTING
 Loading...