28
To inspect the evaporator coil:
1. Open the control/lter access panel and remove lters. Also, remove blower
access panel. In downow applications remove the horizontal return to gain
access.
2. Shine a ashlight on the evaporator coil (both sides) and inspect for accumula-
tion of lint, insulation, etc.
3. If coil requires cleaning, follow the steps shown below.
Cleaning Evaporator Coil
1. The coil should be cleaned when it is dry. If the coil is coated with dirt or lint, vac-
uum it with a soft brush attachment. Be careful not to bend the coil ns.
2. If the coil is coated with oil or grease, clean it with a mild detergent-and-water
solution. Rinse the coil thoroughly with water. IMPORTANT: Do not use exces-
sive water pressure. Excessive water pressure can bend the ns and tubing of
the coil and lead to inadequate unit performance. Be careful not to splash water
excessively into unit.
3. Inspect the drain pan and condensate drain at the same time the evaporator coil
is checked. Clean the drain pan by ushing with water and removing any matters
of obstructions which may be present.
4. Go to next section for cleaning the condenser coil.
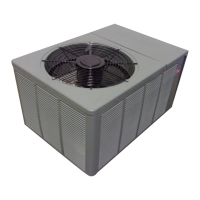
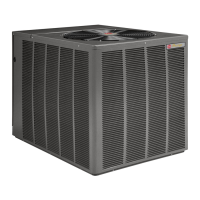
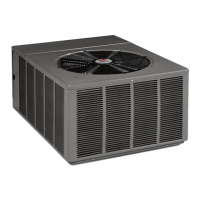
Cleaning Condenser Coil, Condenser Fan, Circulation Air Blower and Venturi
1. Remove the condenser access end panel and/or compressor access louver
panel. Disconnect the wires to the condenser fan motor in the control box (see
wiring diagram).
2. The coil should be cleaned when it is dry. If the coil is coated with dirt or lint, vac-
uum it with a soft brush attachment. Be careful not to bend the coil ns.
3. If the coil is coated with oil or grease, clean it with a mild detergent-and-water
solution. Rinse the coil thoroughly with water. IMPORTANT: Do not use exces-
sive water pressure. Excessive water pressure can bend the ns and tubing of
the coil and lead to inadequate unit performance. Be careful not to splash water
excessively into unit.
4. The venturi should also be inspected for items of obstruction such as collections
of grass, dirt or spider webs. Remove any that are present.
5. Inspect the circulating air blower wheel and motor for accumulation of lint, dirt or
other obstruction and clean it necessary. Inspect the blower motor mounts and
the blower housing for loose mounts or other damage. Repair or replace if nec-
essary.
Re-assembly
1. Reconnect fan motor wires per the wiring diagram attached to the back of the
control cover.
2. Replace the control box cover.
3. Close the lter/control access panel and replace the blower/evaporator coil
access panels.
4. Restore electrical power to the unit and check for proper operation, especially the
condenser fan motor.
REPLACEMENT PARTS
Contact your local distributor for a complete parts list.
TROUBLESHOOTING
Refer to Figures 24 and 25 for determining cause of unit problems.
WIRING DIAGRAMS
Figures 26 through 35 are complete wiring diagrams for the unit and its power sourc-
es. Also located on back of control access panel.
CHARGING
See Figures 36, 37, 38 and 39 for proper charging information.
 Loading...