12
Easy Setup Using a PIN Code
M 320FB/320F
● Make sure the Ethernet cable is not connected to the
machine.
● In Steps 9 to 12, congure each setting within two
minutes.
● To establish a connection using the PIN code, use a
computer that is connected to the router (access point).
● The following item is necessary to set up a Wireless
(Wi-Fi) connection.
● Router (access point)
1. Check that the router (access point) is working correctly.
2. Open the PIN code configuration window (web page) for the
router (access point) on your computer.
3. Make sure the wireless LAN option is attached to the
machine and the wireless (Wi-Fi) connection is enabled.
For details, see page 6 "Attaching the wireless LAN option".
4. Press [Quick Setup].
For details about [Detailed Setup], see User's Guide.
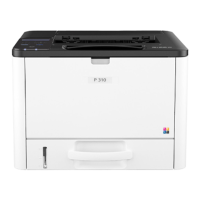
5. Press [Change Wi-Fi Connection Mode].
6. Press [WPS].
7. Press [PIN].
8. Check the PIN code.
Be sure not to press [Connect]. Write down the PIN code in case
you might forget it.
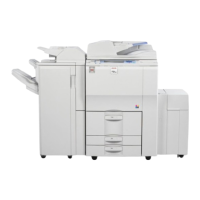
9. Enter the machine’s PIN code (8 digits) on the router
(access point)’s web page.(The web page accessed in Step
2)
10. Execute WPS (PIN system) from the router (access point)’s
web page.
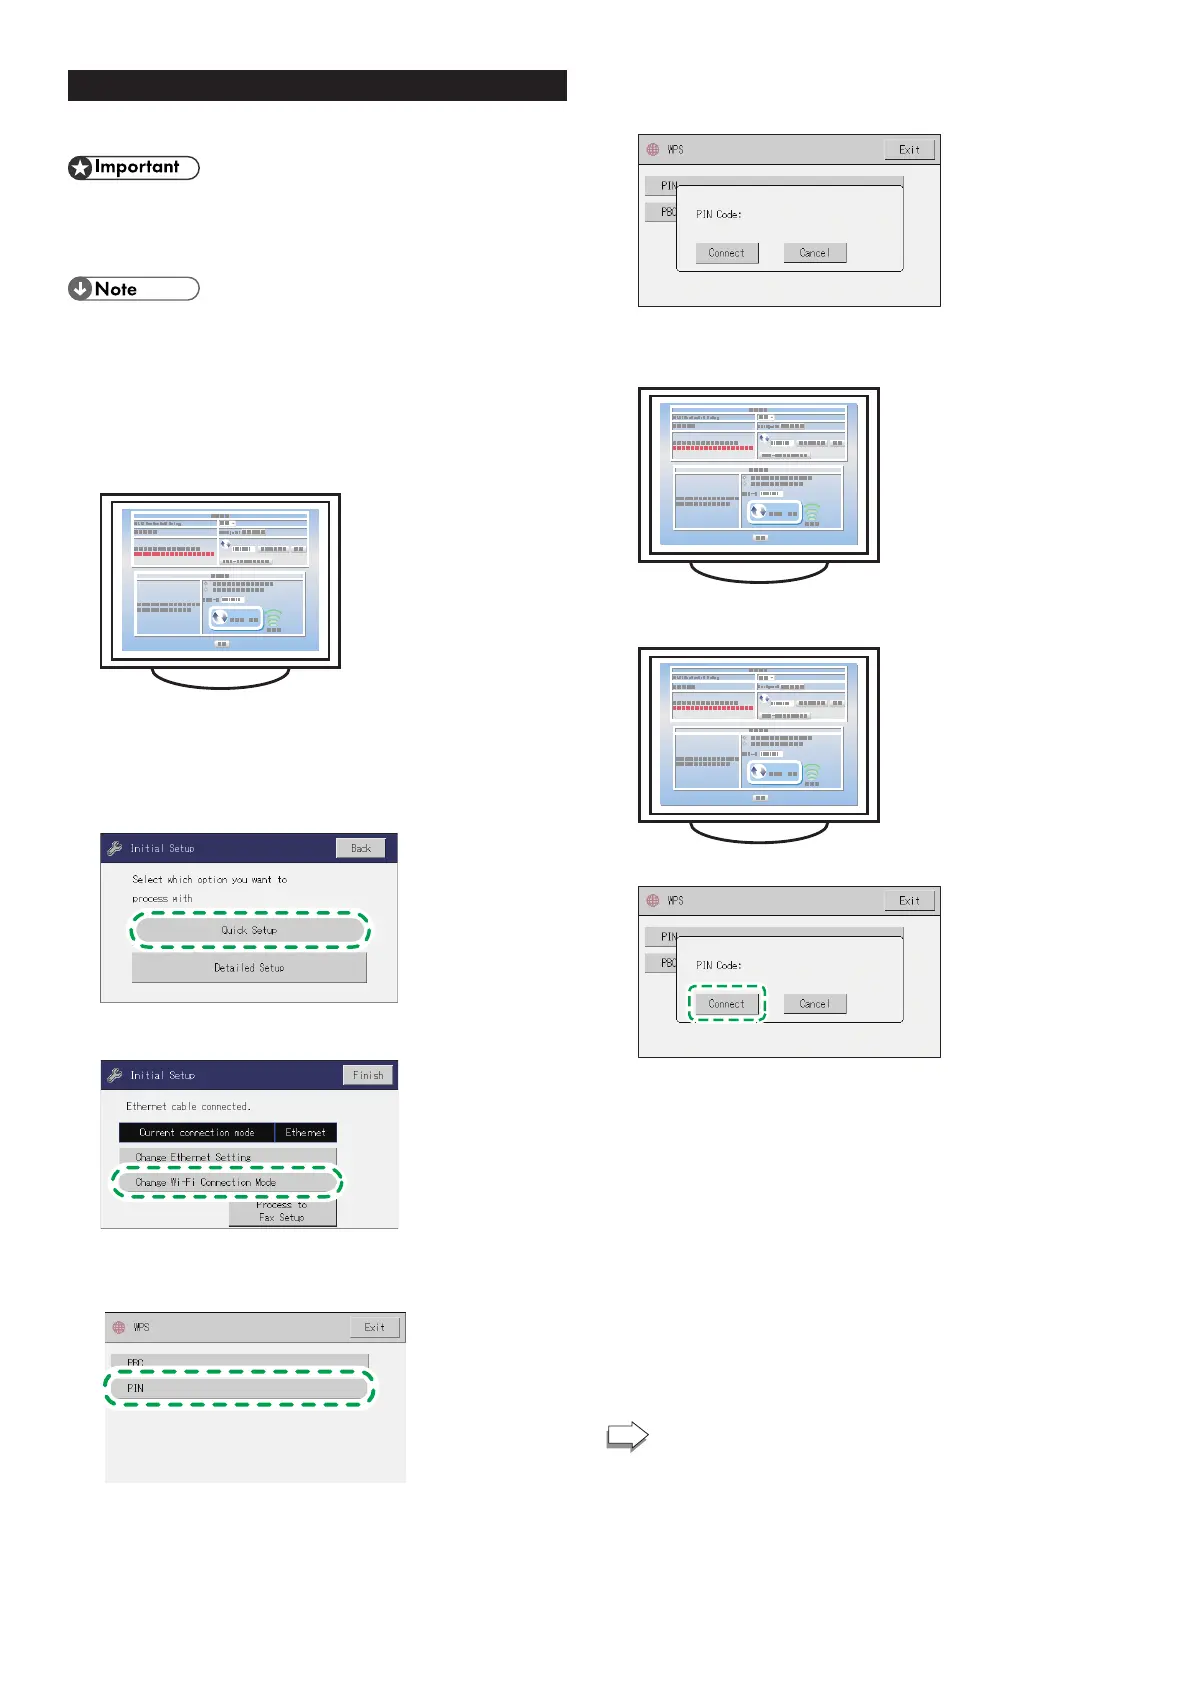
11. Press [Connect].
"Please wait for 2 minutes" appears and connecting with PIN
method starts.
12. Check the result.
Connection has succeeded:
"Connected to access point." is displayed.
Press [OK] to return to the screen displayed in Step 7, and then press
the [Home] key to return to the initial screen.
Connection has failed:
"Failed to connect to access point." is displayed.
Press [OK] to return to the screen displayed in Step 7. Check the
configuration for the router (access point), and then try the connection
again.
13. Press [Exit].
14. Press [Back].
15. Configuring the Wireless (Wi-Fi) settings is complete.
To use the fax function, configure the settings on page
16 "3. FAX Settings (M 320FB/320F only)".
 Loading...