*
Prices shown in $AUD and exclusive of GST and freight. Products are subject to availability. Prices and specifications are subject to change without notice.
4 Last Updated: 18/06/2012
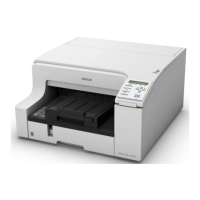
gjsMACHINERY subli-trans XPRES™ GXe7700N Instruction Manual
Installing the GelSprinter GX e7700N Printer Drivers
1. Insert the GelSprinter GX e7700N software CD-ROM into your CD-ROM drive. The CD will auto run.
Select your installation langue from the first screen, as shown in Figure 1 below.
2. If the included CD-ROM does not support your current Operating System. Visit the official Ricoh
Australia website http://ricoh.com.au/ and click through to ‘Downloads’ > ‘Product Drivers’> ‘Office
Printers’. Select the GX e7700N from the list. Then select download the most recent driver for your
Operating System.
3. When Figure 2 appears choose whether you want to set up the printer via ‘usb’ or ‘network’ and
follow the on-screen instructions.
4. Accept the terms of use (Figure 3). The driver will be installed.
5. Make sure the USB (or network cable) is connected to the PC (or network) and the printer. Turn on
the printer as instructed in Figure 5.
6. After the utility has found your printer it will then complete the installation as shown in Figure 6.
 Loading...