5
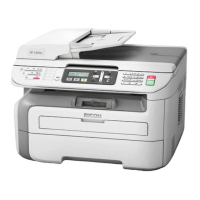
8. Enter the password to connect with the selected
access point, and click [Connect].
• If the [WEP KeyID] options are displayed, select the option
corresponding to the SSID and entered password.
• If the setting is modied, the authentication password entry
screen appears after [Connect] is clicked.
Enter the administrator password (default password is
“888888”. The password can be set from [Modify Password]
in the [Settings] menu.), and click [Login].
Restart the printer to apply the modied setting to the printer.
• If the computer is connected with the printer via a Wi-Fi router,
the connection is terminated after the access point change is
applied to the printer. Connect the computer to the same ac-
cess point to connect with the printer via the Wi-Fi router.
You can now print les on the computer from the printer via the Wi-
Fi router by selecting “Print” from the “File” menu of applications
or use the functions of “RICOH Printer”.
For Mac OS
Installing the Printer Driver and
“RICOH Printer” software
Prepare the following items for the installation.
• CD-ROM provided with the printer*
• USB cable
* If your computer is not equipped with CD-ROM drive, down-
load the installer from the RICOH ofcial website at:
http://www.ricoh.com/printers/sp150/support/gateway/
1. Press and hold the power key to turn on the
printer.
2. Connect the computer with the printer using a USB
cable.
3. Insert the CD-ROM into the CD-ROM drive on the
computer.
• If the computer is not equipped with a CD-ROM drive, down-
load the installer from the following site and start the installer.
http://www.ricoh.com/printers/sp150/support/gateway/
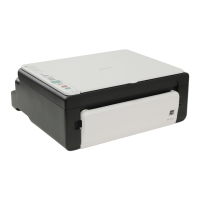
4. Double-click the CD-ROM icon on the desktop.
5. Double- click the [Install] icon.
The installer is launched.
6. Perform the installation by following the instructions
on the screen.
7. After the installation is completed, open “System
Preferences” and then “Printers & Scanners” on the
computer.
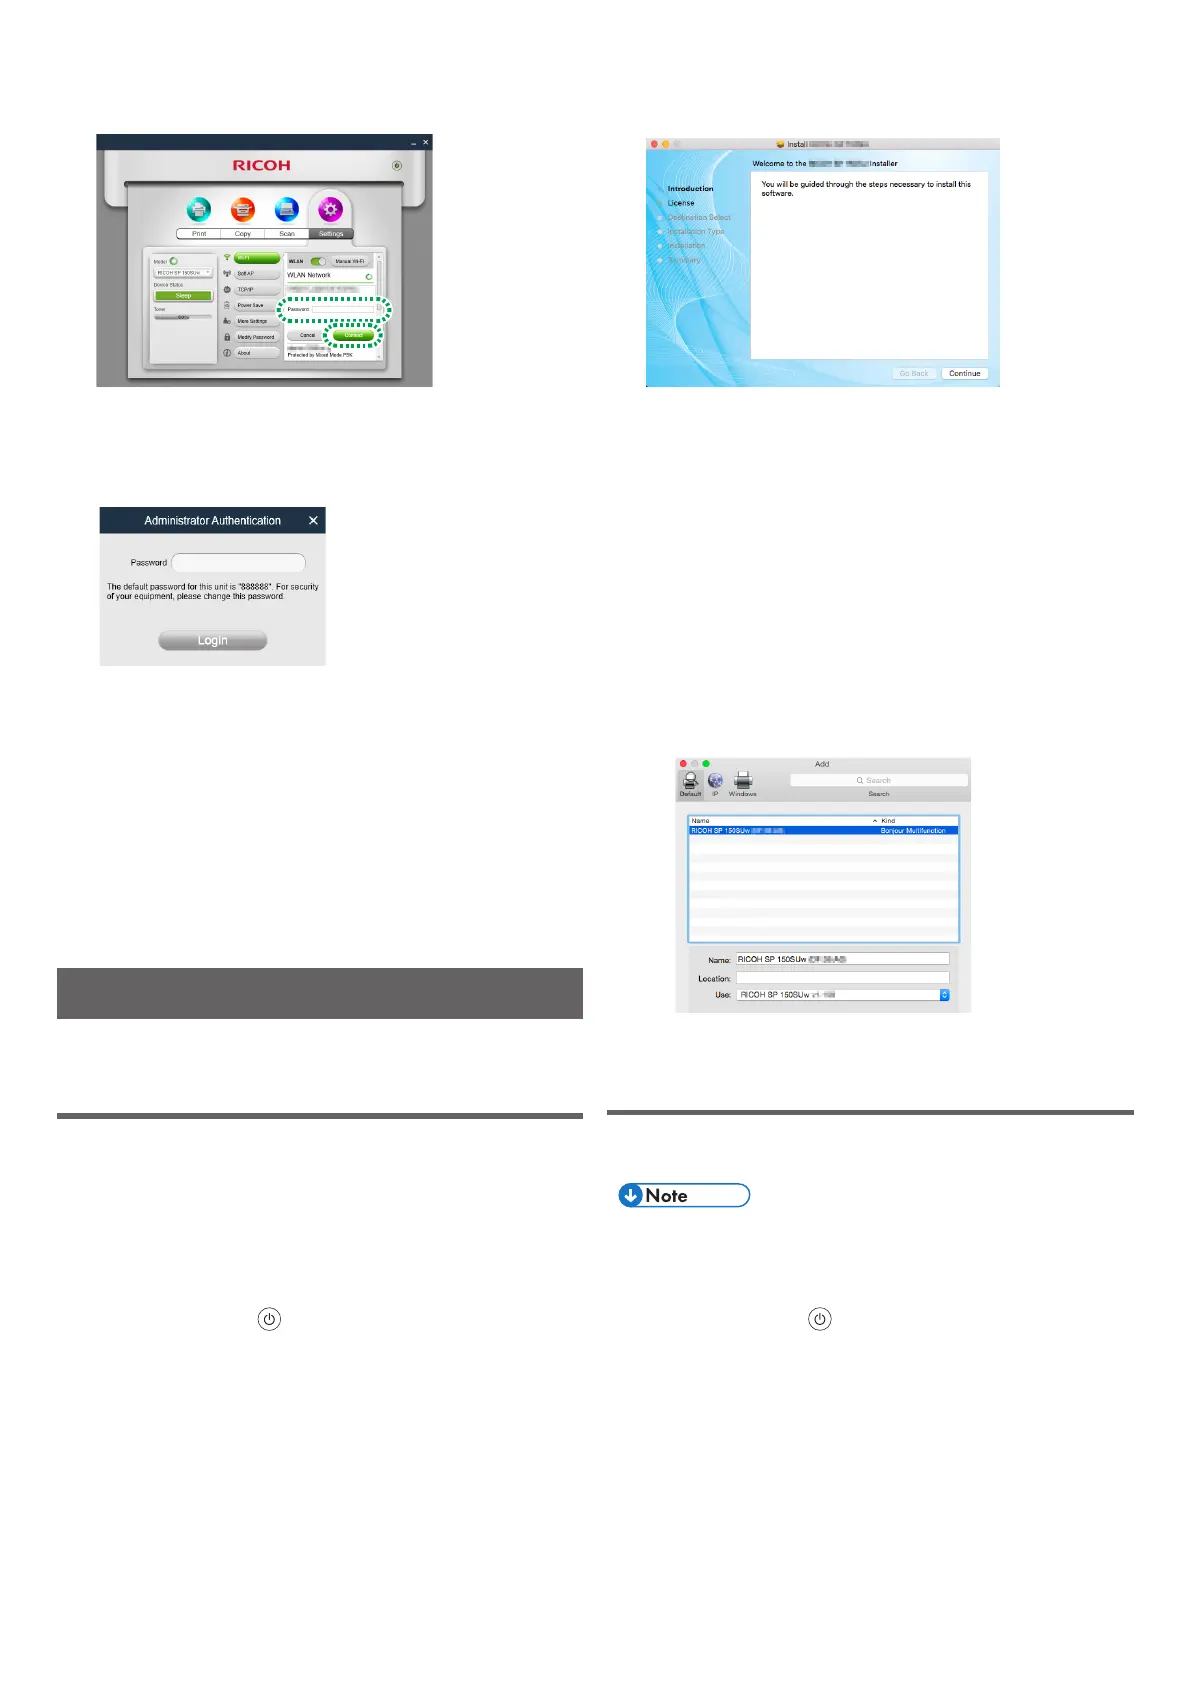
8. Confirm that the connected printer is displayed in
the list.
• If the printer is not displayed in the list, add the printer as
follows.
1. Click “+”.
2. Click “Default”.
3. Select the printer, and click [Add].
Setting an Access Point using “RICOH
Printer”
You can set an access point (Wi-Fi router) to use for wireless con-
nection with the printer using “RICOH Printer” on the computer.
• Install “RICOH Printer” to your computer rst. For details, see
page 5 “Installing the Printer Driver and “RICOH Printer”
software”.
1. Press and hold the
power key to turn on the
printer.
 Loading...