RICOH SP C250DN/SP C252DN Color Laser Printers
Getting Started Guide
11
7. Press [Menu] to exit. Display reads, Please Restart Machine.
8. Turn printer power switch Off. Wait a moment, and then turn On.
9. Continue with .
Manual
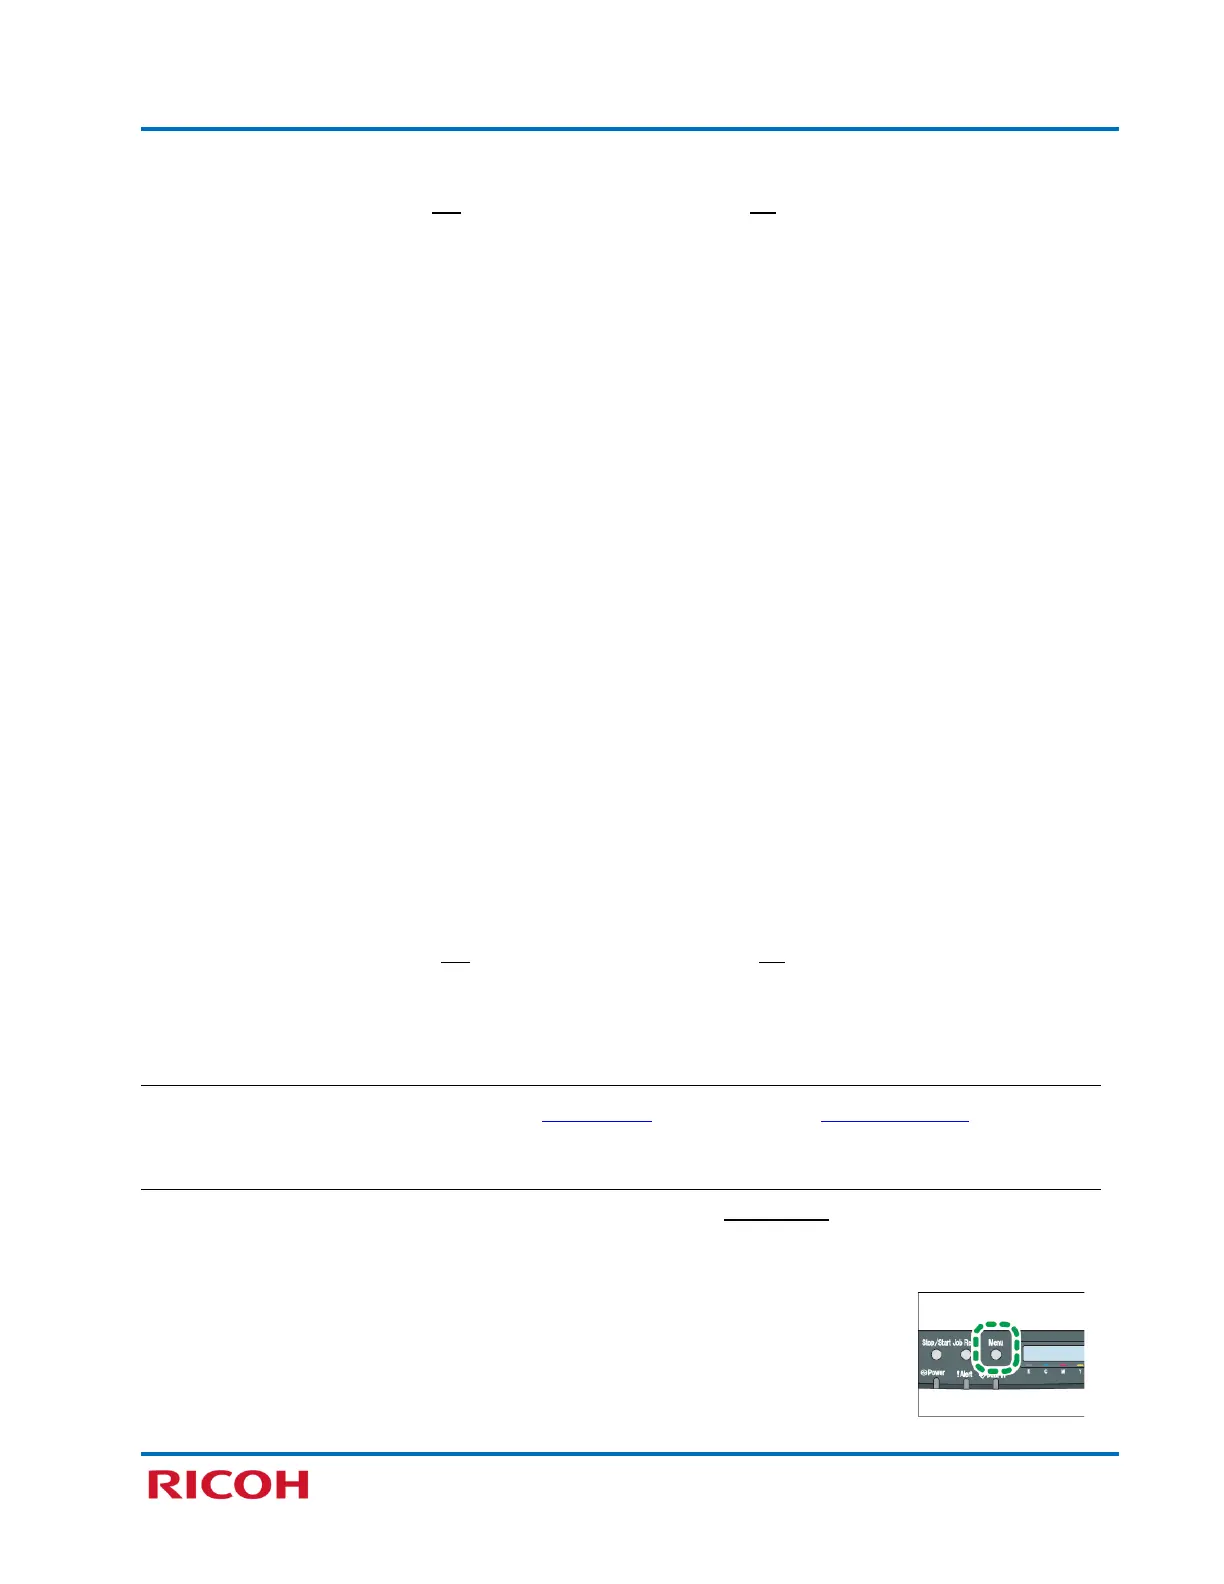
1. Press [Menu].
2. Scroll [] to [Host Interface], and press [OK].
3. Scroll [
] to [Network Settings], and press [OK].
4. Scroll [
] to [IPv4 Config.], and press [OK].
5. Select [DHCP], and press [OK].
6. Select [Inactive] to manually specify the IP address, and press [OK].
7. Select [IP Address], and press [OK].
8. Enter the printer’s IPv4 address using the [] or [] keys.
Note:
• To go to the next field, and press [OK].
• To return to the previous field, press [Escape].
10. When finished entering IP address, press [OK].
11. Select [Subnet Mask], and press [OK].
12. Enter Subnet Mask using the [] or [] keys.
Note:
• To go to the next field, press [OK].
• To return to the previous field, press [Escape].
13. When finished entering Subnet Mask, press [OK].
14. Repeat steps 11-13 for [Gateway Address].
15. Press [Menu] to exit. Display reads, Please Restart Machine.
15. Turn printer power switch Off. Wait a moment, and then turn On.
16. Continue with .
Select Wireless Configuration Method
PBC (WPS) Method PIN Method Manual Method
PBC (WPS) Method
The following operations are only performed when connecting a new printer to your Wi-Fi router for the
first time. Once a WPS connection is configured, the Web Image Monitor utility can be used to view or
change wireless settings.
1. Press [Menu].
2. Scroll [
] to [Host Interface], and press [OK].
3. Scroll [
] to [Network Settings], and press [OK].
4. Scroll [
] to [Wi-Fi Config.], and press [OK].
 Loading...