2
16
Getting Started
1 Press the button or the button. Select the
date display style and press the button.
Choose from [mm/dd/yy], [dd/mm/yy] or [yy/mm/dd].
2 Press the button or the button. Select [24
h] (24-hour clock) or [12h] (12-hour clock) and
press the button.
3 Press the button or the button. Set
"month" and press the button.
The set up procedure differs depending on the display style
set in step 1.
4 Set the date, year and time in the same way as in
step 3.
The frame moves to [Settings complete].
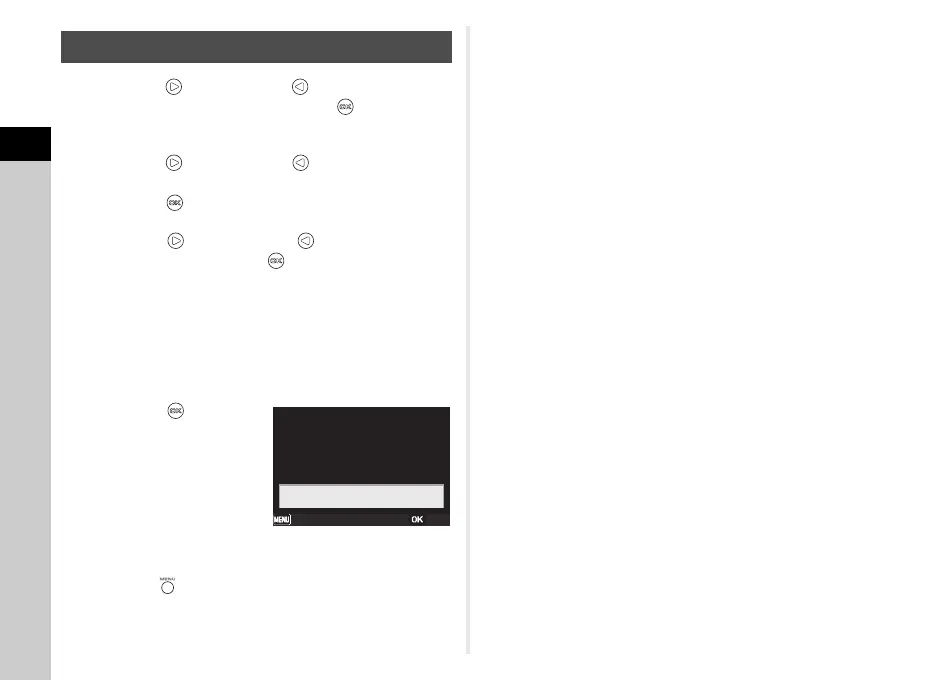
5 Press the button.
The initial settings are
complete and the shooting
screen appears.
u Caution
• You can shoot pictures while doing the initial settings by
pressing the button, but the settings you have made so
far are canceled. In this case, the initial setting screen
reappears the next time you turn the camera on.
t Memo
• To change the language, date, or time you have setup, refer
to "Changing the display language" (p.39) and "Changing the
date and time" (p.38).
Date adjustment
Date Adjustment
mm/dd/yy
OK
10 : 30
12h
AM
Settings complete
Cancel
2016 03/03 /
 Loading...