2
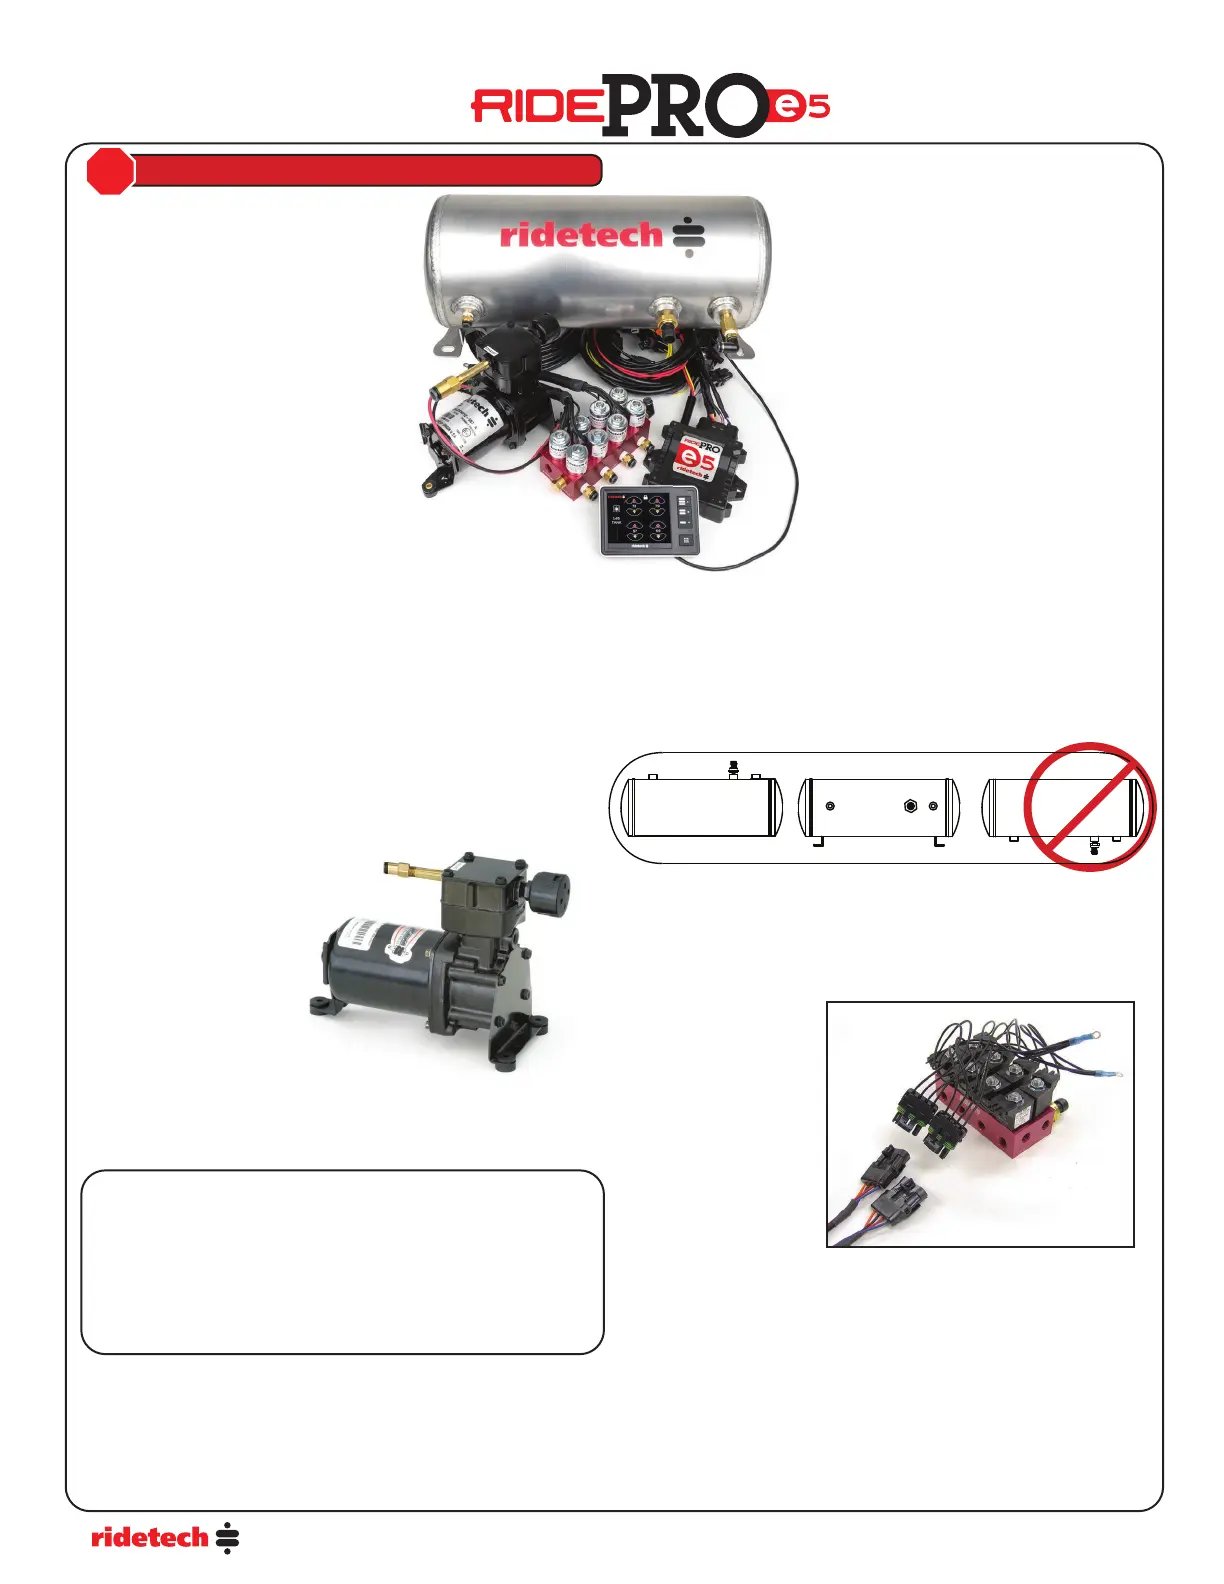
Mounting the Compressor
• All of our compressors are sealed for moisture and dust resistance so
they can be mounted anywhere on the vehicle, though it is best to
mount it in a place out of direct contact with rain and snow. It is OK to
mount it underneath the vehicle, but keep it inside the frame rails away
from water and debris thrown o the tire.
• This is a dry compressor; therefore it is maintenance-free and can be
mounted in any position.
• It is best if mounted to something solid to reduce vibration and
noise. If mounting it to sheet metal or the bed of a truck, use
sound-deadening
material between the
compressor and the
mounting surface.
• Use the rubber
grommets supplied
on the feet of the
compressor to reduce
vibration.
• Attach the grey wire
from the main power
harness to the black
wire on the primary
compressor. The red
wire connects to +12V.
• Thomas Compressors
(black) will require a 20 amp fuse (each).
Mounting the Air Tank
• The air tank can be mounted anywhere on the vehicle in any position,
so long as the sensor is not pointed down. Having the sensor
mounted with the threads pointing up can cause damage to the
sensor.
• There is an 1/8” port in the tank that will accept the tank pressure
sensor.
Mounting the RidePro Air Valves
• The valves, like the compressor, are sealed and can be mounted in the
same locations. Although, if the vehicle will be exposed to freezing
temperatures, it is a
good idea to mount
them in the engine
bay if possible to
reduce the possibility
of freezing.
• They can be mounted
in any position.
• Attach the ground
strap to a good, clean
ground (preferably the
frame).
• The exhaust port will
be left open.
• The valve is held closed with the pressure in the tank. If tank pressure
drops below air spring pressure they will equalize, de ating all 4 air
springs.
Use spacer for
better cooling
Filter / mu er
install on inlet
Always use
rubber mounts
Remove the negative battery cable before beginning installation.
STOP
Ensure a good
ground is used
Installing a System
NOTE:
The RidePro system switches ground on the compressors; the compressors are provided power at all times.
IF YOU ARE RUNNING A 2 COMPRESSOR SYSTEM, THE 2ND COMPRESSOR WILL NEED TO BE TURNED ON IN THE SETUP MENU! PAGE 9
WILL SHOW YOU WHERE TO TURN IT ON.
OKOK
IF YOU ARE RUNNING A 2 COMPRESSOR SYSTEM, THE 2ND
COMPRESSOR WILL NEED TO BE TURNED ON IN THE SETUP
MENU! PAGE 9 WILL SHOW YOU WHERE TO TURN IT ON. YOU
MAY GET ERROR #143 BEFORE YOU TURN COMPRESSOR #2
ON. IF YOU GET THIS ERROR, GO TO THE SETUP MENU AND
TURN COMPRESSOR #2 ON. THE ERROR WILL CLEAR AFTER THE
IGNITION IS CYCLED.