Chapter 1 Disassemble and Assemble RIGOL
MSO1000Z/DS1000Z Service Guide 1-5
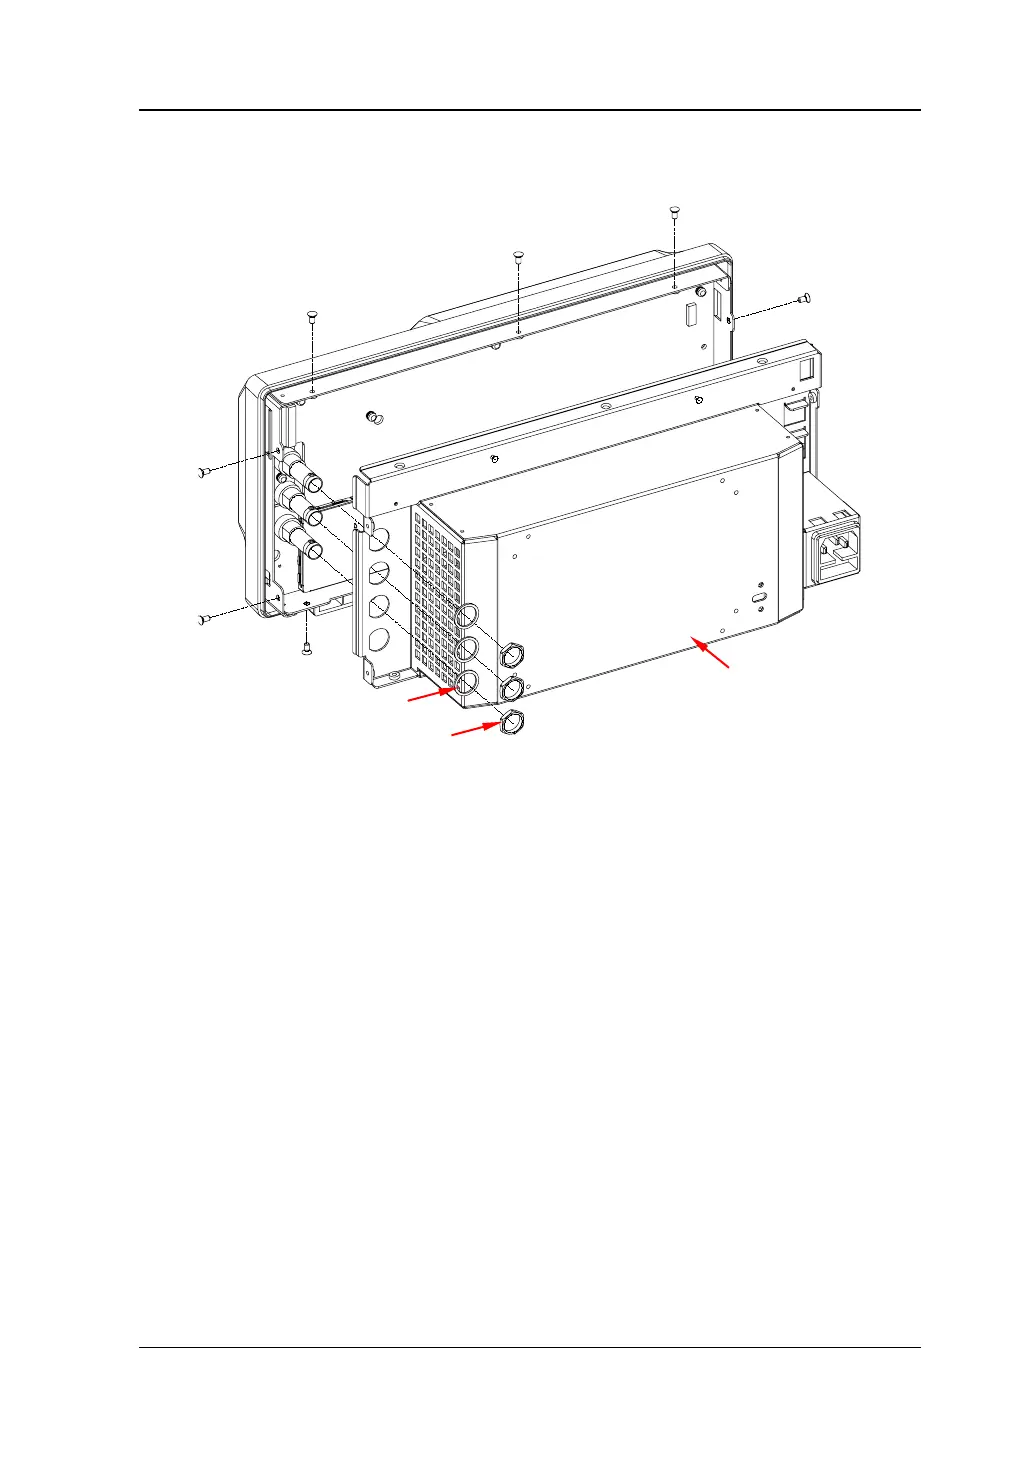
To Disassemble the Rear Metal Cover
Figure 1-3 To Disassemble the Rear Metal Cover
Part Explanation:
① 11 screws (torx countersunk head screw M3*6) fixing the front metal plate and
rear metal cover (the positions of some of the screws are not marked out in the
figure above and please disassemble them according to their actual positions).
Disassemble Steps:
1. Remove the 3 (for MSO1000Z-S/DS1000Z-S) nuts and washers at the BNC ports
on the rear metal cover using the BNC socket. Note that for
MSO1000Z/DS1000Z, there are only one BNC nut and washer.
2. Remove the 11 screws (①) fixing the front metal plate and rear metal cover
using the screwdriver (T10).
3. Remove the power cord and fan cable connected to the main board and take off
the rear metal cover gently.
①
①
①
①
①
①
①
 Loading...