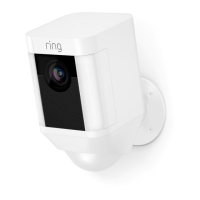
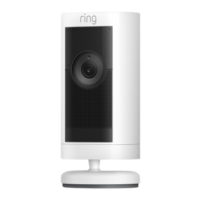
Do you have a question about the ring Spotlight Cam Plus and is the answer not in the manual?
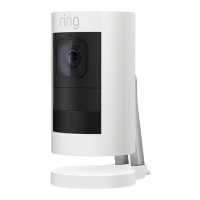
Procedure to detach the speaker box from the main unit.
Instructions for removing the dovetail bracket component.
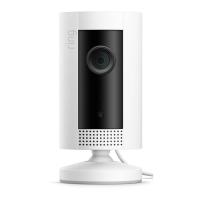
Loosen four screws and pry open the top housing cover.
Remove flexible printed circuits (FPCs) from the mainboard.
Unscrew the battery frame to prepare for removal.
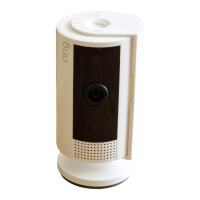
Heat IR cover and use a crowbar to open the IR window.
Remove four screws securing the upper housing.
Release sensor PCBA buckle and push to remove from housing.
Unscrew two screws to detach the type-C board.
Detach heat sink and PCB holder adhesive tape.
Unscrew microphone FPC and remove the flexible circuit.
Remove left and right WLED boards by unscrewing screws.
Use heat gun for PIR sensor and desolder excess tin.
Unscrew six screws to remove the PIR and sensor board.
| Resolution | 1080p HD |
|---|---|
| Audio | Two-way talk with noise cancellation |
| Night Vision | Color Night Vision |
| Live View | Yes |
| Local Storage | No |
| Power Options | Battery, Plug-In |
| Connectivity | 2.4 GHz Wi-Fi |
| Lights | LED spotlights |
| Siren | 110 dB |
| Operating Conditions | -5°F to 120°F (-20°C to 50°C) |
| Motion Detection | Advanced Motion Detection with Customizable Motion Zones |
| Weather Resistance | Weather Resistant |
| Cloud Storage | Ring Protect Plan required |