Rinnai Tankless Water Heater Installaon and Operaon Manual 15
You Will Need:
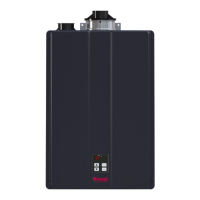
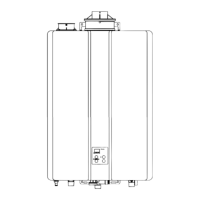
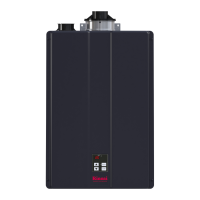
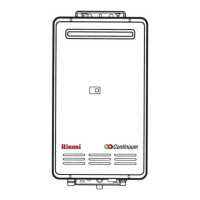
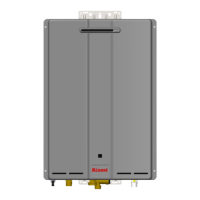
• Rinnai Tankless Water Heater
(Internal/Indoor Model)
• Wall Mounng Bracket
3.3 Mount the Internal (Indoor) Water Heater to the Wall
1
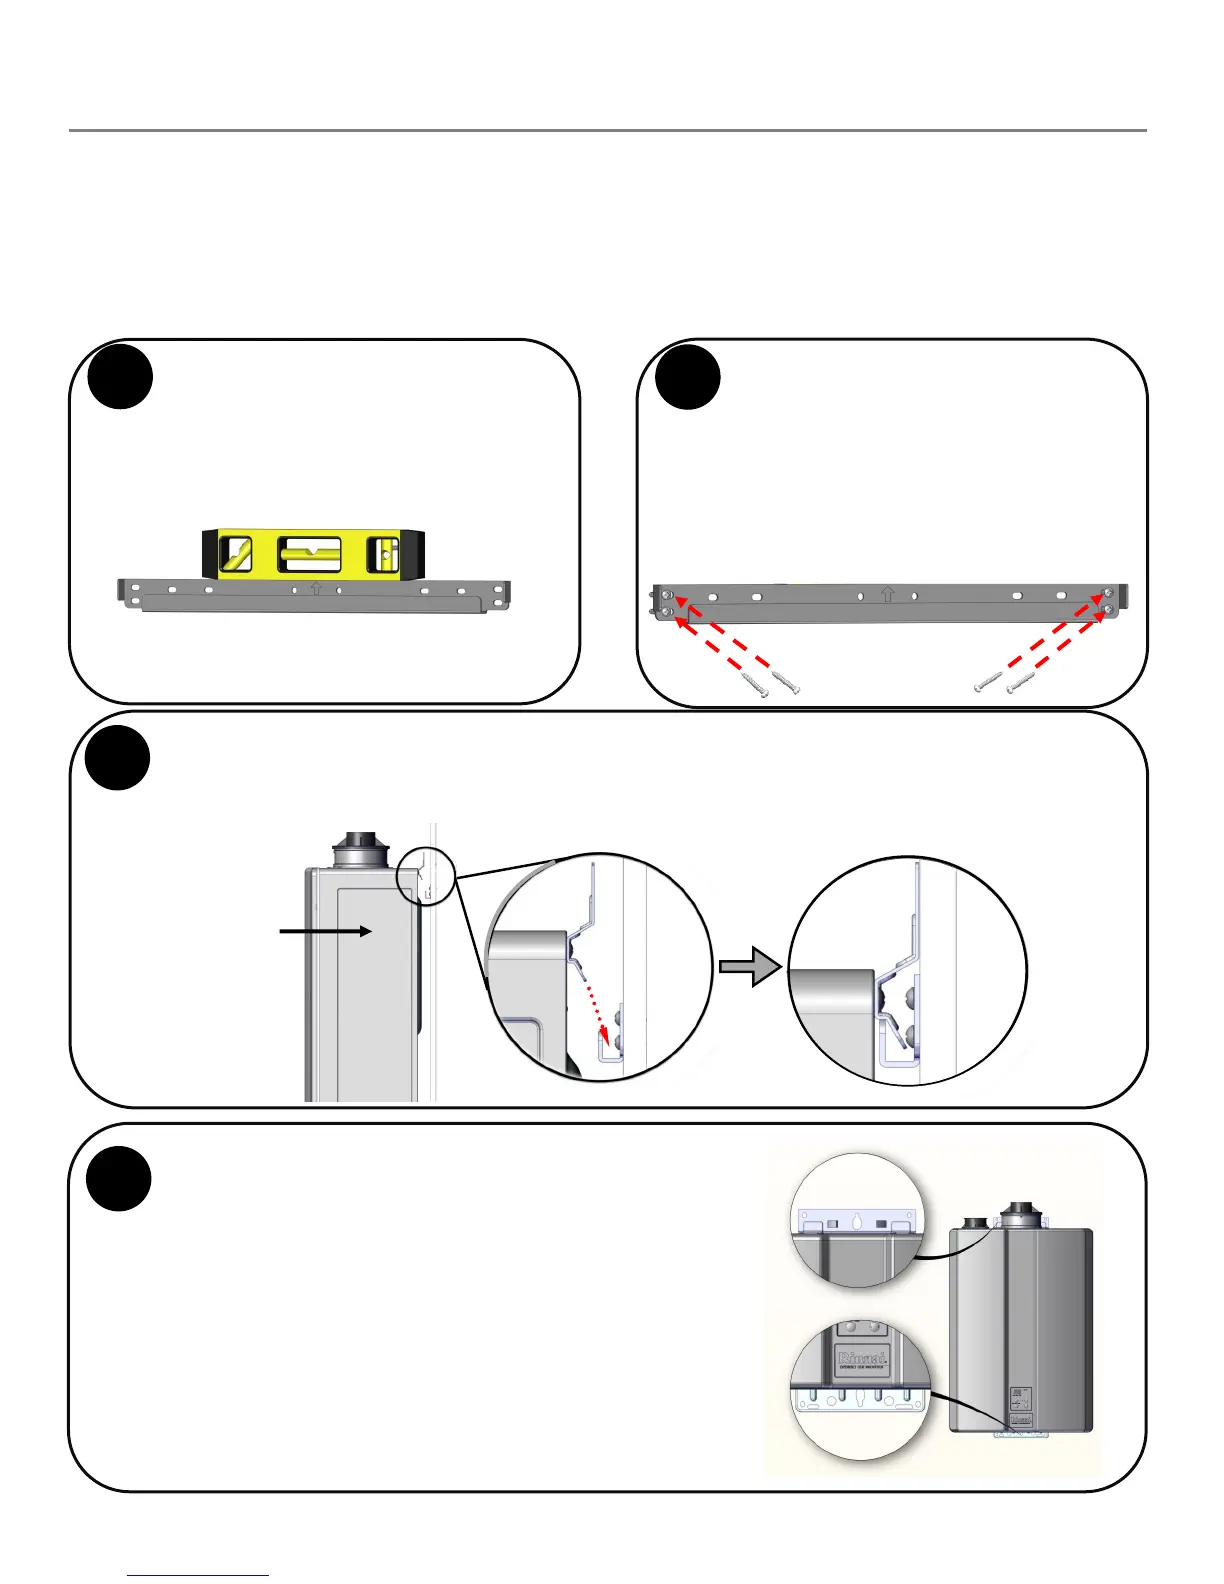
Level
Wall Mounng Bracket
Hold the wall mounng bracket up against the wall and
use a level to make sure the bracket is even.
Proper operaon requires the water heater to be level.
2
Use 4 screws to secure the wall mounng bracket to
the wall (2 screws on far le side and 2 screws on
far right side).
Use the appropriate screws for the wall construcon
to secure the mounng bracket to the wall between
two studs.
Securely screw the top and boom brackets into the
wall, making sure the screws are ush with the wall.
• Use any of the holes in the top and boom
brackets.
• Make sure the securing method is sucient to
support the weight of the water heater. Refer
to the water heater weight in secon
“2.5 Specicaons.”
IMPORTANT: The water heater must be installed in
an upright posion. Do not install the water heater
upside down or on its side.
4
Top
Bracket
Boom
Bracket
Insert the water heater top bracket into the wall mounng bracket.
Make sure the wall mounng bracket is sturdy and can hold the weight of the water heater before you
fully let go.
3
Water Heater
Right Side
Supplied by Installer:
• Level
• 4 screws for mounng bracket installaon
• Screws for top and boom bracket installaon
Use appropriate screws for type of wall construcon.