Must be installed, maintained and removed by authorised
persons in accordance with AS/NZS 3000 and all other
relevant local regulations and municipal building codes
including OH&S requirements.
Ensure electric wiring is installed properly. Improper
LQVWDOODWLRQPD\FDXVHPDOIXQFWLRQ¿UHRUHOHFWULFVKRFN
The unit must be earthed following local electrical codes.
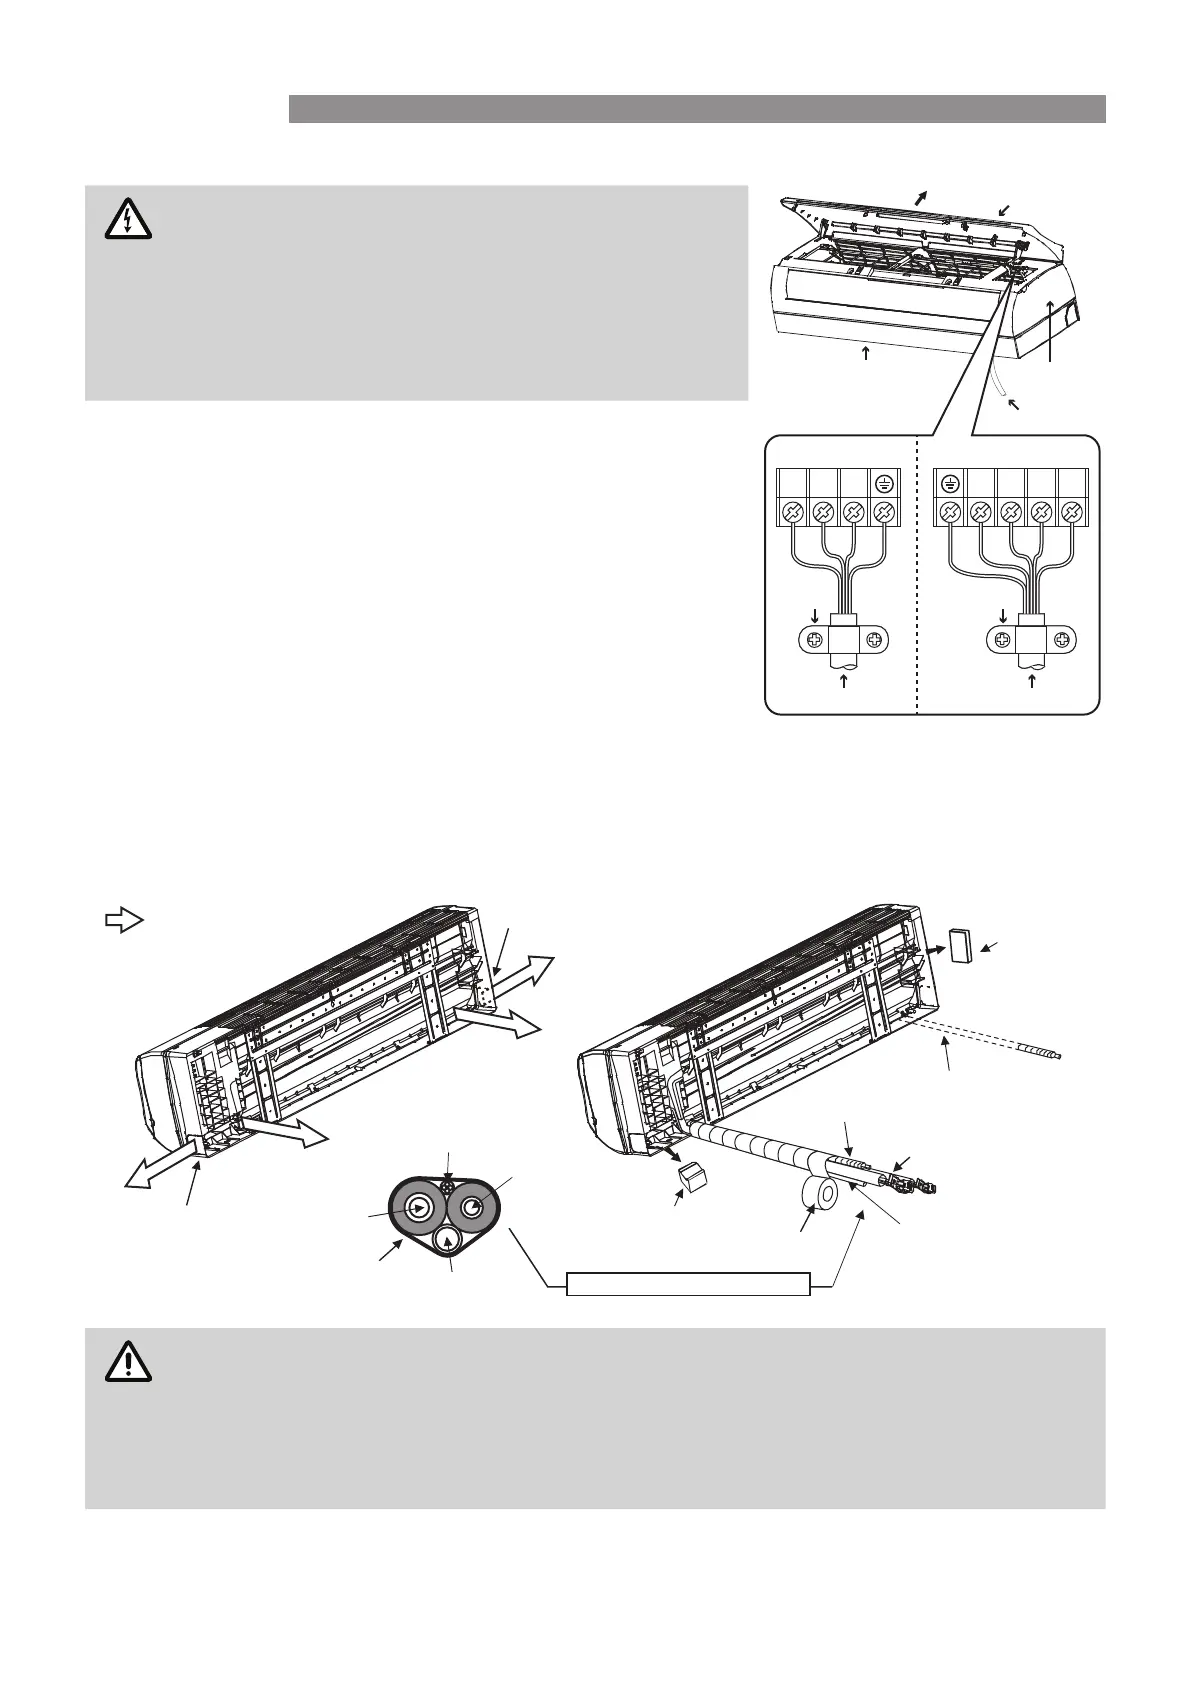
1. Open the front panel.
2. Remove the wiring cover.
3. Insert the electrical cable(s) through the bottom side at the back of
indoor unit.
4. Secure the cable onto the control board with the cable clip.
5. Connect the cables as shown on the drawing to the corresponding
terminals.
6. Re-install the wiring cover.
7. Close the front panel.
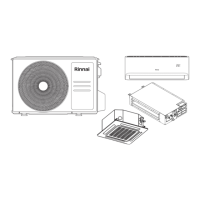
Wall Installation
1. Remove the two foam shipping blocks from the rear of indoor unit as shown.
2. Position the piping as shown on the drawing.
3. Tape the refrigerant pipes, electric cable(s) and drain hose. Ensure the water drain hose is located at the
lowest side of the bundle.
* The drain pipe is dual handed and may be installed to either the left or right of the appliance.
1. To use this option unclasp the drain hose.
2. Unscrew the rubber plug from the alternate drainage discharge connection point.
3. Clip the drainage hose into the alternate discharge connection point.
4. Screw the rubber plug into the unused drainage discharge connection point.
Bottom Frame
Mid-Frame
 Loading...