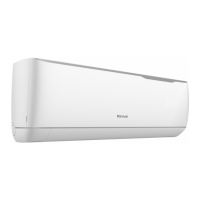
Rinnai 11 Split AC IM
4. Hang the mounting slots of the indoor unit on the upper portion of the mounting plate. Ensure that the hooks
are properly seated on the plate.
5. 3XVKWKHXQLWWRZDUGVWRWKHZDOODQGKRRNWKHXQLWRQWRWKHORZHU¿[LQJKRRN
Ensure that there is no leakage from the drain pipe connection and that the drain pipe has a
continuous fall to the outside.
(QVXUHWKDWDOOZDOOSHQHWUDWLRQVDUHVXႈFLHQWO\ZHDWKHUSURRIHG
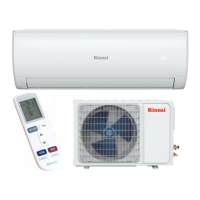
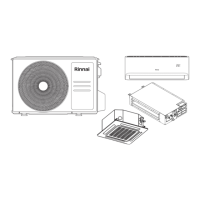
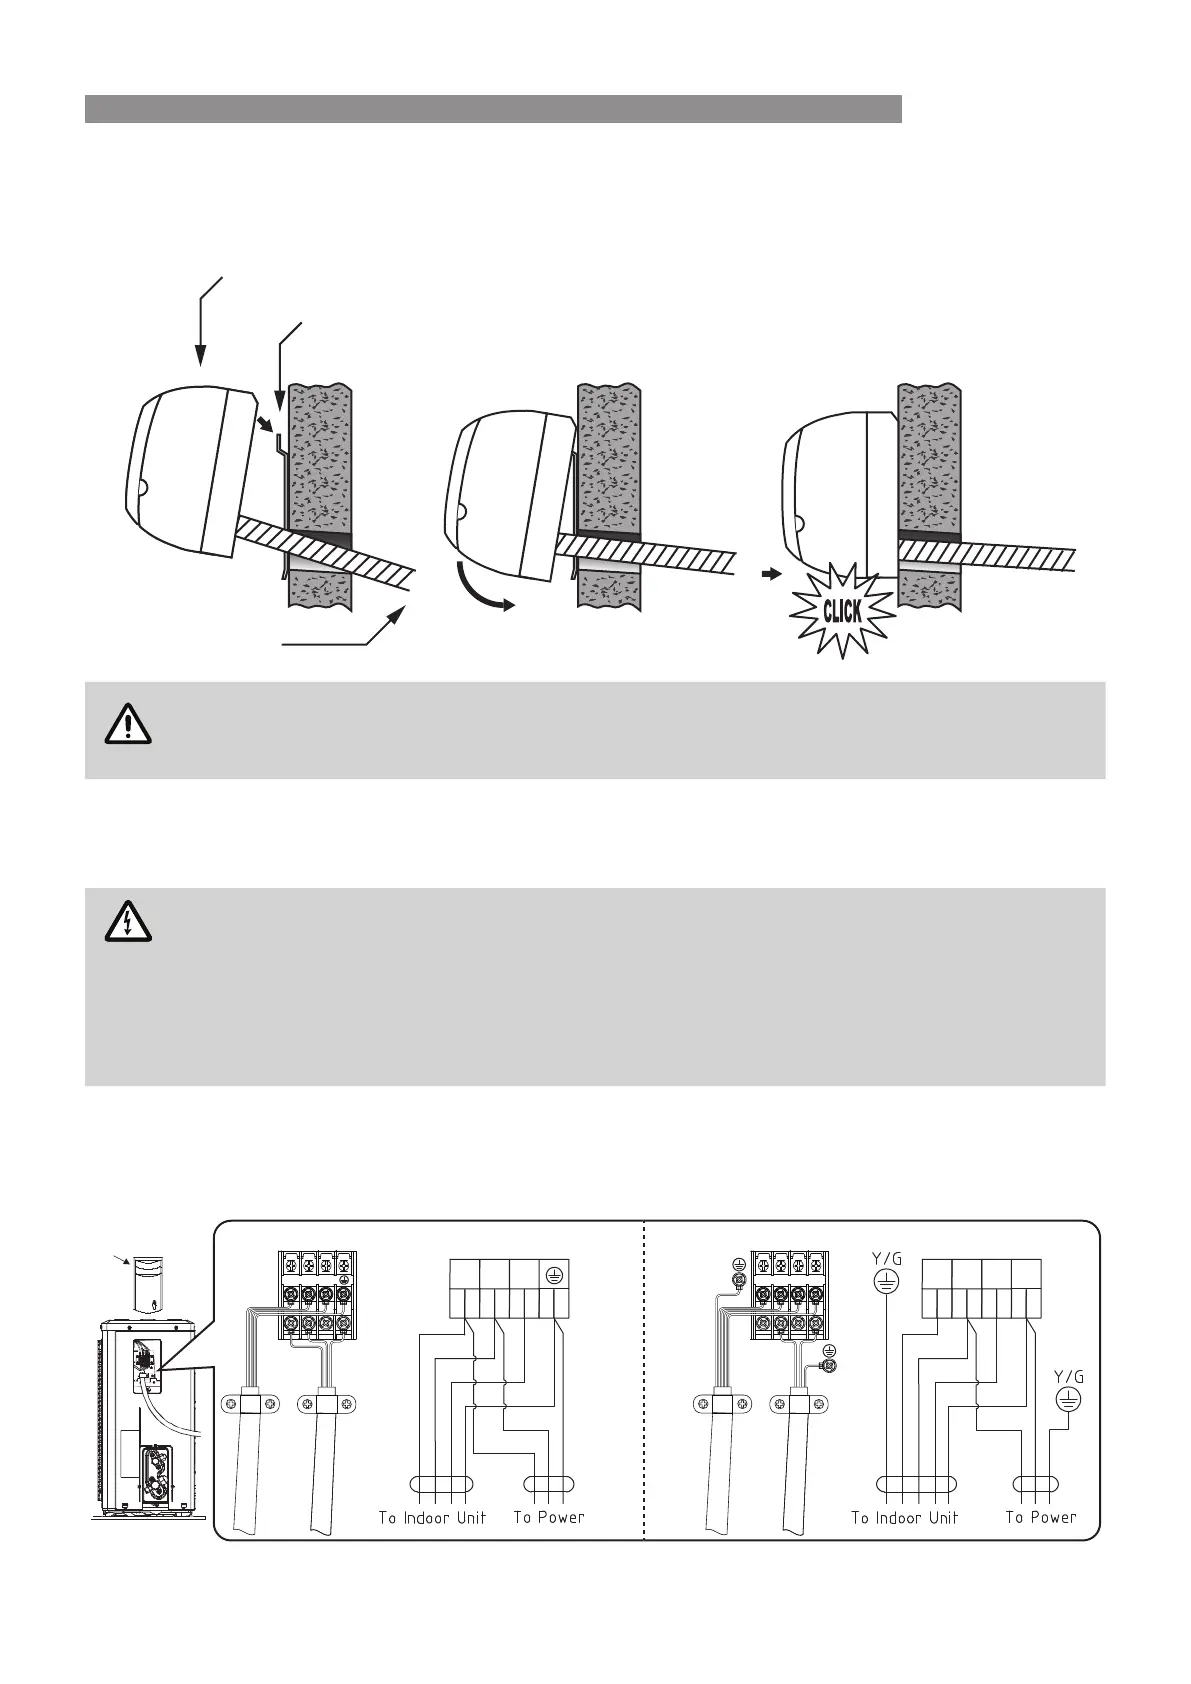
OUTDOOR UNIT
Electrical Connections
Must be installed, maintained and removed by authorised persons in accordance with AS/NZS
3000 and to all other relevant local regulations and municipal building codes including OH&S
requirements.
(QVXUHHOHFWULFZLULQJLVLQVWDOOHGSURSHUO\,PSURSHULQVWDOODWLRQPD\FDXVHPDOIXQFWLRQ¿UHRU
electric shock.
The unit must be earthed following local electrical codes.
1. Remove the wiring cover.
2. Secure the electrical cable(s) and power cable onto the control board with the cable clip.
3. Connect the cables as shown on the drawing below.
4. Re-install the wiring cover.
Connections
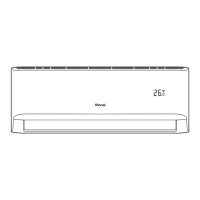
Indoor Unit
Wall mounting bracket
 Loading...